 ATTENTION! You can PLAY this game series virtually (for free) through TABLE TOP SIMULATOR on STEAM.
 You can LEARN HOW TO PLAY watching the videos from the OFFICIAL You Tube Channel.
ATTENTION! Some rules can change according to the map/game mode you choose. Check HERE to check all the different options!
You can LEARN HOW TO PLAY watching the videos from the OFFICIAL You Tube Channel.
ATTENTION! Some rules can change according to the map/game mode you choose. Check HERE to check all the different options!
The Winner
The goal of the game is simple, to beat all the “Pokémon League” members before the "Evil Teams" complete their plan, whether player/team (Master Rule) accomplishes it first WINS THE GAME. *For a "hard mode" option, also check "Master Rules".
Players
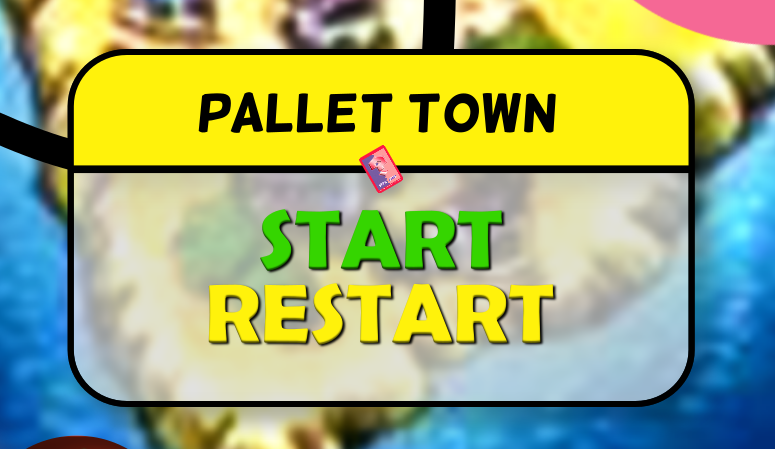
Players should choose a starter Pokémon (pink front with pink and black backs) and start the adventure from the yellow space.

The player can only keep up to six (6) Pokémon on their hand, and five (5) more stored (piled) on their inventory (not starters).
In order to catch a new Pokémon, the player must have at least one (1) free “slot” on their hand and follow the “Catching” rules.
The player can access their inventory (storage/PC) from any “city” space they stop by during the journey, furthermore it doesn’t forbid them to recover, to challenge a gym leader or to perform any other action the space may provide.
Players have to randomly pick an affinity type, this way, their Pokémon of this type (as primary) will earn double “XP”, no matter the source.

Players can also only earn a total of nine (9) to twelve (12) badges per map and earn only one (1) “key stone” and "exp. share" per map as well.
Players should also pick one trainer skill when the game starts, and another one for each new region they advance into (4 skills in total).
The order of the pick is totally up to the players, and each skill provides them a different advantage.
Here, how each one of the skills work:
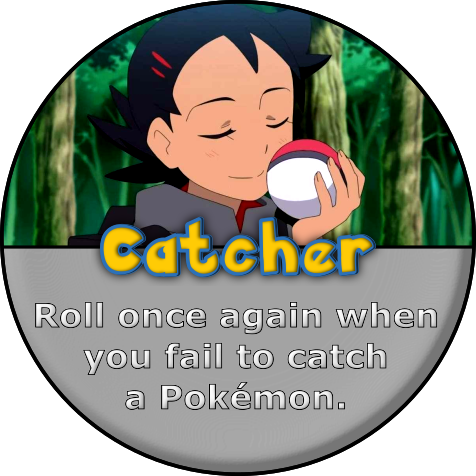
- Catcher - Allows the player to roll the die (D6) once again, to try to catch a Pokémon, in case they have failed the first time.
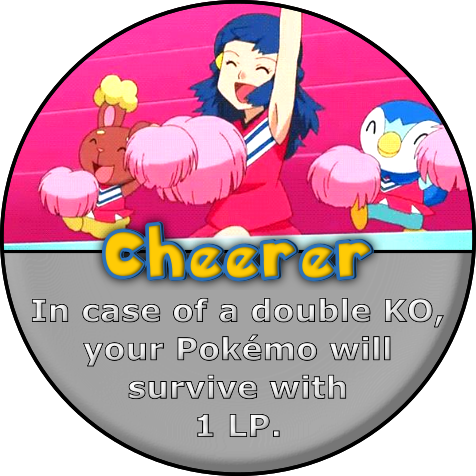
- Cheerer - Allows the player’s Pokémon to resist fainting (getting knocked out) in cases of a double KO (draw). The Pokémon shall remain up with 1 (one) “Life Point” (LP). *If two players with this skill fight against each other, this skill is nullified.
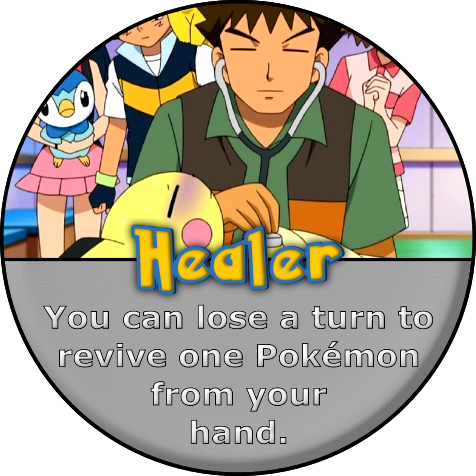
- Healer - Allows the player to lose one (1) turn in order to revive one (1) Pokémon (knocked out) from their hand.
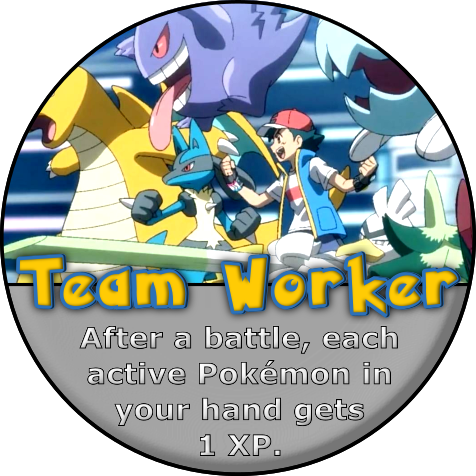
- Team Worker - Allows the player to provide one (1) “Experience Point” (XP) to each active Pokémon in their hand, when their Pokémon returns to their hand as a winner. *If combined with “exp. share”, it only grants 1/2 XP. It can only double in case of "affinity type".

Movement on the Board
Moving
To move around, players should use their energy coins (4), in a way that they must flip one (1) coin for each space moved (as far as they are moving more than one [1] space at once). So, if the player moves just one (1) at a time, he/she does not need to flip an energy coin. Flipped energy coins are restored (up to 4) when the players enters a “city” space or if they use a “Poke Center/Poke Camp” event card.
When moving, players must count the occupied spaces (by other players). However, if ending at one, they shall finish the movement skipping one (1) space forward (when possible), or backwards (in the last case scenario).
Players can only share “city” spaces, and they should always move towards one direction only. A turn ends after they stop at a space and take all the respective actions from it. Also, returning to the “Start” space (yellow one) is not allowed unless they “restart” the map. Also, they must move from a “pokéball”/”event card” spaces next turn (can’t remain still except if using an event card).


Pokémon Spots
According to each map, on certain spaces, you may find a Pokémon image instead of the traditional “pokéball" one. In these cases, players should place the referred Pokémon’s chip in there (facing up), despite the color that Pokémon is. This Pokémon will remain there until someone catch it or simply beat it and let it go.
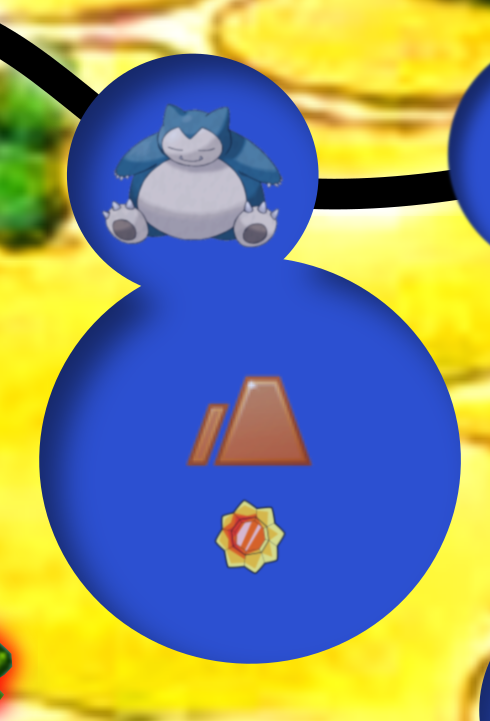
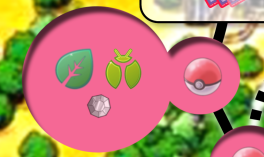
Another situation is when certain “city” spaces provide enhanced actions to the players if they have any of the Pokémon represented by the images within it. In these cases, the players can benefit from these actions instead of the standart ones.
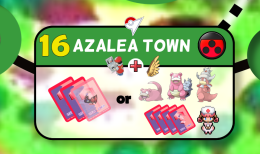
In the example above the standart action is "to draw up to two (2) item cards". However, for those who have any of the represented Pokémon (in their hands) can draw up to four (4) item cards and also revive all their Pokémon instead.
Trip Spaces
There are couple special spaces on the maps called “trip” spaces. There, the players have the chance to “cheat” on the standard rules for certain operations by having some kind of “special treatment”. However, in order to do that, they must spent the whole turn only for that.
There are a total of four (4) different kind of “trip” spaces, and each one has its own demands to be accessed.
Here all kinds of spot you can find in the game:
- 1. Boat Trips
- 2. Safari Zone
- 3. National Park/Great Marsh/Entree Forest
- 4. Battle spaces
Legendary/Mythical Pokémon
To use the “Legendary” card and go to a legendary/mythical Pokémon spot (solo rounded spaces), first players must earn badge(s) according the one(s) displayed on it.
Once used the card, they are taken to the spot with the same color of the region they were located at, and after the battle they must return from where they left.
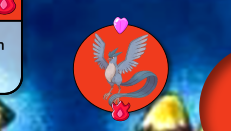
Each spot hosts a different legendary/mythical Pokémon,according to each image. *All the other yellow version of the legendary/mythical chips are exclusive for the “GO” mode map.
HMs
Hidden Machines AKA "HMs", can be used in this game too. They came as an “item” card and allow the player to move more efficiently through the map (spending one 1 energy coin).
An “HM” card can only be used one time and allows a Pokémon (even after evolving) to keep the skill until the end of the game. Although, to be able to learn it, the Pokémon (not a starter) must be active (not flipped out) in the player’s hand and at least a green label one. *To be able to use the "HM", the Pokémon also needs to be active and in the players hand.
There are a total of five (5) different “HMs” players can try to teach to their Pokémon:
The “fly” and “surf” ones are present on all traditional maps, while the “dig” and “cut” can only be found at “Kanto”, “Johto”, “Hoenn”, “Unova”, “Kalos”, “Alola” and “Galar” maps, and the “dive” can only be found at “Orange Islands” map. *Any of the previous “HMs” can only be used ONCE per turn.
Map Bonuses (+5/+3)
All player’s bonuses in the game (including weather ones) are granted regarding only the primary Pokémon type (left background/symbol).

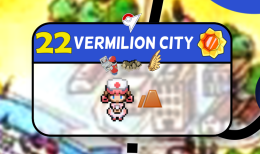
According to each “city” space a “bonus attack” (city bonus) might be provided to the player’s Pokémon. If so, it ALWAYS grants “+5” to their “attack power” (AP) in case of a battle (whether against the gym leader or other players). *These bonuses are granted to the type(s) represented by the symbol(s) displayed within each space (up right corner).
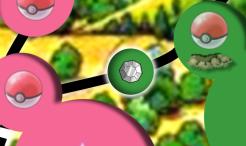
According to each “chip” (pokéball) space on the map, a “bonus attack” might be provided (according to the type symbols) to the wild Pokémon at first (route bonus). This way, ALWAYS granting “+3” to their “attack power” (AP) in battles against players. Although, players can enable these bonuses to their Pokémon as well, as long as they earn the respective badges (displayed right below the symbols).
To know which “spaces” grant bonus to which Pokémon types, check each specific space.
Advancing to a New Region
Gyms
As mentioned before, the region progression is allowed by the earning badges.In order to earn one, players must beat up a gym leader of a “city” space ( ), however, to be able to challenge them (mandatory ones), first players must gather a minimum amount of “Power Points” (PP).
Remember that a player can challenge a “gym leader” as many time as needed until he/she wins, after that the leader CANNOT be challenged again by the same player.
Check the all the information of each “Gym Leader” at the back of each card.
*Have in mind that when battling against a gym leader, their Pokémon will only receive a “bonus attack” die (the battle mechanics will be explained latter on).
Weather & Environment
Weather Changes (interchangeable)
After drawing a "Weather/Environment" "event card", the player must roll a die (D20) to deploy/change a new/next weather/environment condition. The only result that has no effect is the number “11” (black), for any other result between “2” and “19”, the weather may change. For any weather changes a “bonus attack” is granted to a certain type (primary) of Pokémon, just like the “Map bonuses”.
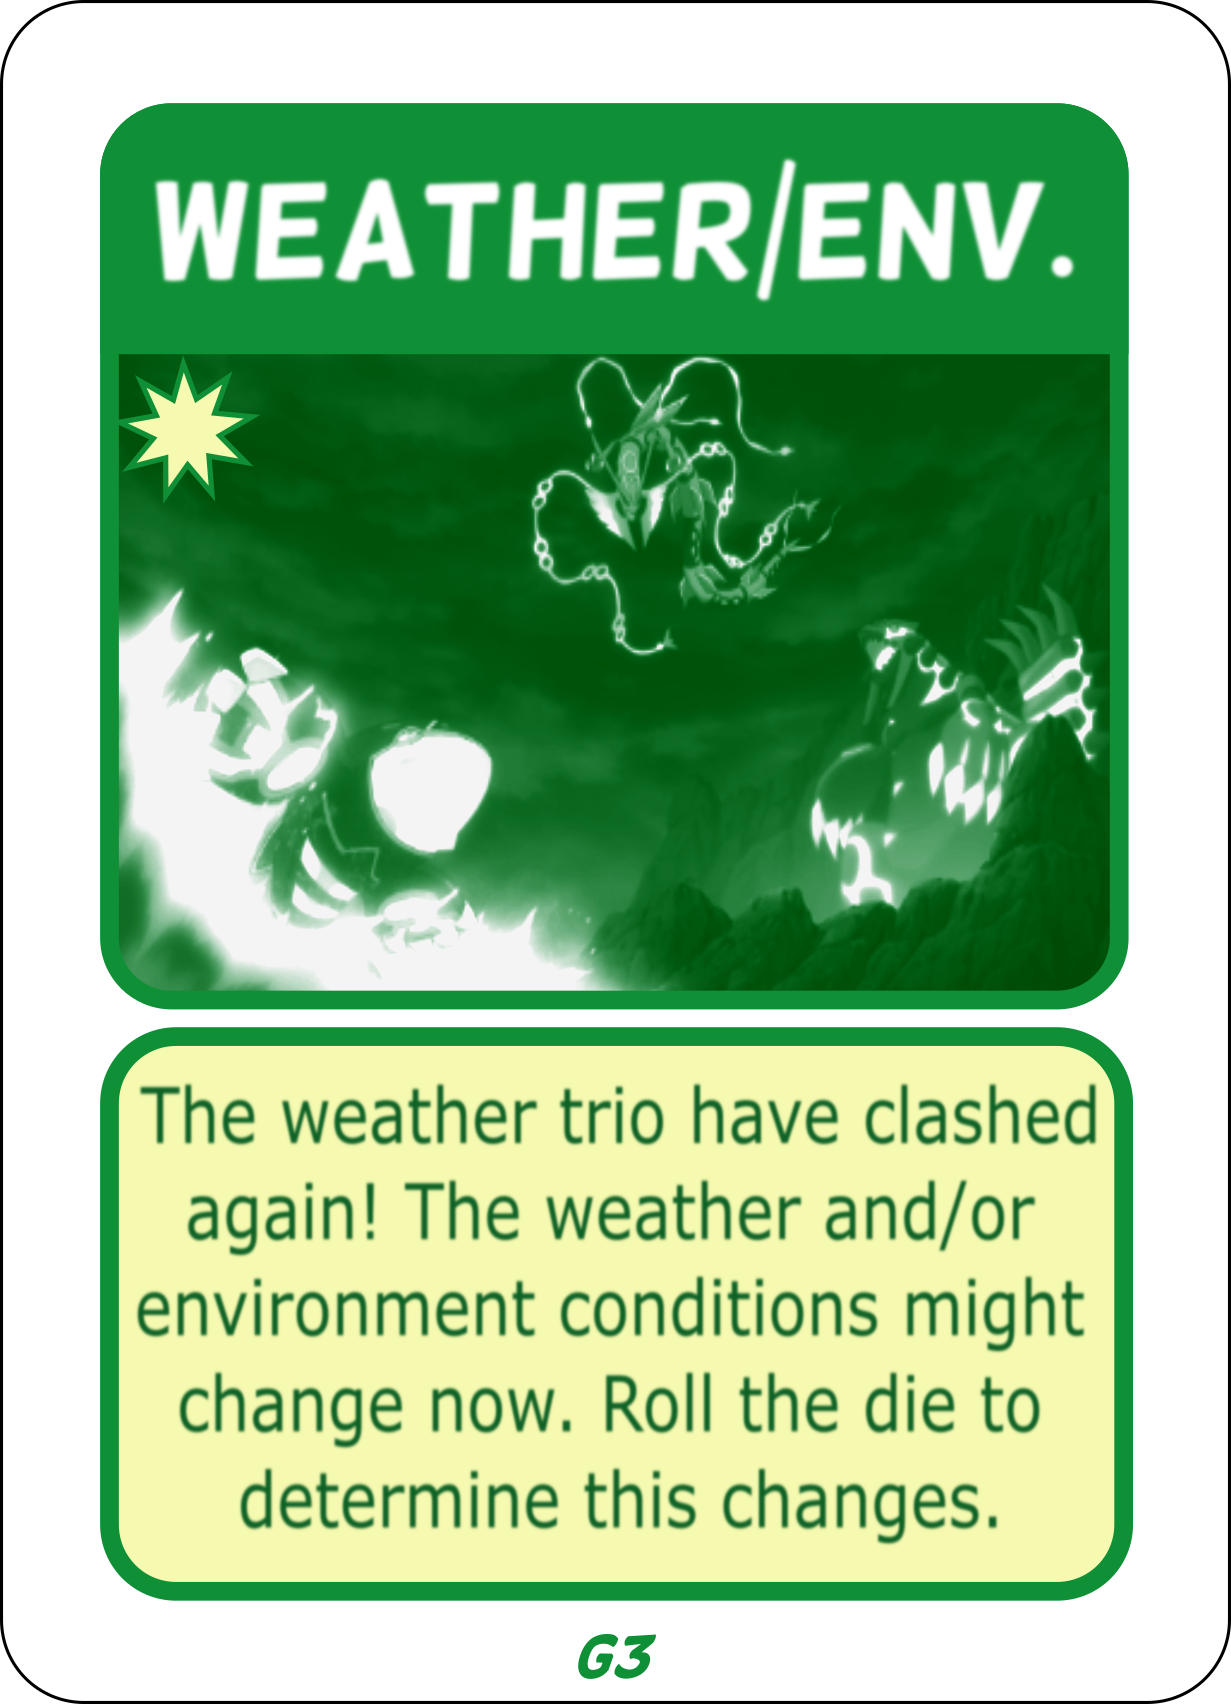
Remember that the weather effects will only change when a new weather condition is deployed.
Environmental Changes (attachable)
If the die roll results in “1” or “20” then the changes are not related to the “weather” anymore, but to the “environment”. It means that such results do not change the current weather conditions, but this time, only changes the mechanics for the “Evil Teams” and “Celebi” event cards.
So, just to reinforce, in total there are two (2) types of changes. The interchangeable or “weather” ones, which provide “bonus attack”, and the attachable or “environment” ones, which may happen along with the “weather” ones and modify some “event cards” mechanics.
Remember to use the “weather/environment” board to display the conditions in real time. *In the “Epic Version” of the game this board is already integrated to the map’s board.

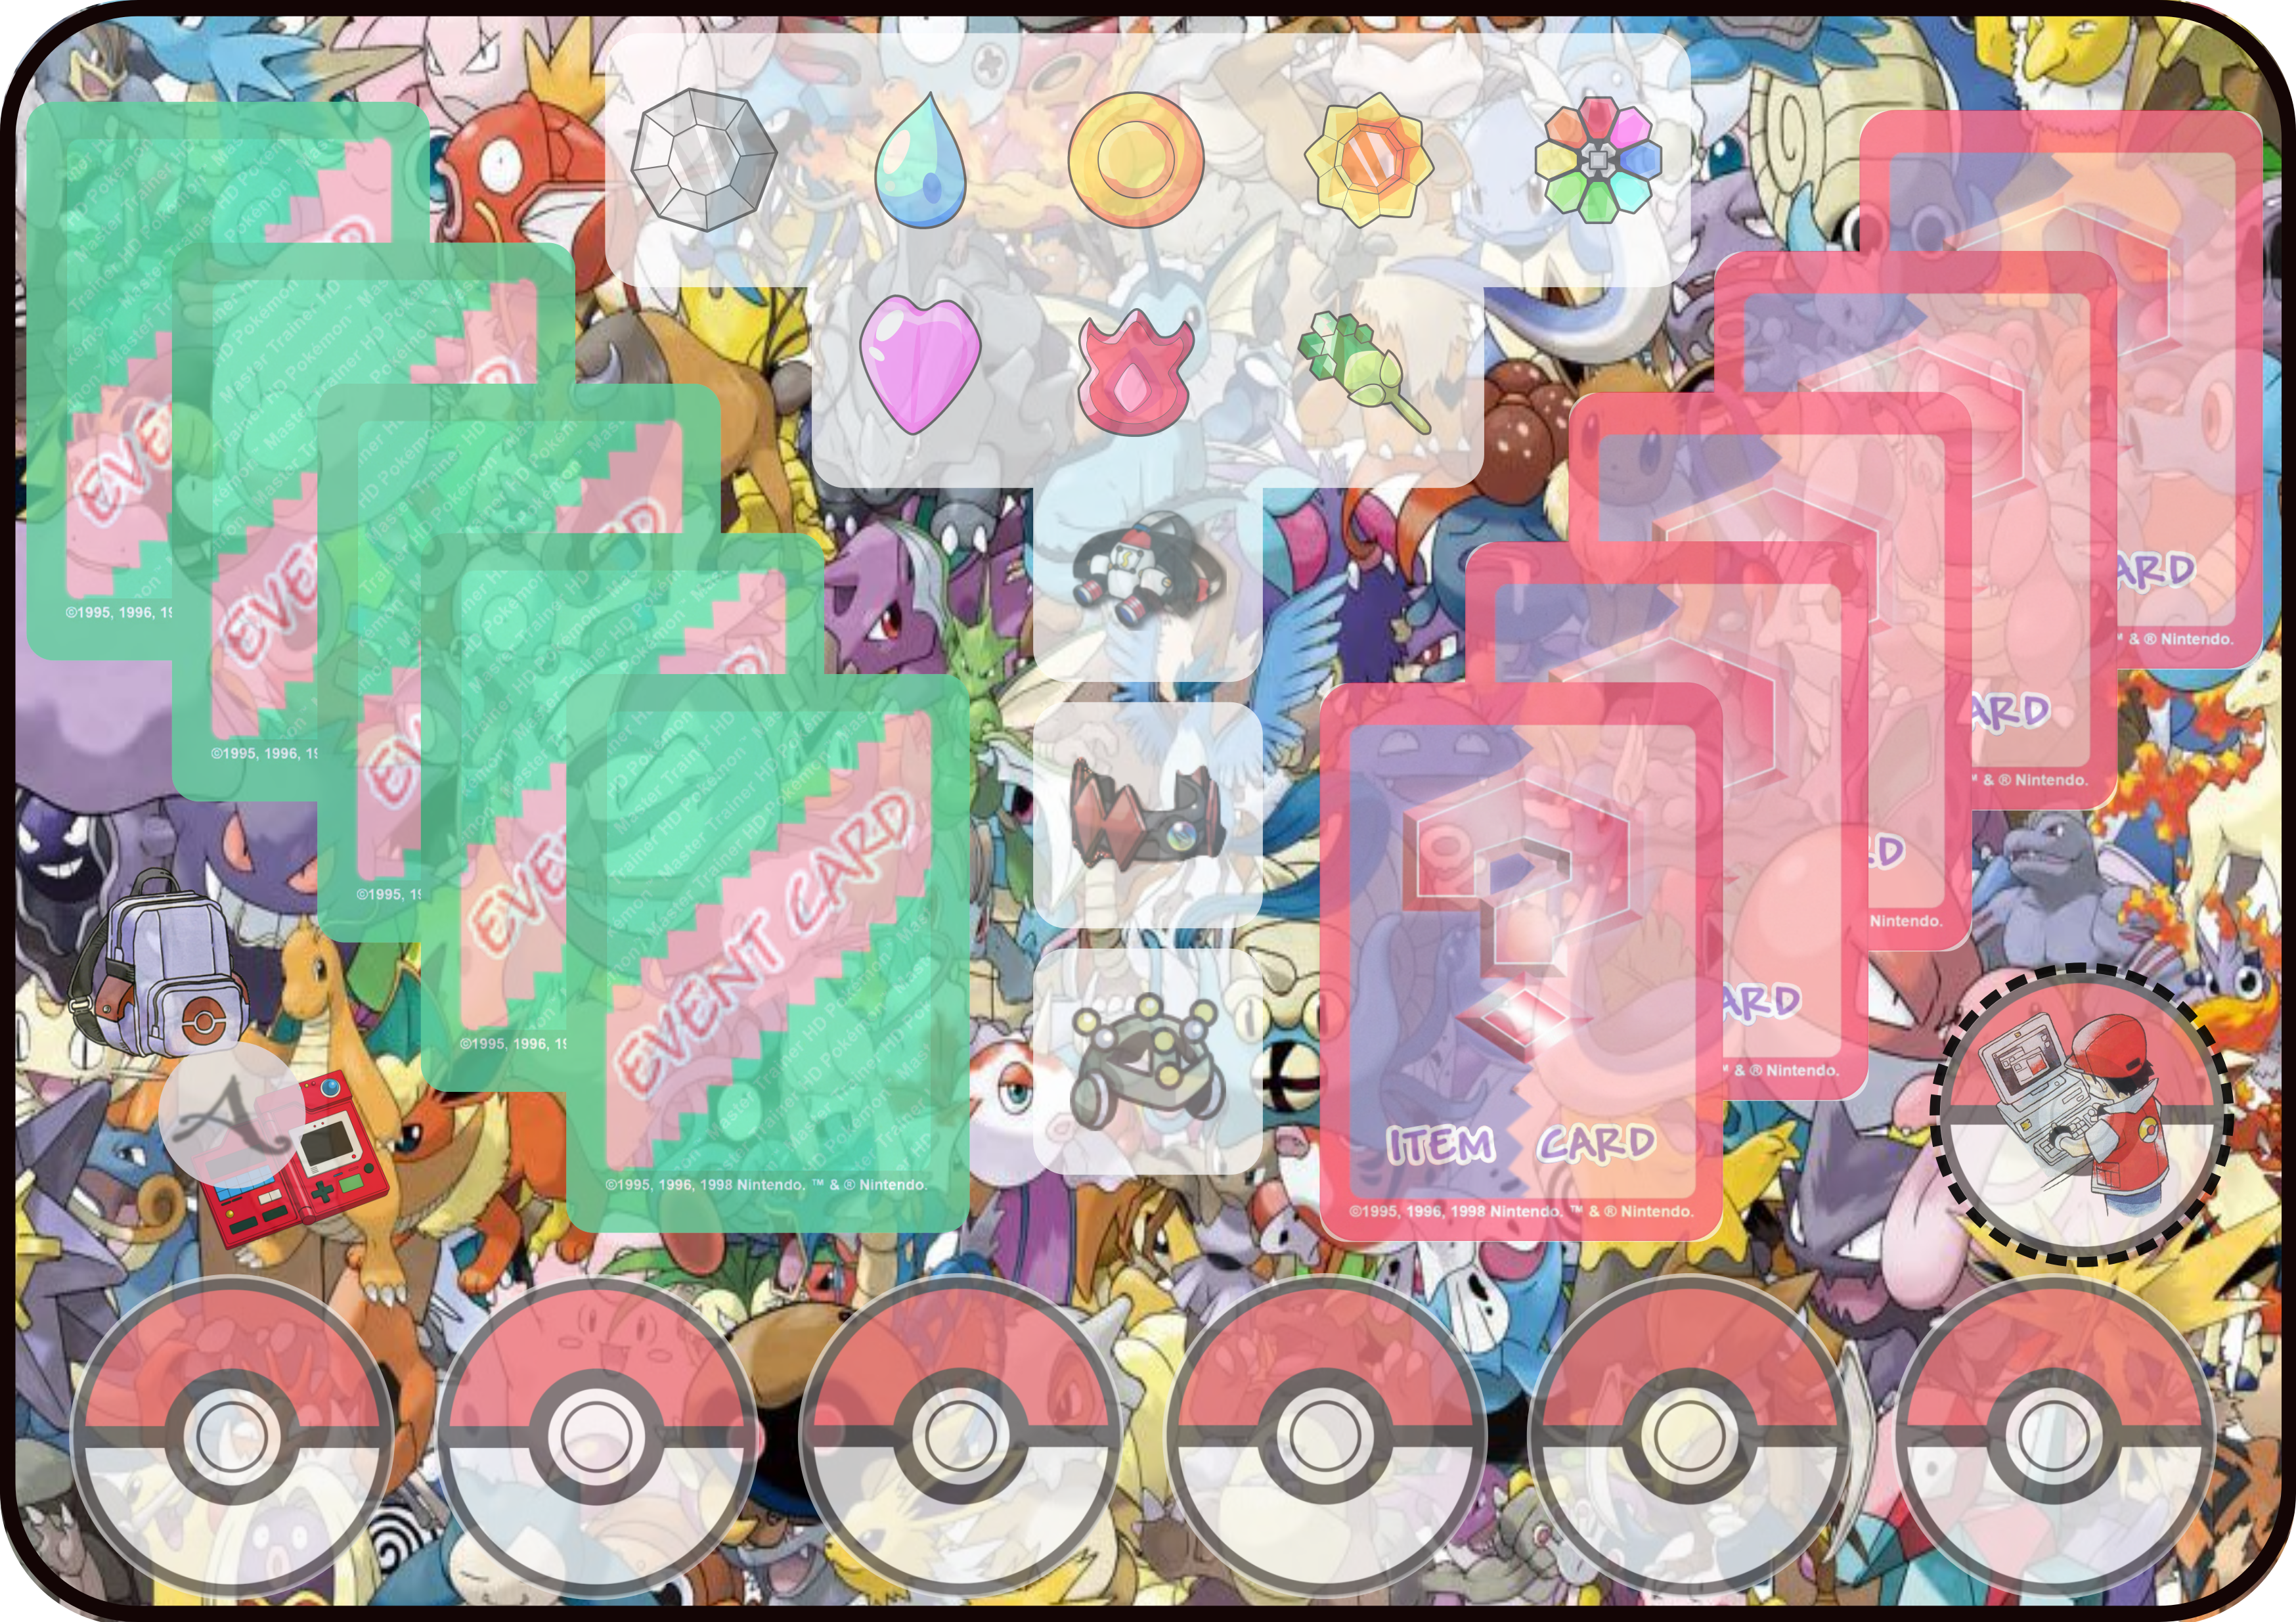
Cards
Event Cards
Players have to draw an “event” card every time they stop at a single rounded space with the green card image on it. They also must spend the whole turn when using one.

There are three (3) types of “event“ card, the ones players can keep on their hands (to be used whenever they want), the ones that must be used right away, and the ones that can be used right away or discarded with no consequences.
In order to be able to keep a card, players must have room enough for it or discard one from their hands, otherwise they must discard the one they just drawn.
*A player can only hold, in their “hand”, a maximum of five (5) “event” cards at a time.
Item Cards
Differently than “event” cards, the "item" ones can be used during the player’s turn without them necessarily having to end it afterwards. In order to be able to draw a new card, players must have at least one (1) free “slot” for each new card.*For “item” cards, drawing and discarding a card is not allowed.
*A player can only hold, in their “hand”, a maximum of five (5) “item” cards at a time as well, and can discard a card anytime within their turn.
Poké Job Cards
“Poké Jobs" are another kind of cards and should be revealed one by one to everyone. Then, as soon as the revealed one gets picked (at a city space) another one shall be revealed to take its place.
Players can pick only one (1) “Poké Jobs” card per time and keep it on their pad, and once it is done, it should go back to the stack and then shuffled.
Dynamax Cards
The "dynamax" cards are used just to visually represent the "gigantamax" evolution.
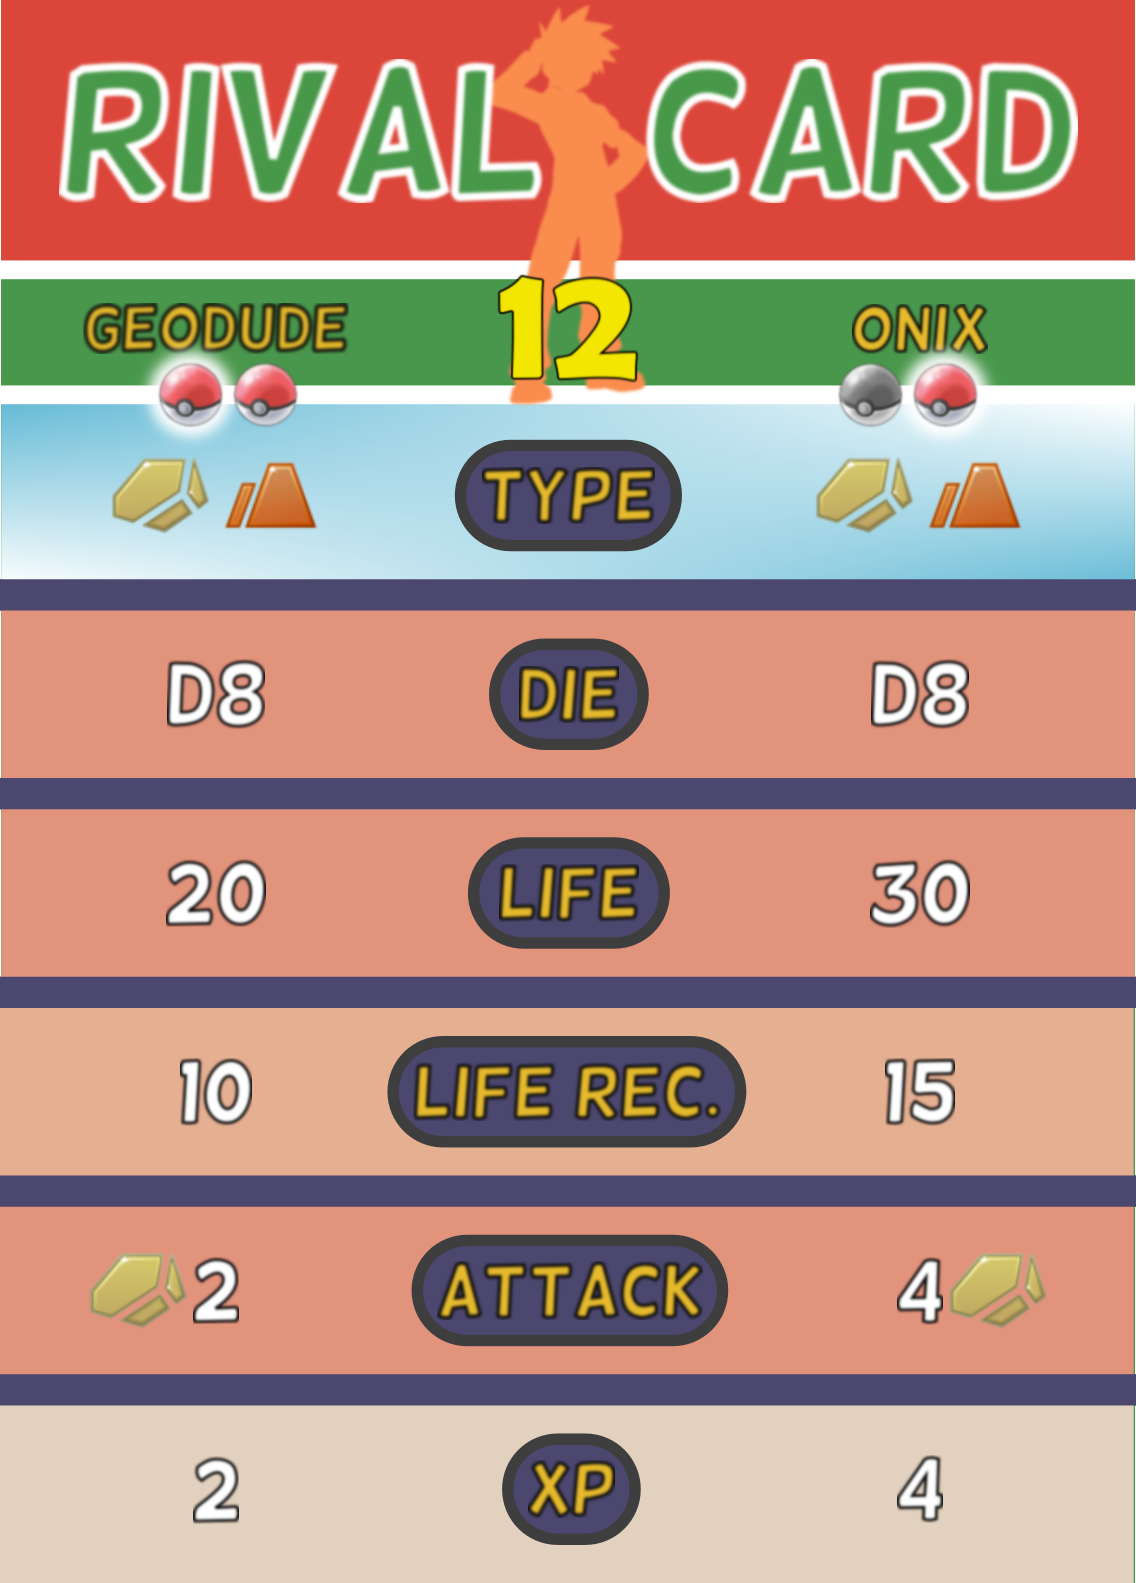
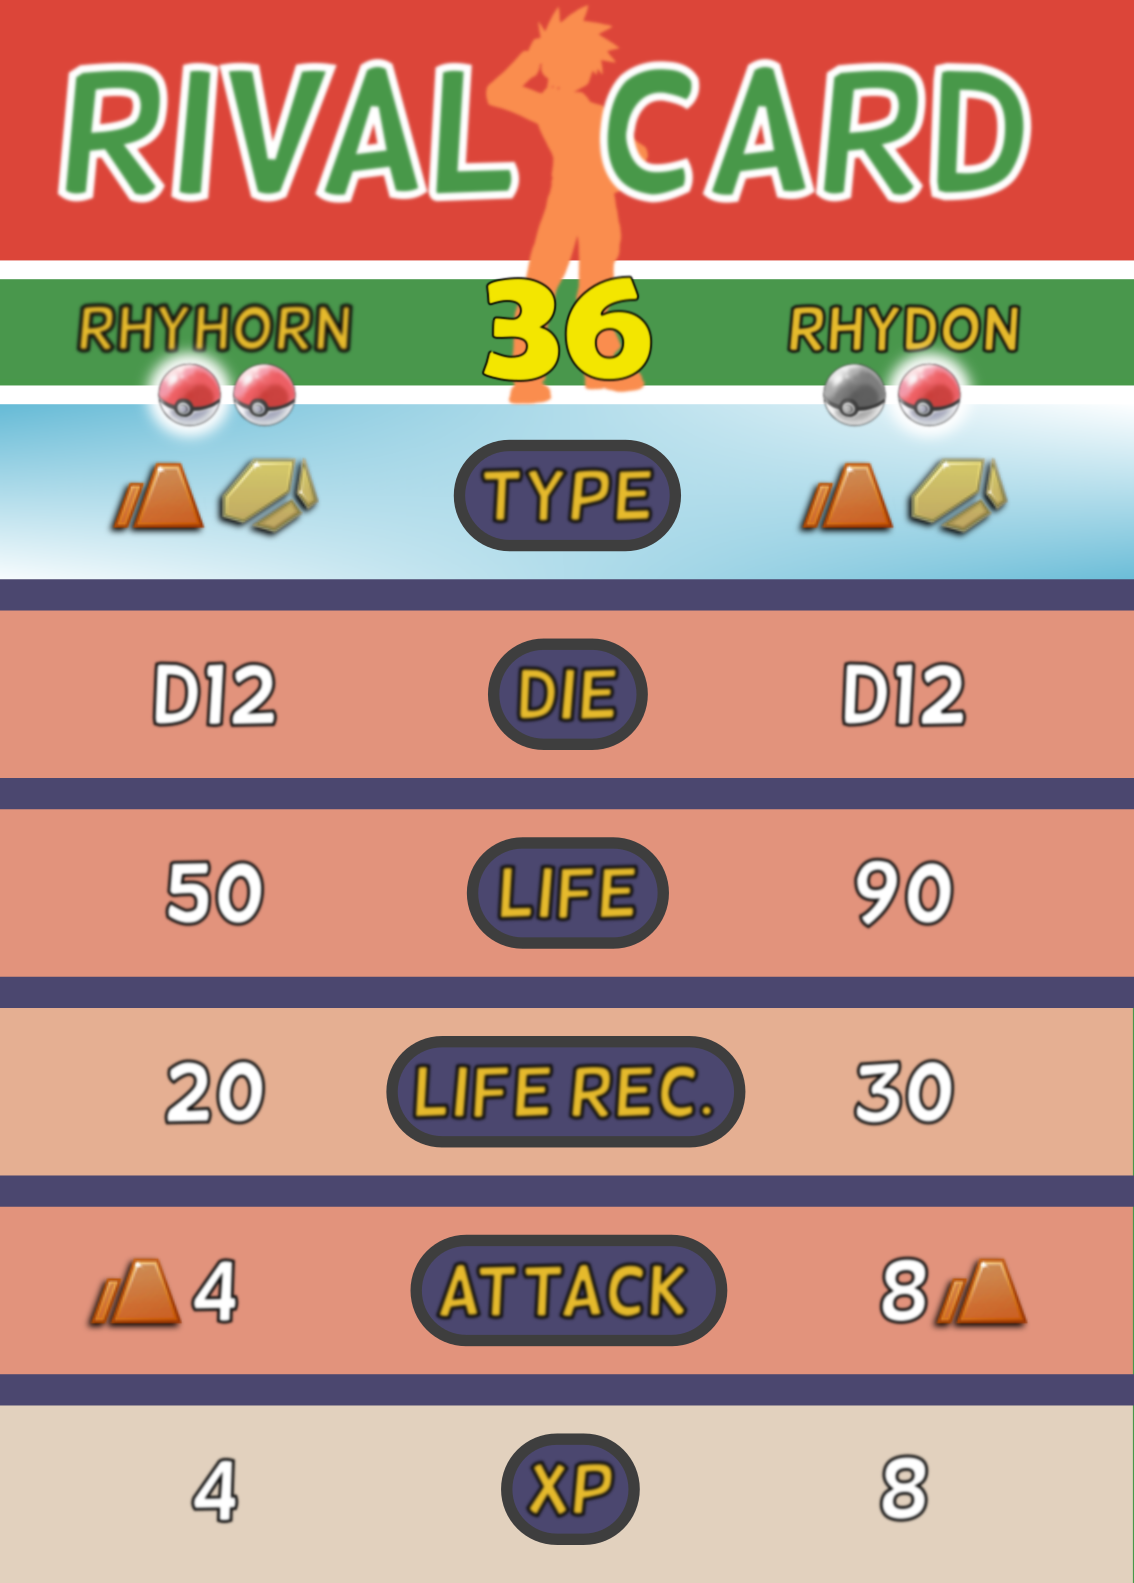
Rival Cards
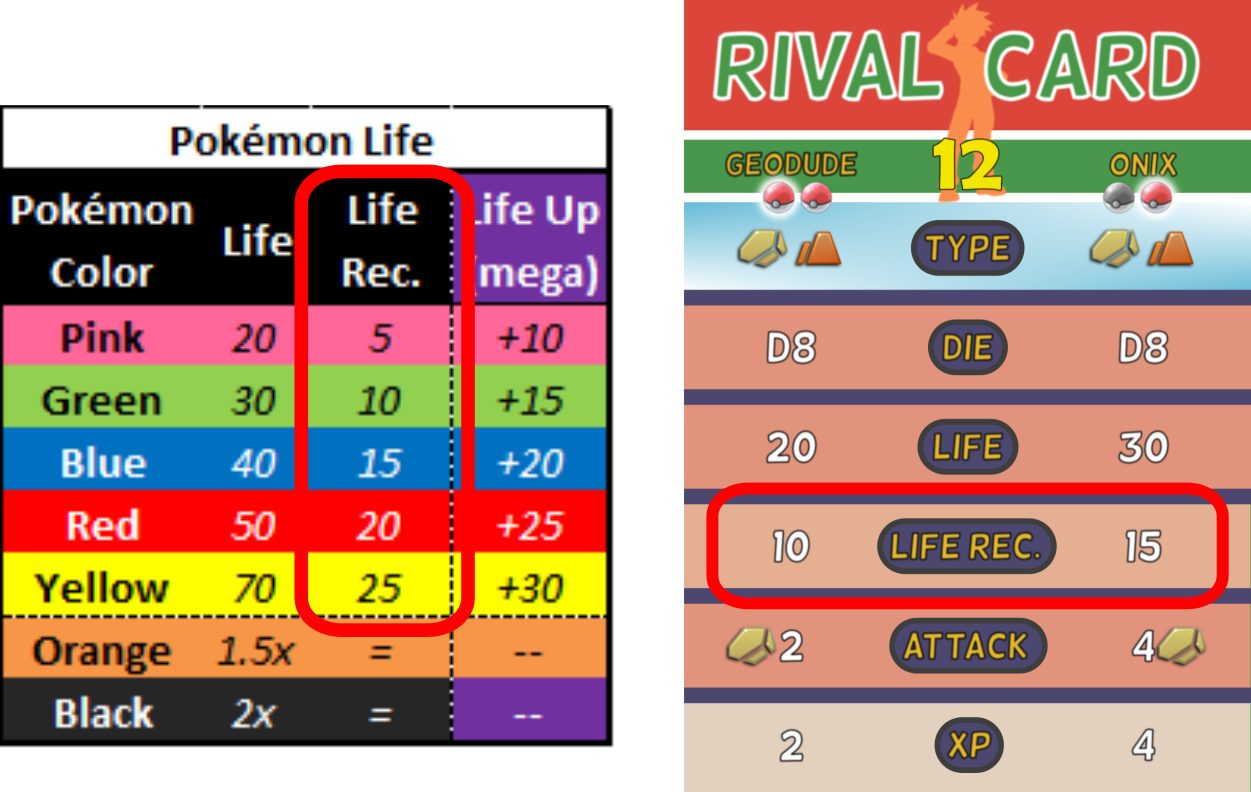
The "rival" cards work as “non-player characters” (NPCs) and have key importance in the game. Through them, players will be able to face their “enemies” and “opponents”.
Pokémon
The main attraction of the game are, withouh a doubt, the Pokémon. In this game series players will be able to find pretty much all of them (890). However, not all of them appear as a chip all the time but they are all somehow represented.
Besides owning an, inevitable, starter Pokémon, players also can find more of them along their adventure by stopping at a “pokéball” space.
Each Pokémon has its "label", which are sorted according its outer chip's color (front). They can occur in eight (8) different ways: pink, green, blue, red, orange, yellow, black and purple.
Yellow Label
The "Legendary" Pokémon are the only yellow/orange ones in the game. Most of them can usually be found at their specific "Legendary Spots". The yellow ones are, by far, the most powerful ones (status wise), having greater amounts of "AP" and "PP" than the rest.

*Yellow chip Pokémon CANNOT BE ALPHA.
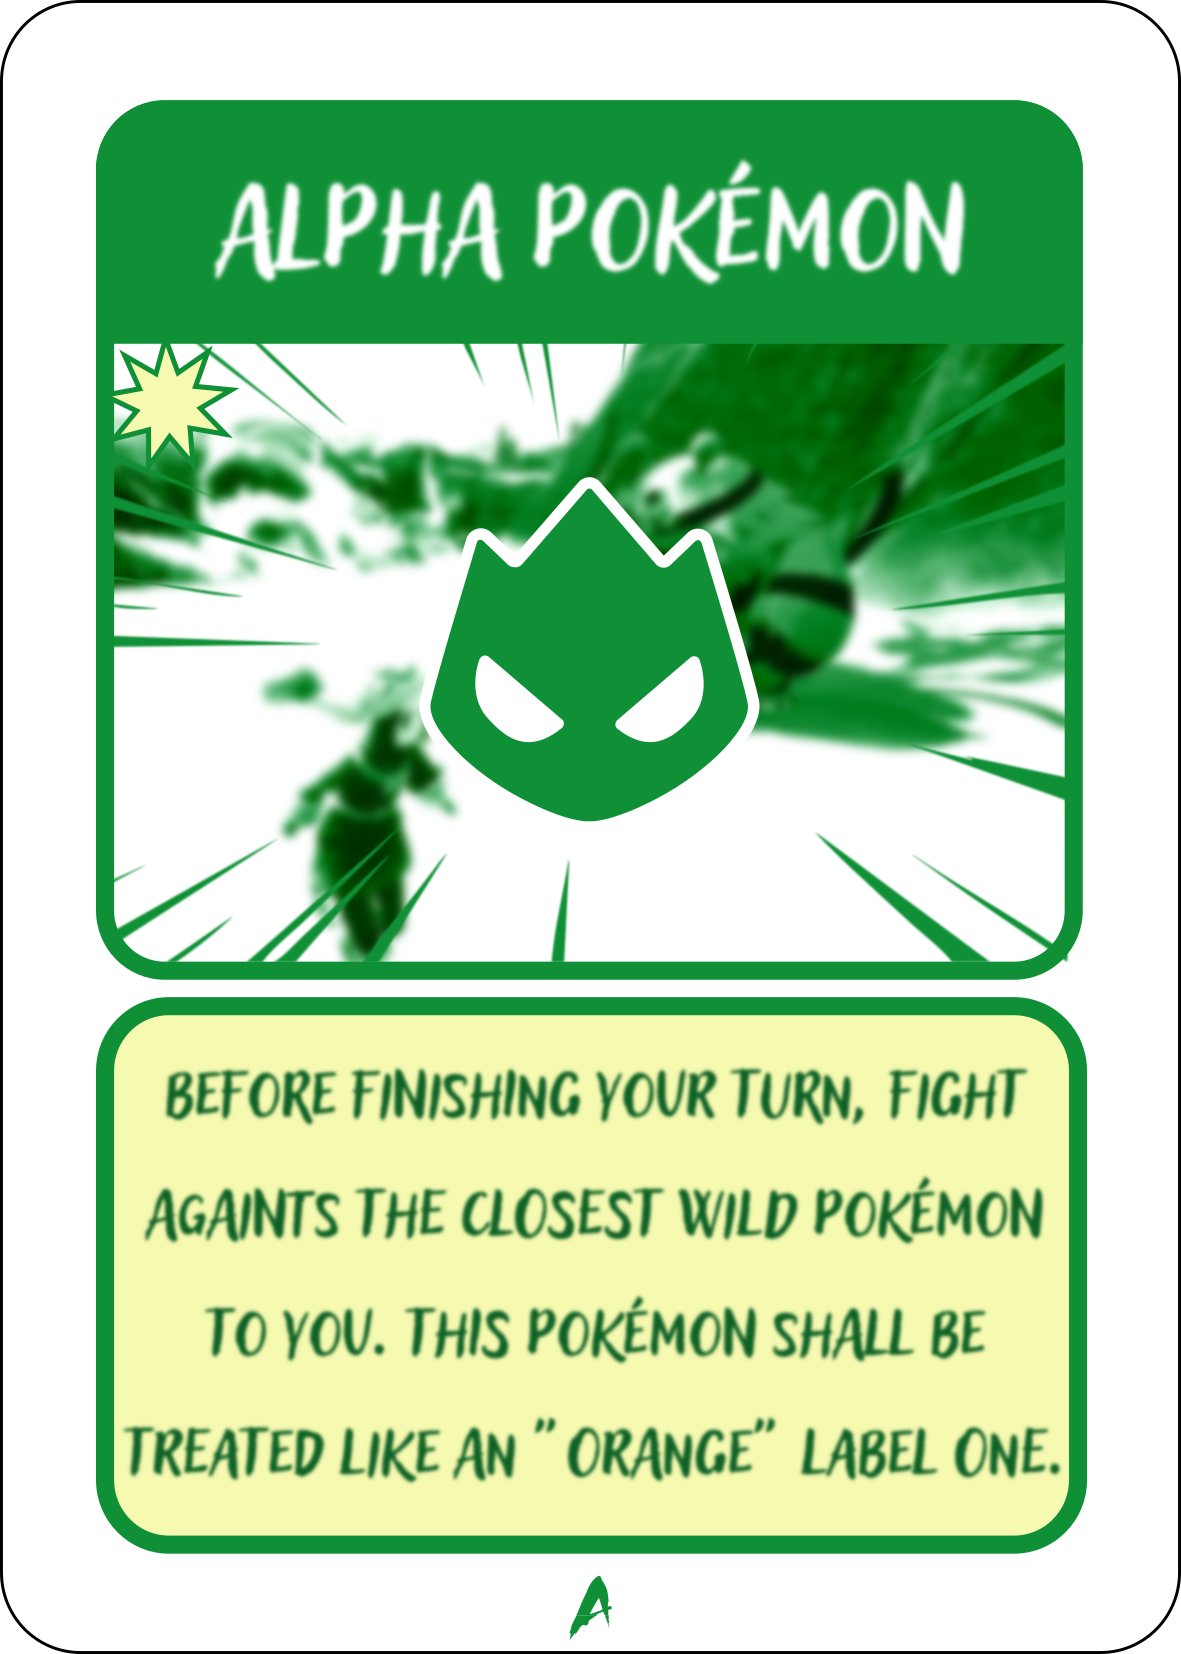
Orange Label
The “mythical”/”legendary” Pokémon are/can be represented by the orange label front chips. When that is the case, they can come disguised as any other color label, however, they display a higher "PP" and "Life Points" (LP) values than their disguised normal color (back color) would do.
* ALPHA Pokémon shall be permanently treated (LP/XP wise) like orange label ones, in another words, having 150% of LP. Orange chip Pokémon CANNOT BE ALPHA.


Black Label
The “ultra beasts” Pokémon are represented by the black label front chips. They can come disguised as "green"/blue/red color labels (bacl color), and this time, display a way higher “PP” values than their disguised color (back color) would have.
Other exclusive feature of these Pokémon label is that they have the double amount of “Life Points” (LP) than their disguised color (back color) would have. Another exclusive feature is that they provide experience points (XP) accordingly to their “PP” (same amount). Diffent than the orange labeled ones, in order to be able to catch a black label Pokémon, players have to beat it up and then, to use a "Beast\Master Ball" item card (no dice roll needed) only.
*Black chip Pokémon CANNOT BE ALPHA and GET ONLY 1 XP FROM VICTORY.
Life
Each Pokémon (chip) label (color) has its specific amount of “Life Points” (LP) and “Life Recover” (LR). In order to know each value for each case just check the “Life” table.
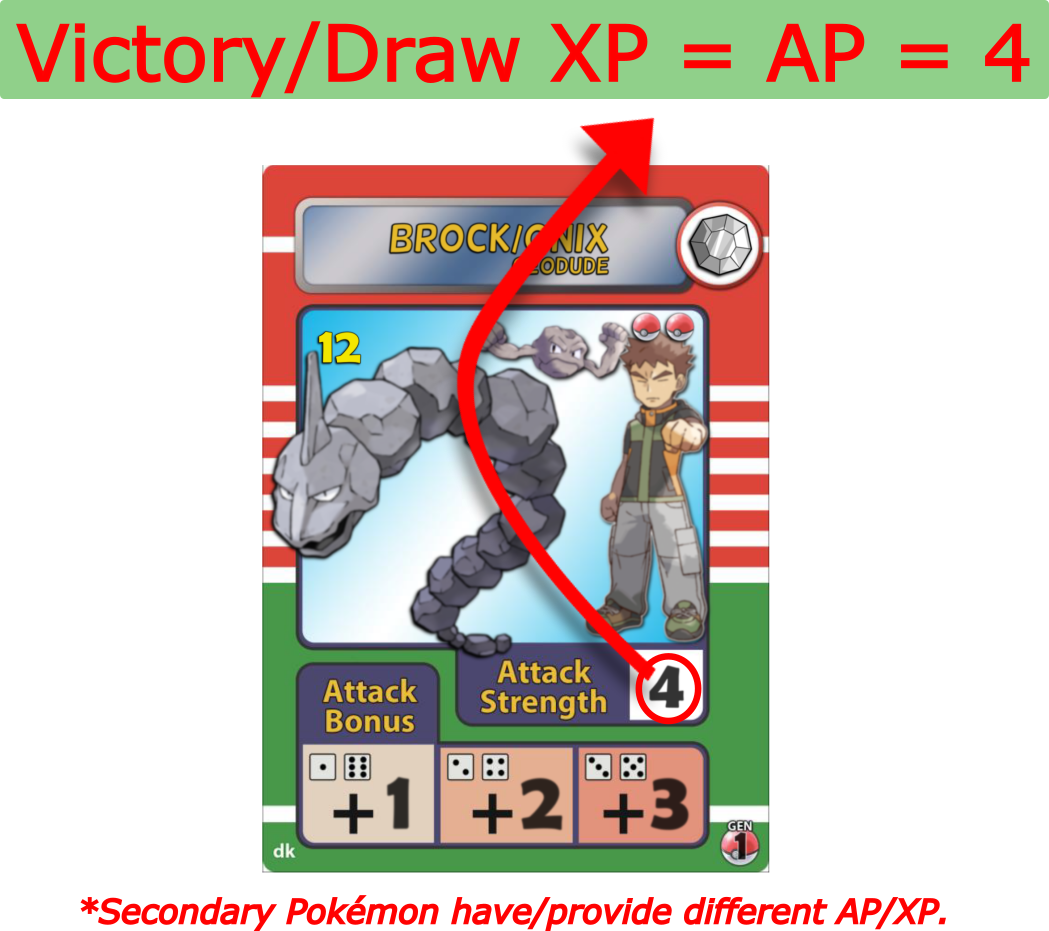
Remember that “rival” cards’ Pokémon have their own specific amounts of "LP" and "LR".*Just check the respective line on each “gym”/“evil team”/“league” card's back.
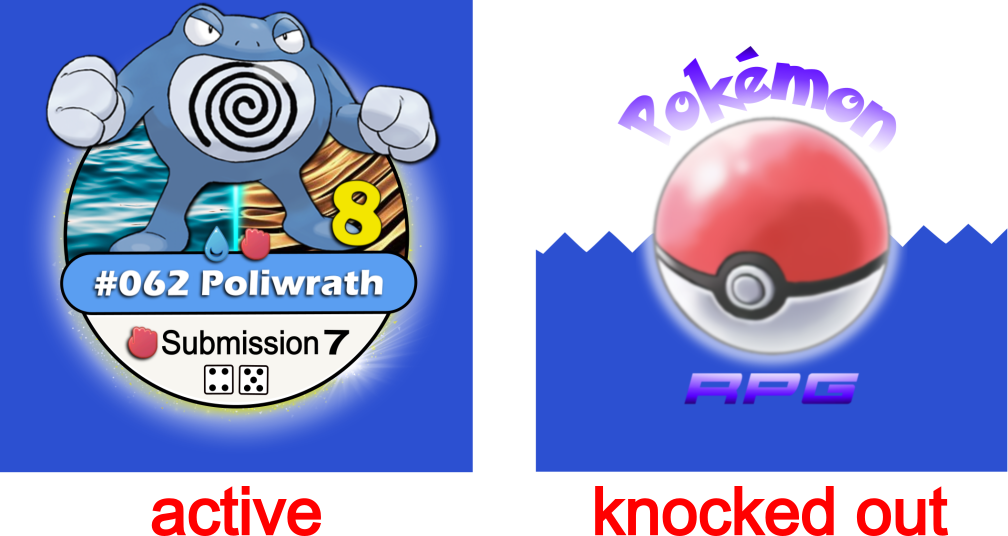
Another thing to remember, is that once a Pokémon loses all its "LP", it automatically loses the battle and becomes knocked out (flipped out).
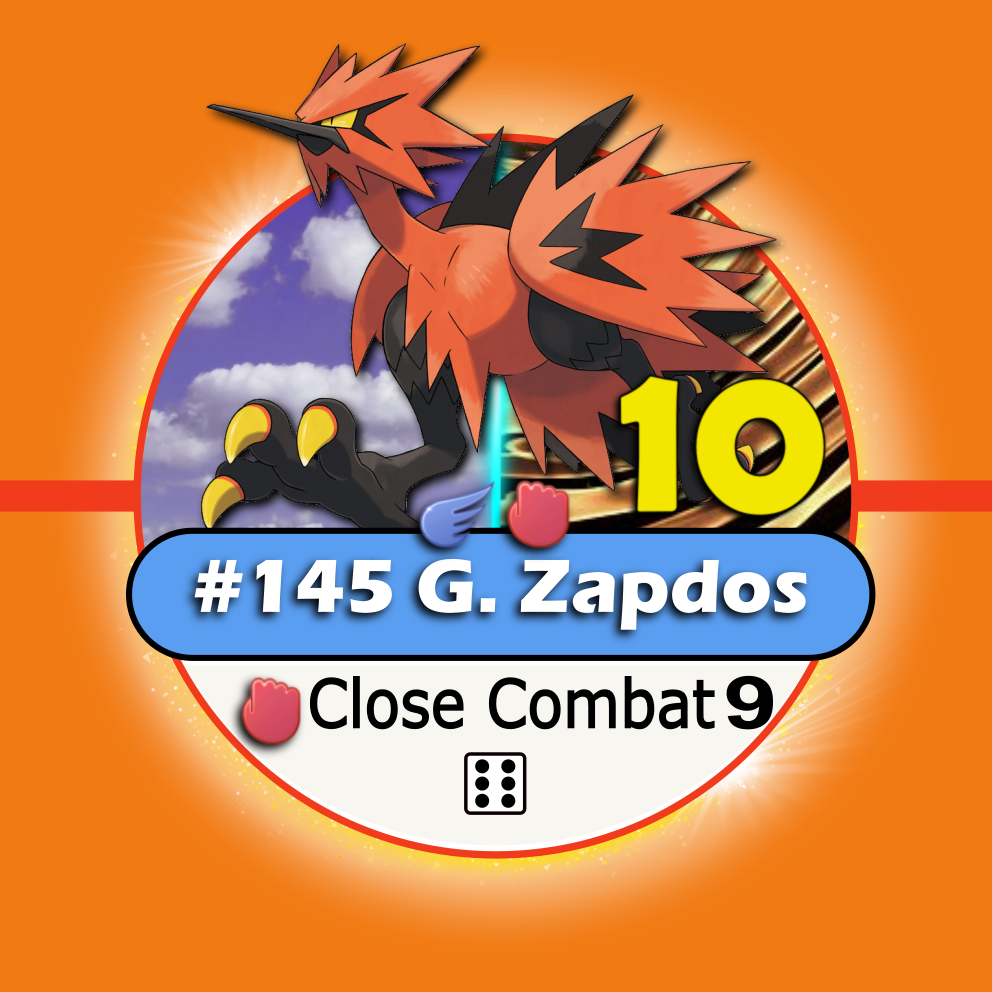
Attack
Just like “LP”, each Pokémon label has its proper “attack” die. To find the respective one for each color label check the “Dice“ table.
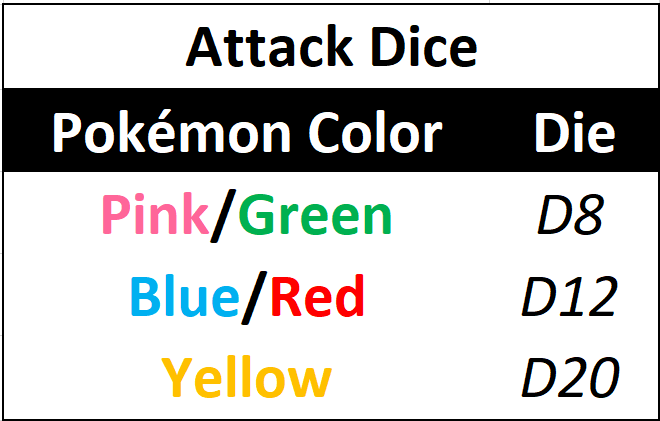
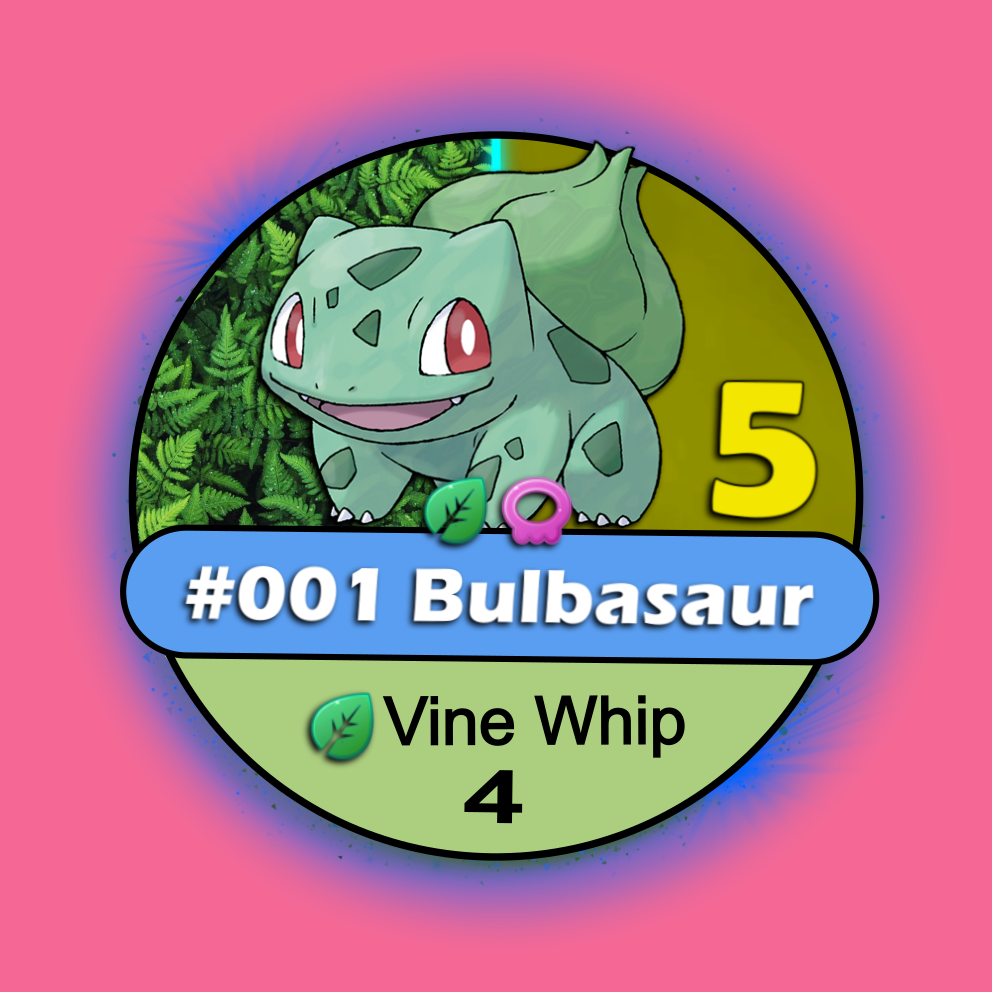
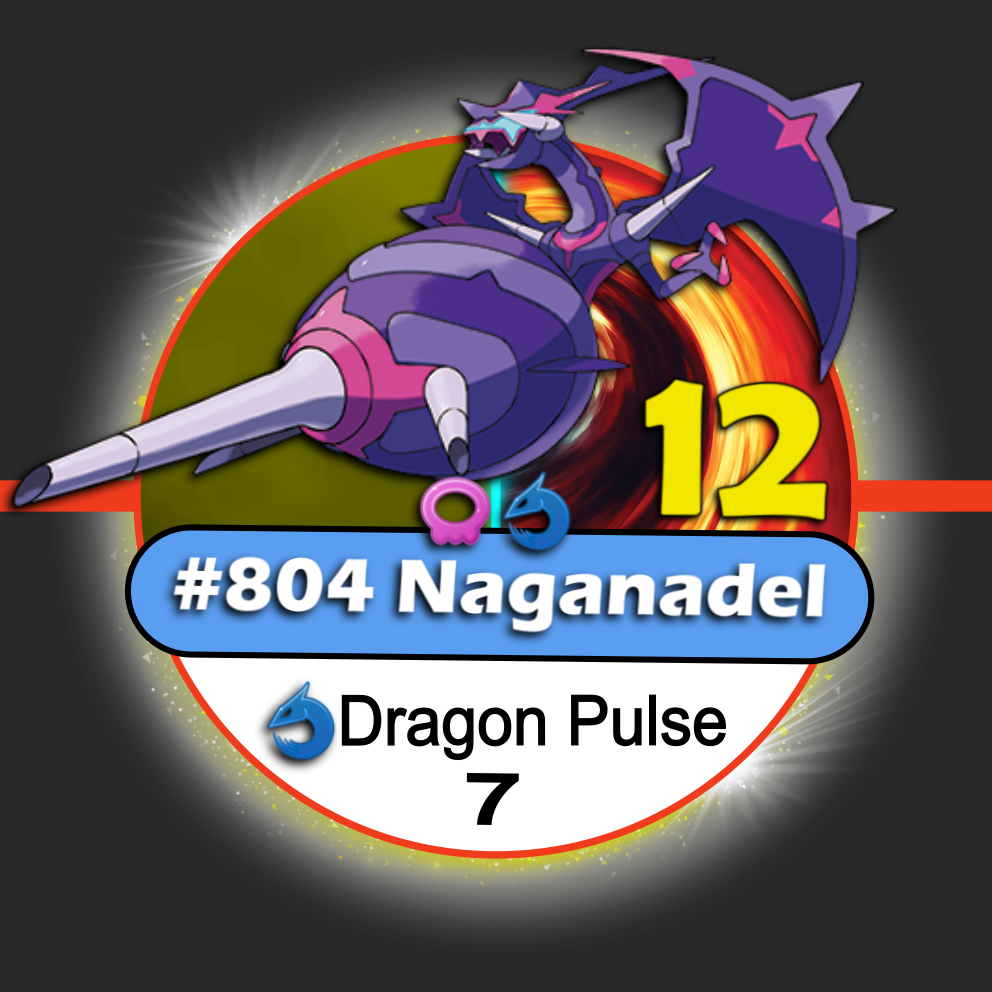
Besides the “attack” die for each label, each Pokémon also has its own “Attack Power” (AP). Both will be combined and used during a battle.
The Pokémon’s “attack move” and "AP" can be found right below the Pokémon’s number and name.
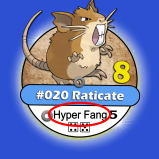
Catching
In order to catch a wild Pokémon, first players must beat them up in combat, then match the die roll result (D6) according to its chip’s dice figure (except black ones), which can be found right below the “attack move” and “AP.*In case of double KO, if the players has another active Pokémon so it can try to catch the defeated one, otherwise it flees.

To perform a more effective catching, players can use some “item” cards such as “Pokeballs” (according to each space), “Berries” and “Time Machine”. When doing that, players can use as many as they want/have, as far as it is done one at a time (“Berries” and "Pokeballs" can be combined).
Once caught (only if having a free slot), the Pokémon goes flipped out (knocked out) straight to the player’s hand (when having a free slot) and must be recovered to be used, stored or discarded later on. *Player cannot catch a Pokémon without having a free slot in their hands.
If, by any reason, the player has a Pokémon on their hand that are not interesting to be kept or stored anymore, they can abandon it at any “city” space he/she stops by (chip returns to pile). In this case, any other player (at the same space) can try to catch it (by a dice roll) before it escapes to the wild. If there were more than one (1) player up to try it, the preference is for the one that comes first in the “turn’s order”.
In another hand, these unwanted Pokémon can also be traded or even given away with/to another player, as long as they share the same ”city” space.
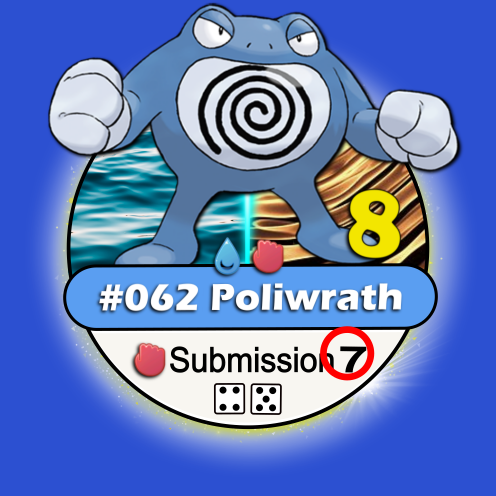
Fossils
When catching a fossil Pokémon (fossil symbol), players can only revive it for the first time (turn it active again) by going to an specific “city” space on each map (the one with the 'fossil' symbol).
Ghosts
On “Kanto” map, players can only catch this type of Pokémon after earning the “Silph Scope” by defeating “Ghost Marowak” (“gym leader” rival card) at the “Pokémon Tower” in “Lavender” town.
Dragons
On “Johto” map this time, this rare type of Pokémon can only be caught after players earn the “Dragon Scale” by defeating “Red Gyarados” (“gym leader” rival card) at “Lake of Rage”.
Normal/Grass/Fire/Water/Electric/Ghost/Fairy/Dragon
On “Alola” map these types of Pokémon can only be caught after players earn each respective “Z Crystal” by defeating each one of the optional “gym leader” rival cards.
Psychic/Ground/Water/Ghost/Poison/Flying
On “Hisui” map these types of Pokémon can only be caught after players earn each respective “Plate” by defeating each one of the optional “gym leader” rival cards. *Here the plates’ name respectively: Mind/Earth/Splash/Spooky/Toxic/Sky.
Rock/Steel/Flying/Ground/Dragon
On “Paldea” map, these types of Pokémon can only be caught after players earn each respective “Badge” by defeating each one of the optional “gym leader” rival cards.
Orange Label
In the “Hoenn”/“Unova” maps, players can only catch orange labeled Pokémon (“legendary/myhthical”) after defeating the optional “gym leader” rival cards (Rayquaza/Genesect).
Legendary (yellow)
In the “Sinnoh”/“Kalos” maps, these Pokémon (yellow chips) can only be caught after players earn the proper badges (advancing regions table) and also after defeating the optional “gym leader” rival card (Heatran/Hoopa U.). *In Kalos the “Hoopa C.” allows the players to use the “HM” item cards.
Types
Pokémon types are very important to the game mechanics, so in order to know a Pokémon type, just simply check its chip and the “types table”.

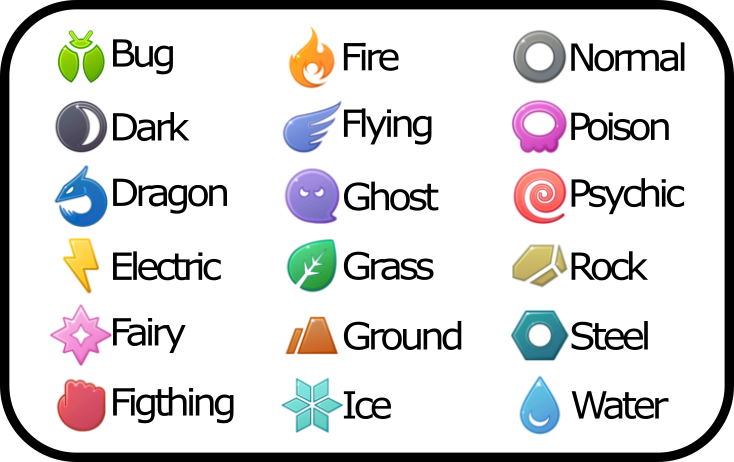
Click HERE to check each Pokémon type wheel.
Reviving/Healing
In order to "heal"/“revive” their Pokémon, players can count on couple different options: “city” spaces, "event" cards and “Item” cards.
City Spaces (Reviving)
The most accessible ones are, indeed, the “city” spaces. There are three (3) kinds of them:

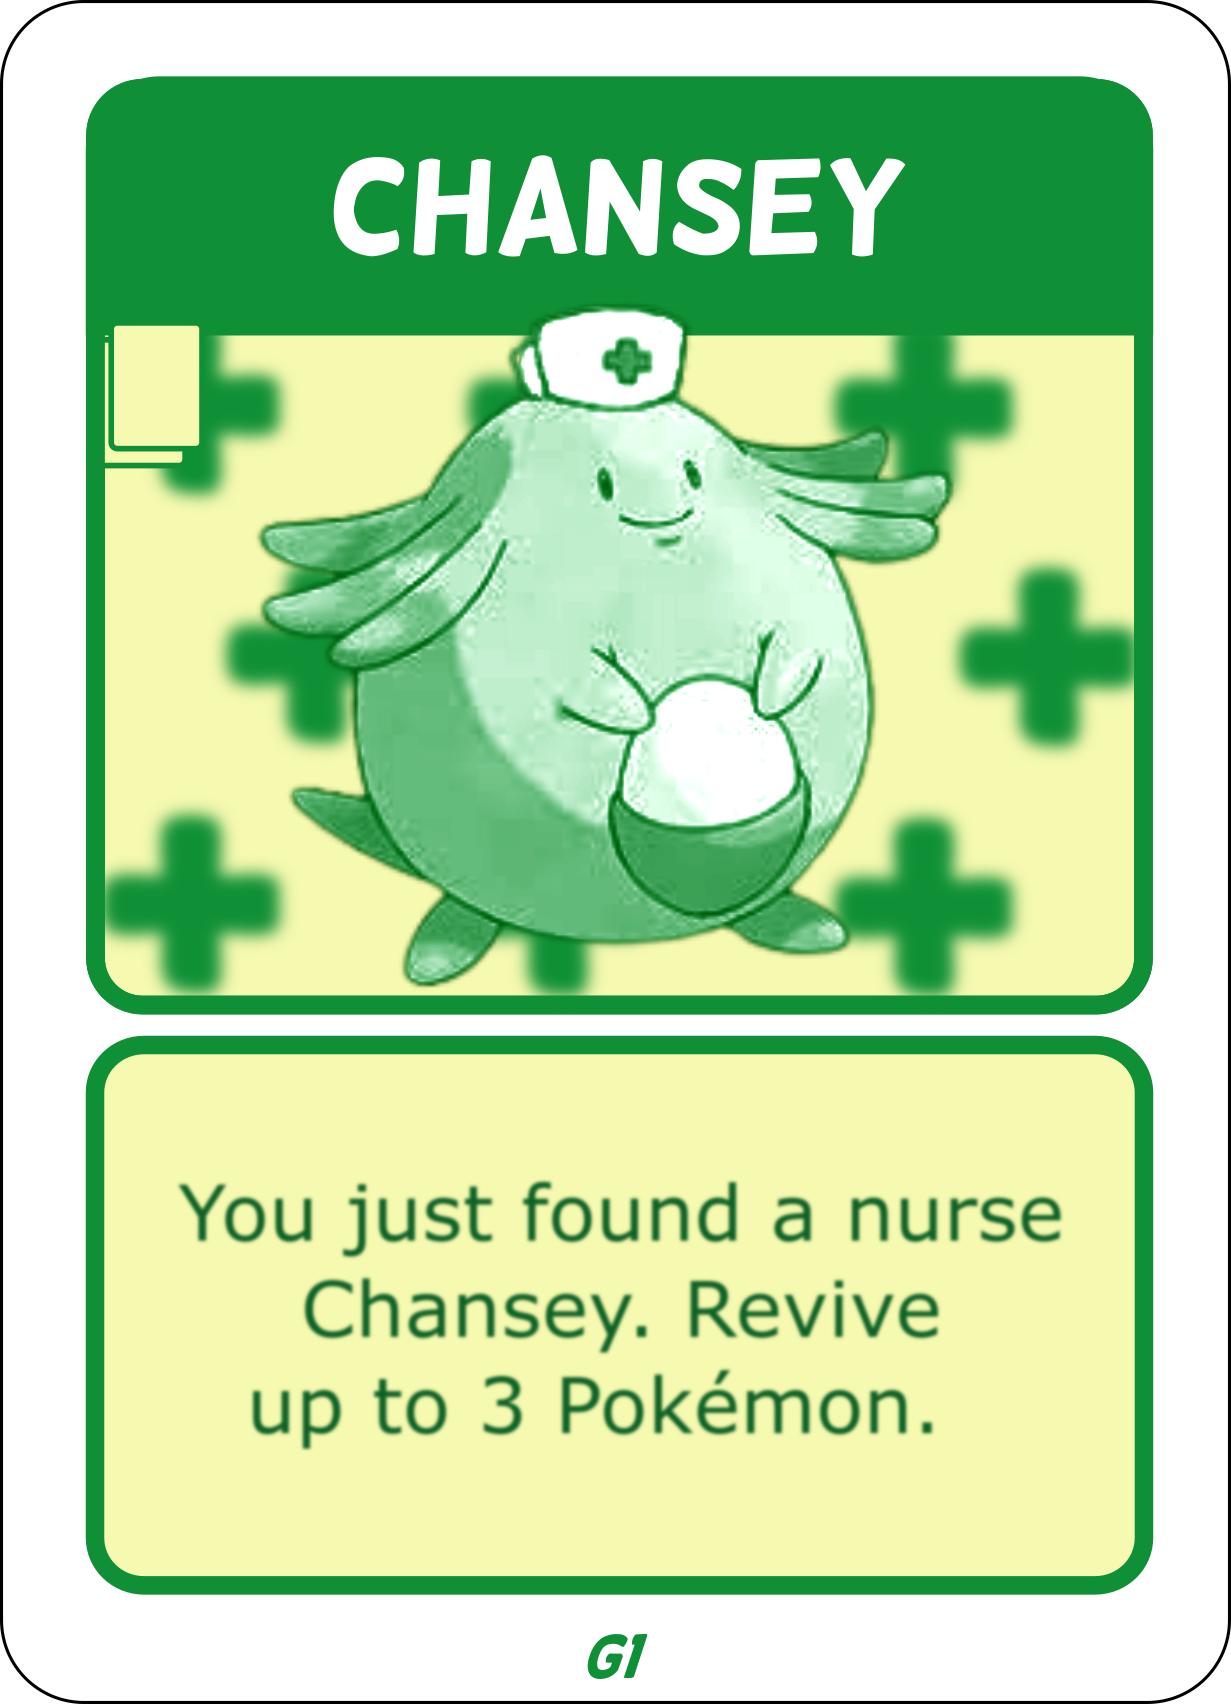
Event Card (Reviving)
"Event" cards can offer three (3) different options to the players to recover their Pokémon:

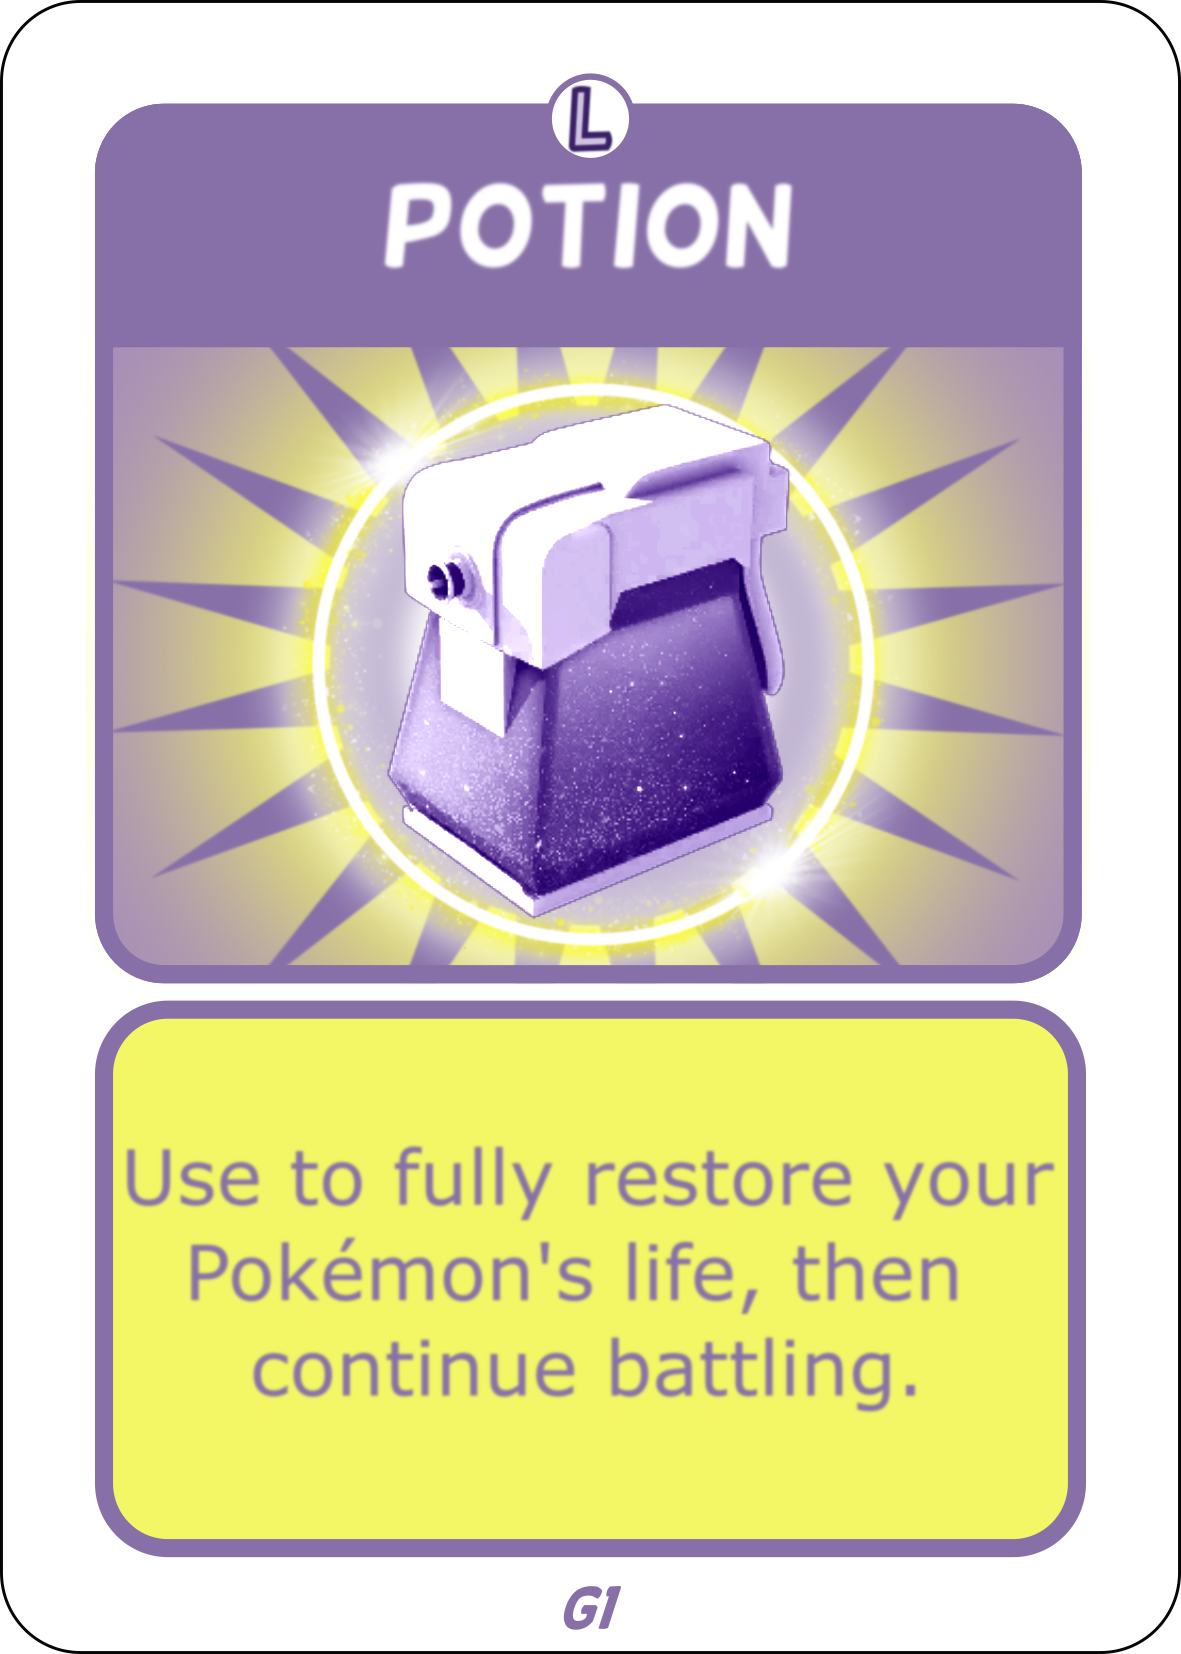
Item Card (Healing)
"Item" cards can offer only one (1) option to the player to HEAL their Pokémon:
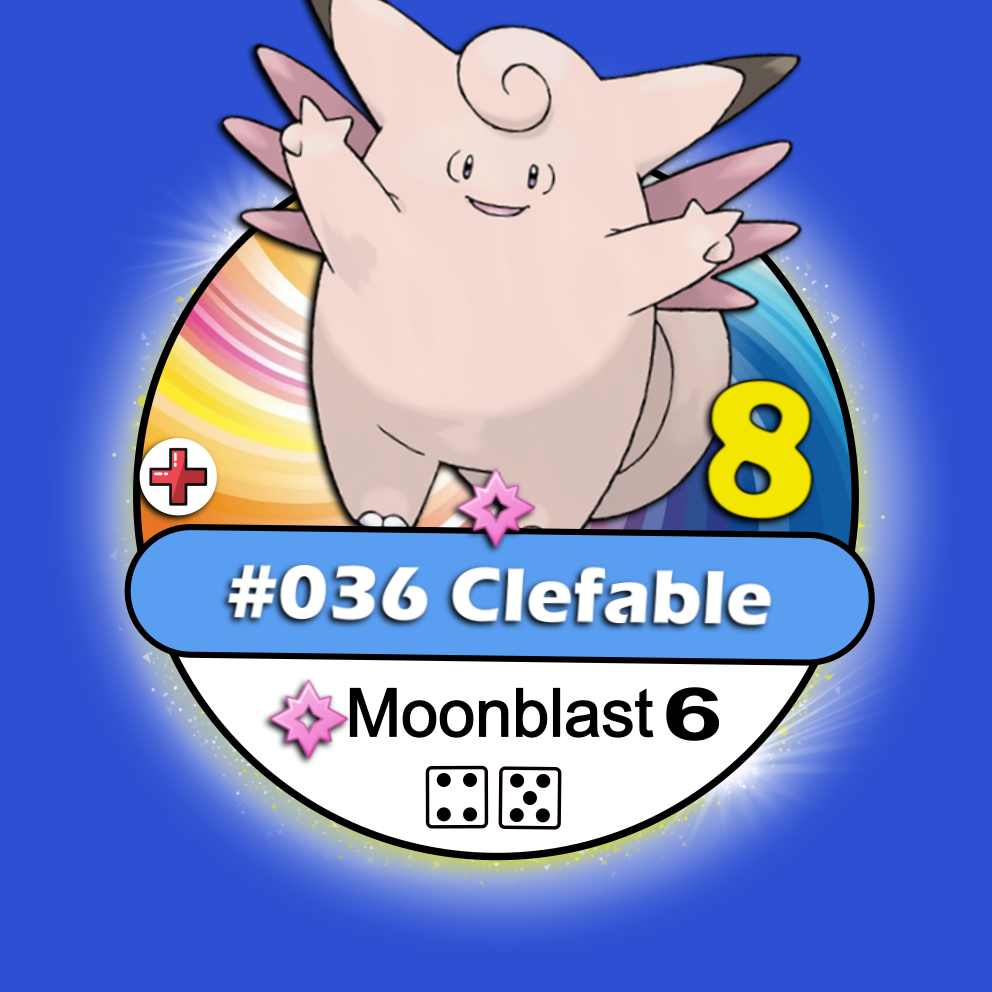
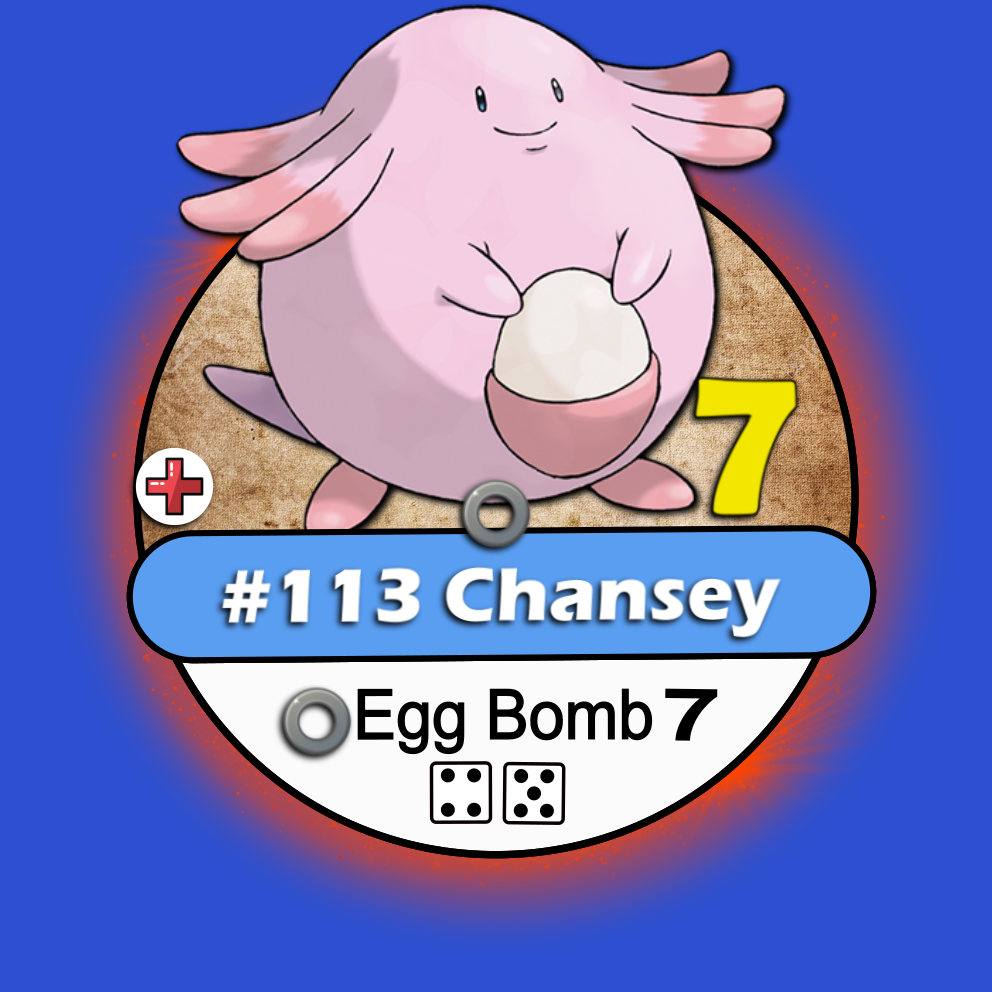
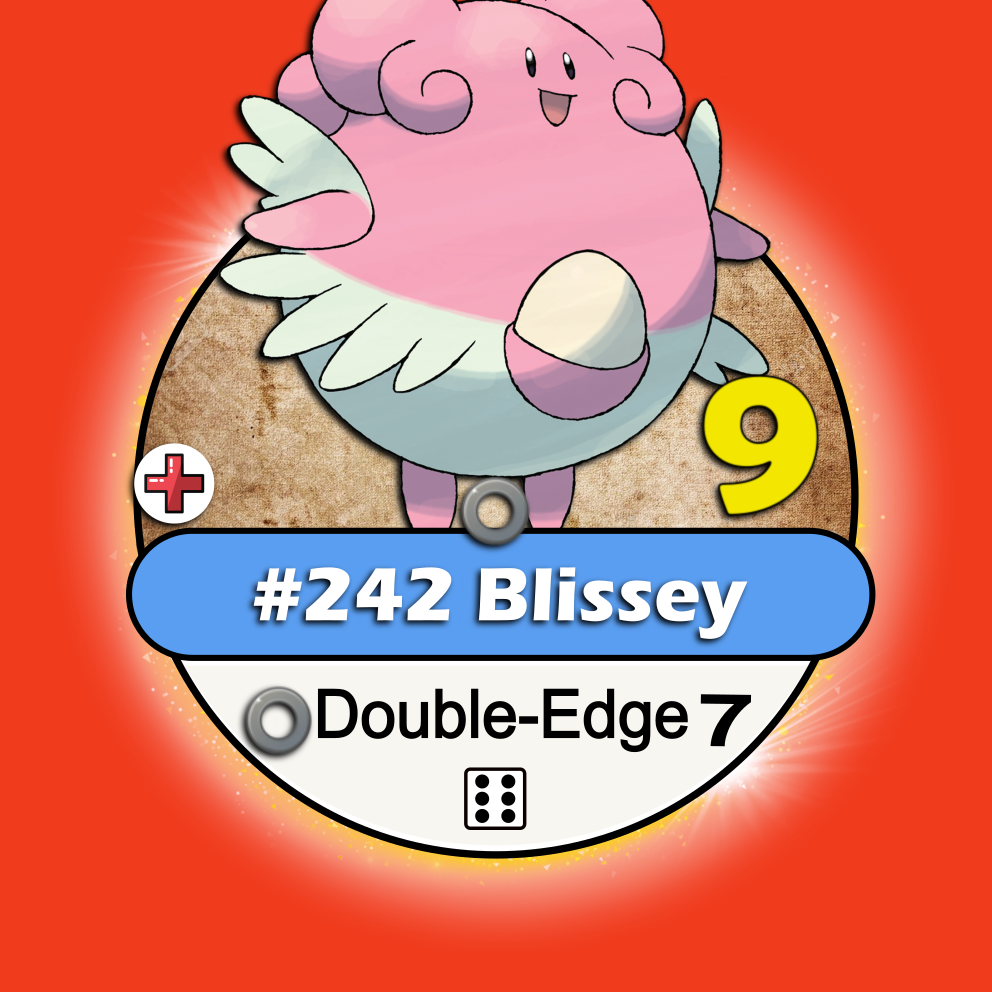
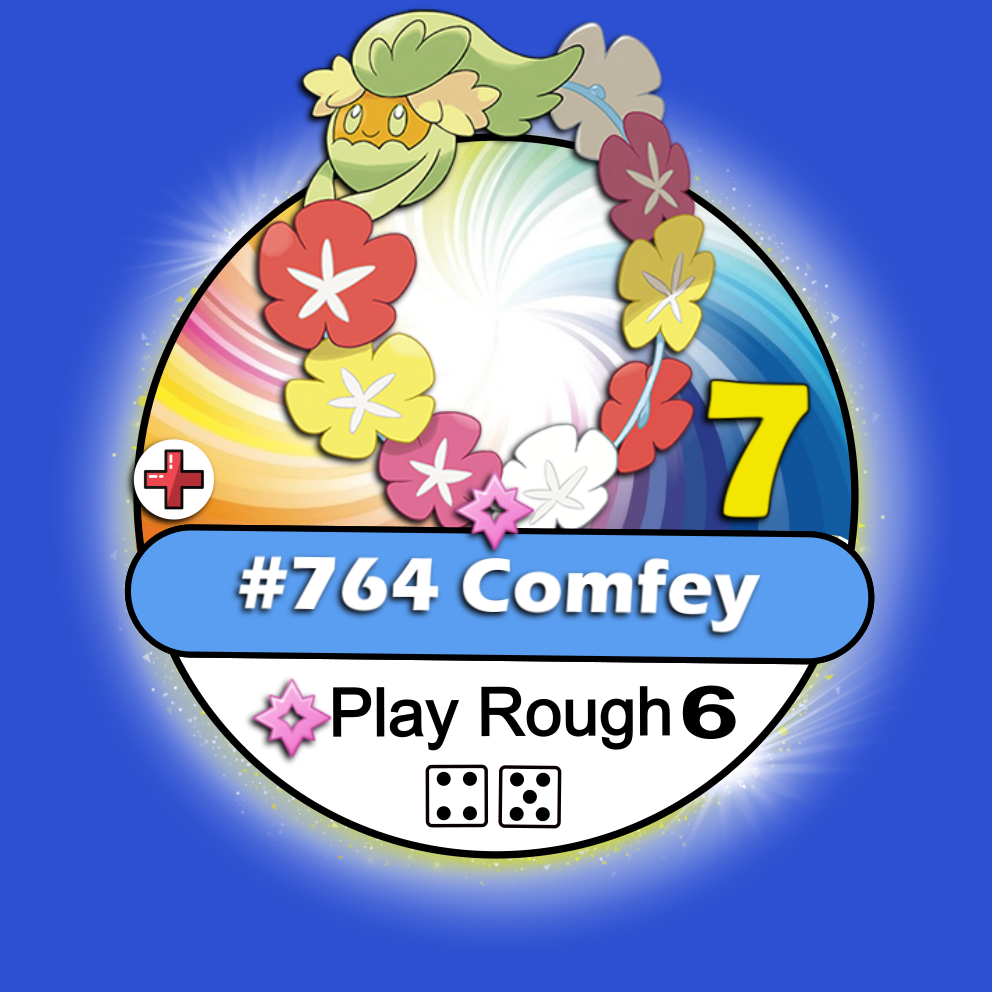
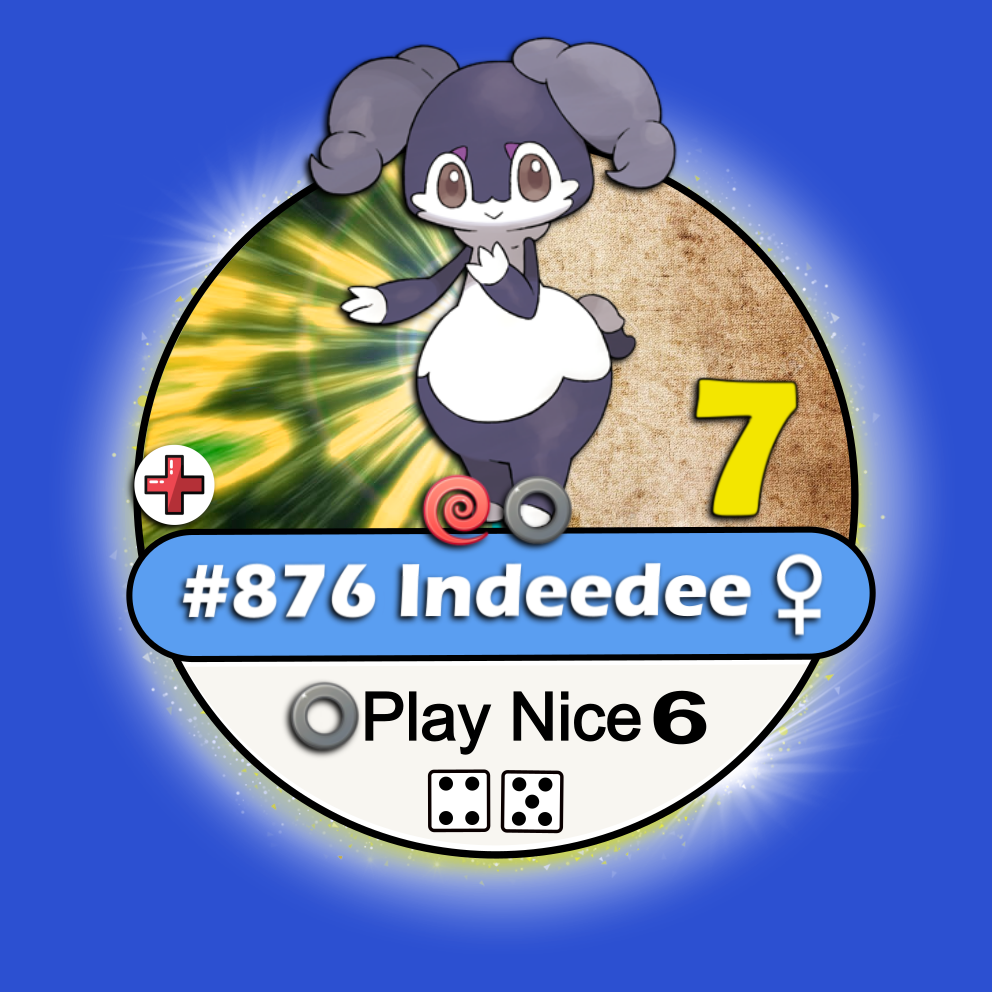
Nurse Pokémon (![]() )
)
When players have an active “Clefable"/Chancey”/”Blissey”/"Audino"/"Comfey"/"Indeedee" in their hands, they can revive all their Pokémon at any “city” space or using a “Chansey” event card.

Special Cases
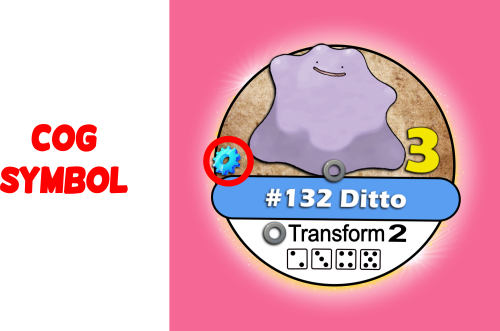
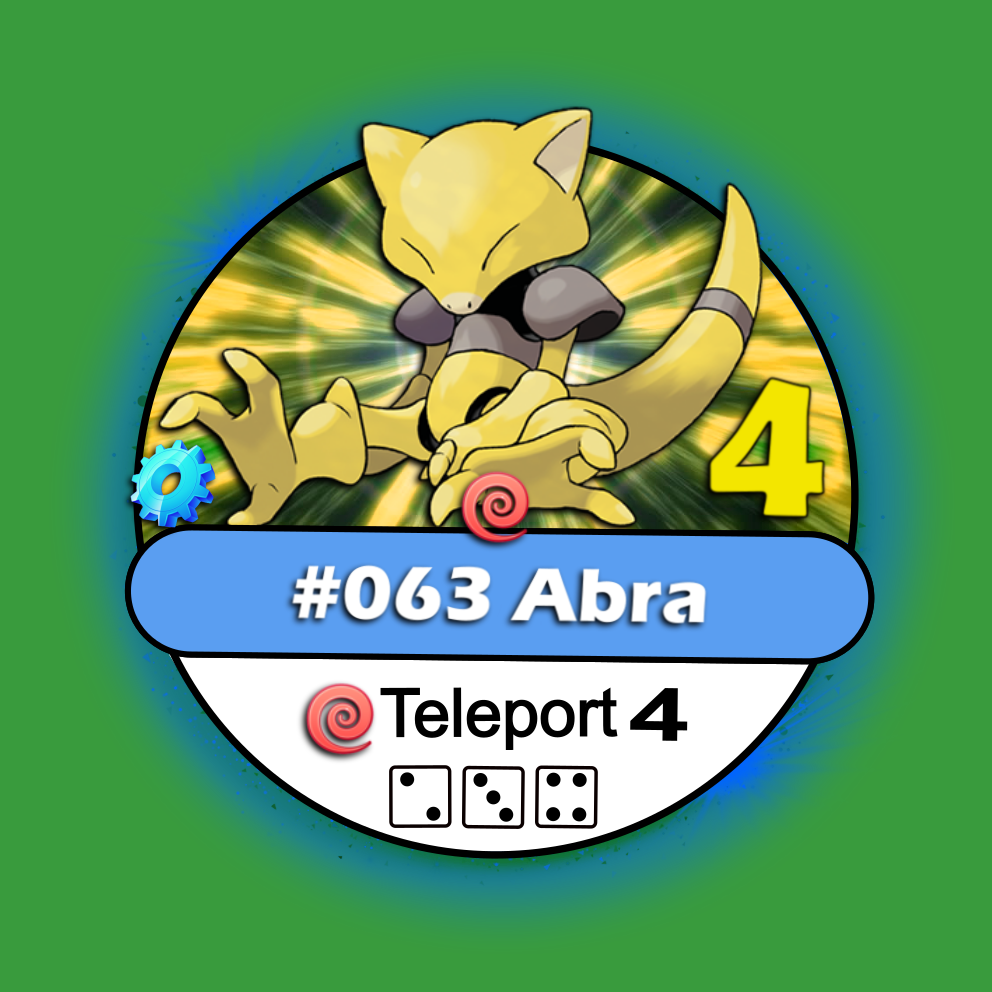
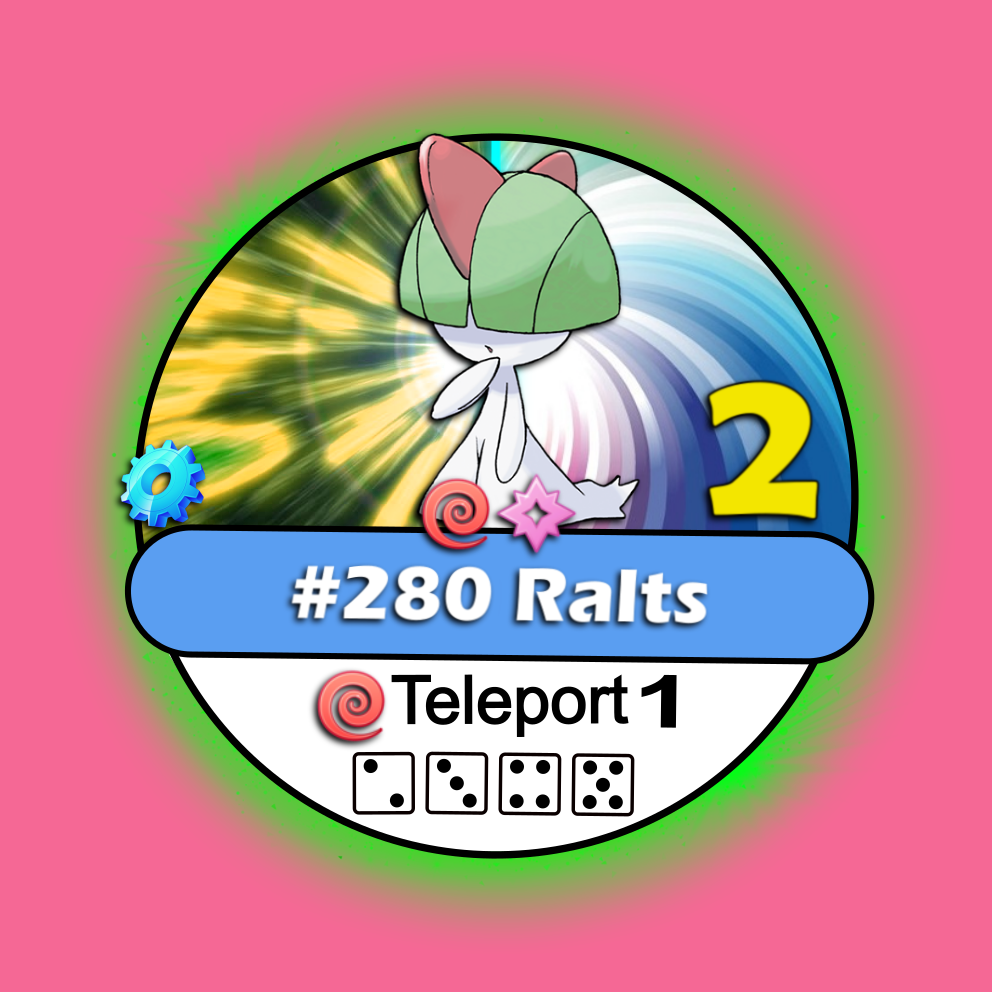
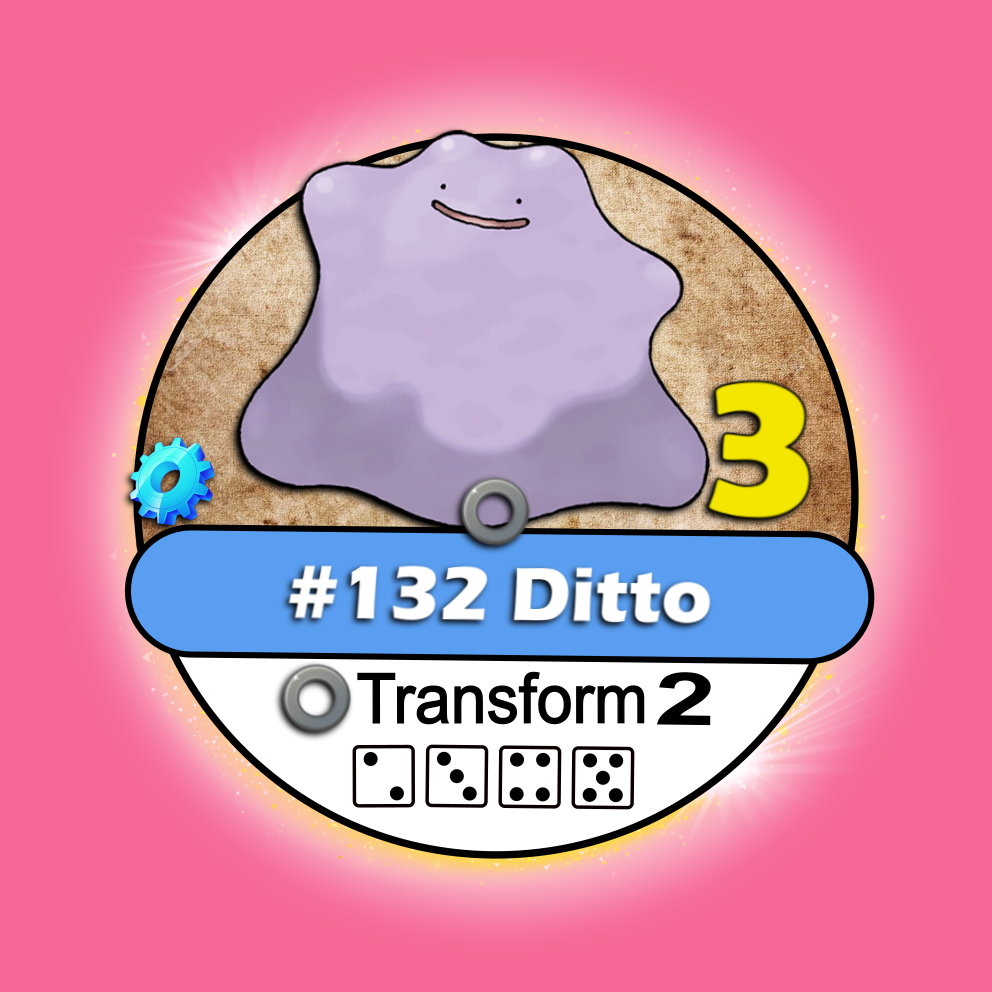
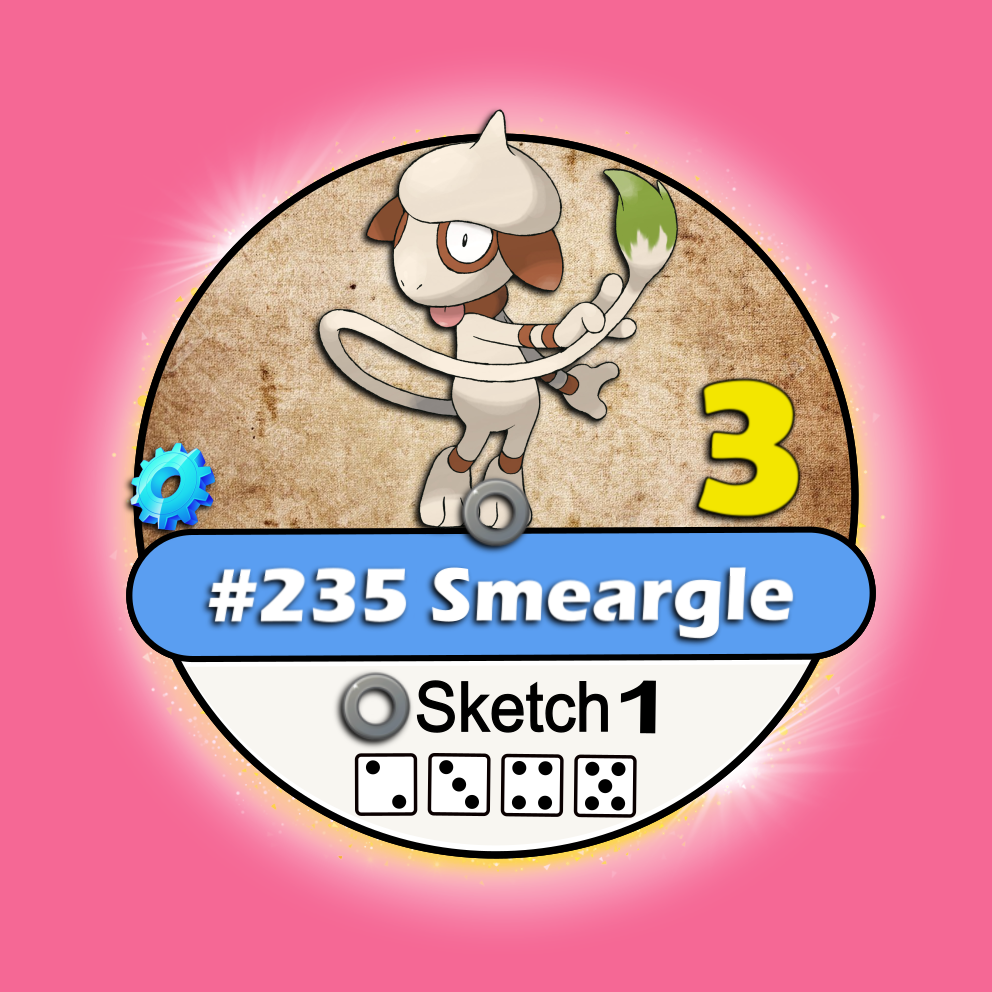
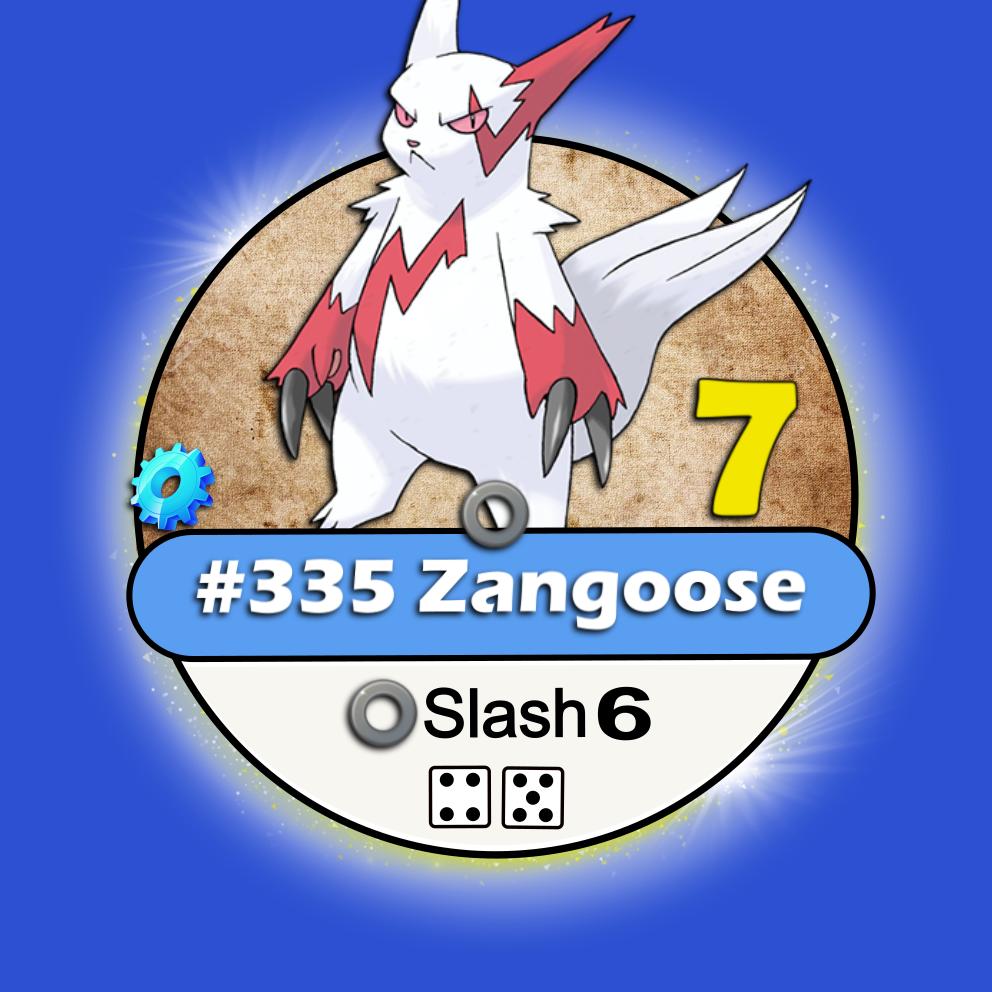
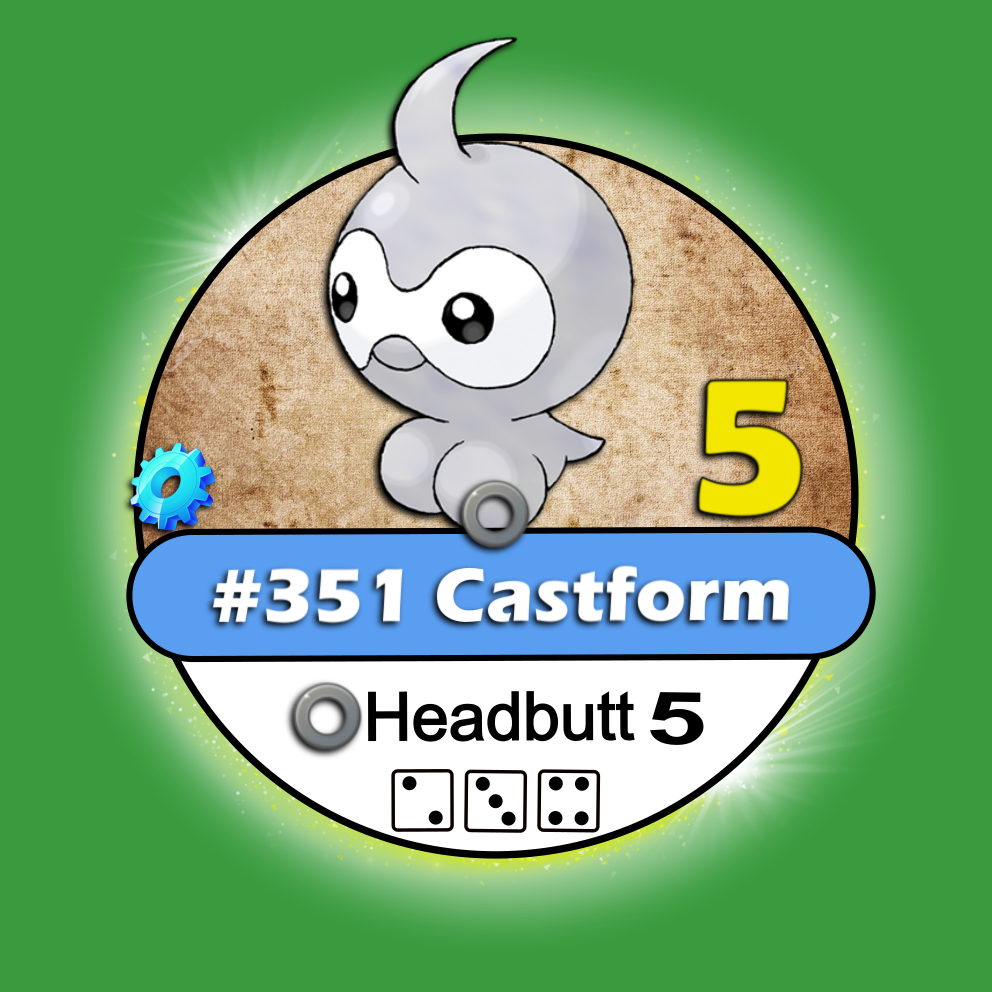
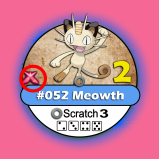
In this game series, some Pokémon work differently than the majority, and when it happens, few things/rules can be altered. *These Pokémon (chips) display a blueish cog icon on the left corner of the Pokémon's art.
Abra & Ralts
When players have an active “Abra"/"Ralts" in their hands, they can spend one (1) energy coin and the turn to teleport to the closest “city” space (due their attack move “Teleport”). **Only work for “city” spaces the player has been before.
Ditto
When having/fighting a/against a “Ditto”, players have/face a Pokémon exactly (attack/Pokémon types) like the one “Ditto” is fighting against ("Ditto" will always keep the form of the strongest one [highest AP] , even if a player switches to a weaker one).*When transformed, Ditto’s Life Points (LP) and Life Recover (LR) remain unchanged.
Smeargle
When having/fighting a/against a “Smeargle” players have/face a Pokémon with the exactly same attack (type and power) like the one “Smeargle” is fighting against. E.g: If a Charmeleon (attack = ember 4) fights against a Smeargle, the Smeargle will change its attack to “ember 4” to match its opponent. *Other stats like Pokémon’s type, Life Points and Life Recover remain unchanged.
Zangoose
When a “Zangoose” is fighting against a poison type Pokémon, it will always receive a bonus attack of "+5" (poison = primary type), or "+3" (poison = secondary type).
Seviper
When a “Seviper” is fighting against a "Zangoose", it will always receive a bonus attack of "+5" to match Zangoose's poison bonus attack.

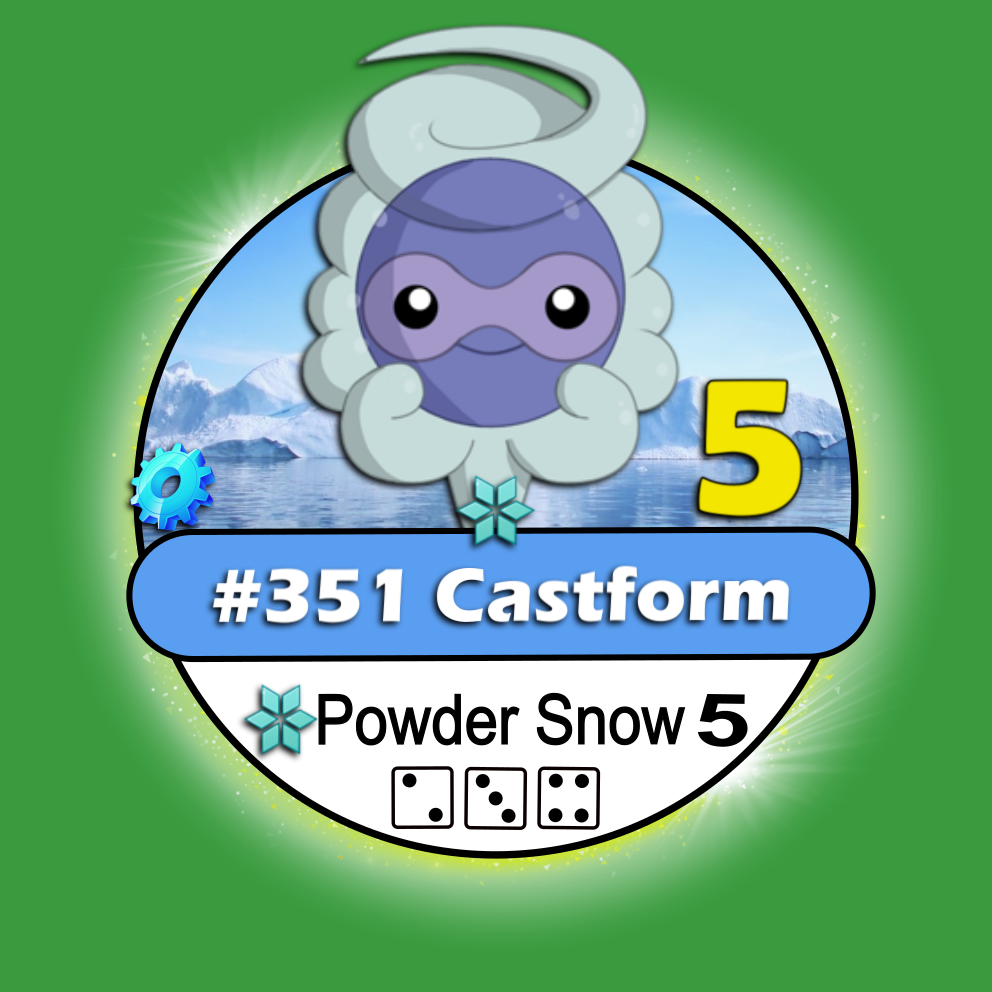
Castform
When having a “Castform”, it might change its chip to match the current “weather condition”. *Normal type for any weather weather besides (heavy rain/blizzard/very hot), water type (rainy form) for “Heavy Rain” weather, ice type (icy form) for “Blizzard” weather and fire type (sunny form) for “Very Hot” one. “Castform” can only learn “normal” type “ultimate” attack.


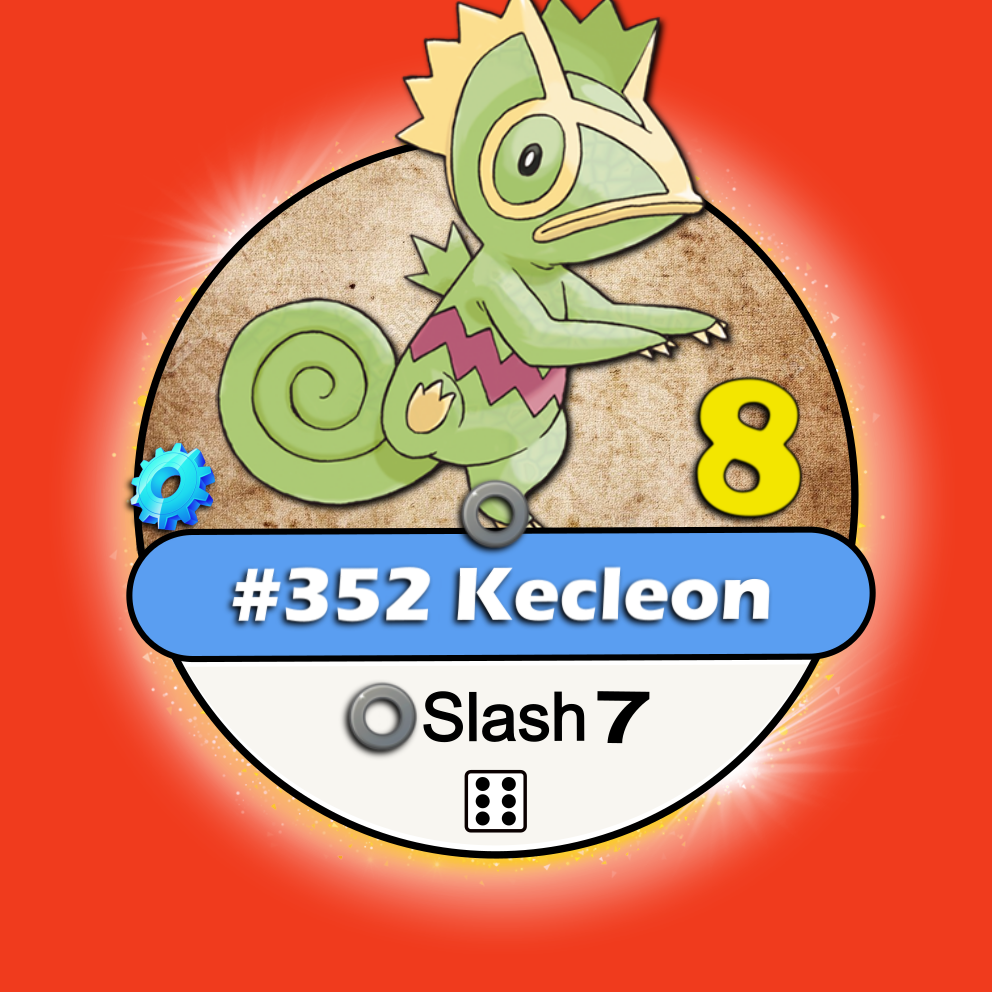
Kecleon
When fighting against (or with) a “Kecleon”, it will always mimic the opponent’s Pokémon type, however, keeping its attack (type and power) and "LP"/"LR" unchanged.
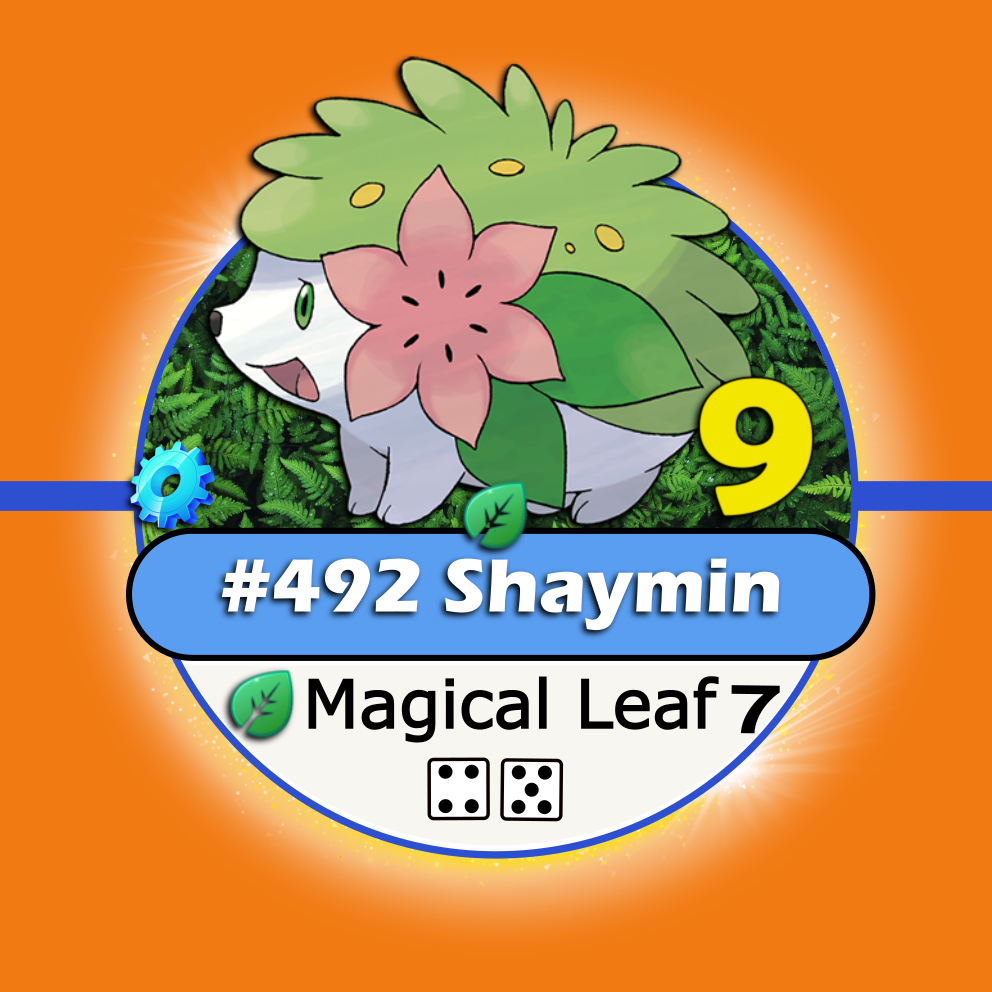
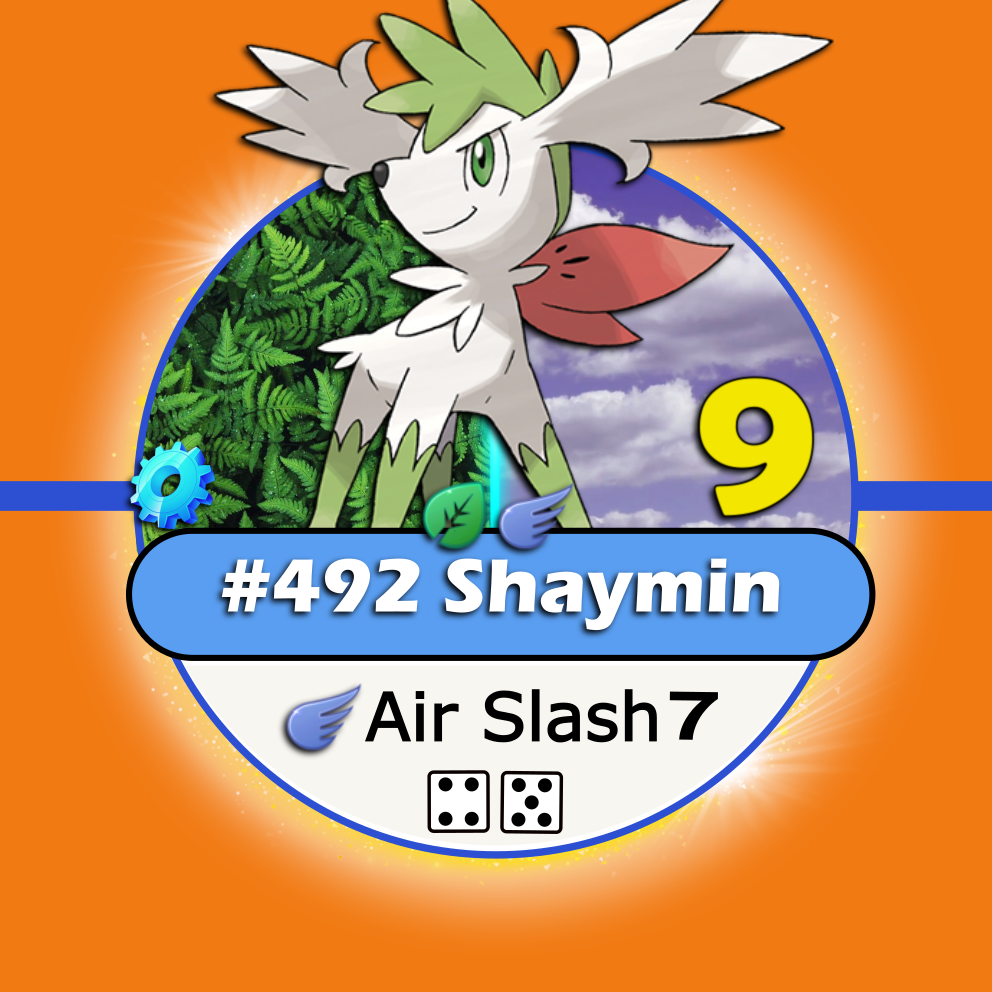
Shaymin
When having a “Shaymin” (orange/blue chip) players can choose (BEFORE starting a battle) between its “grass” and “grass/flying” types forms.“Shaymin” can only learn “grass” type “ultimate” attack.
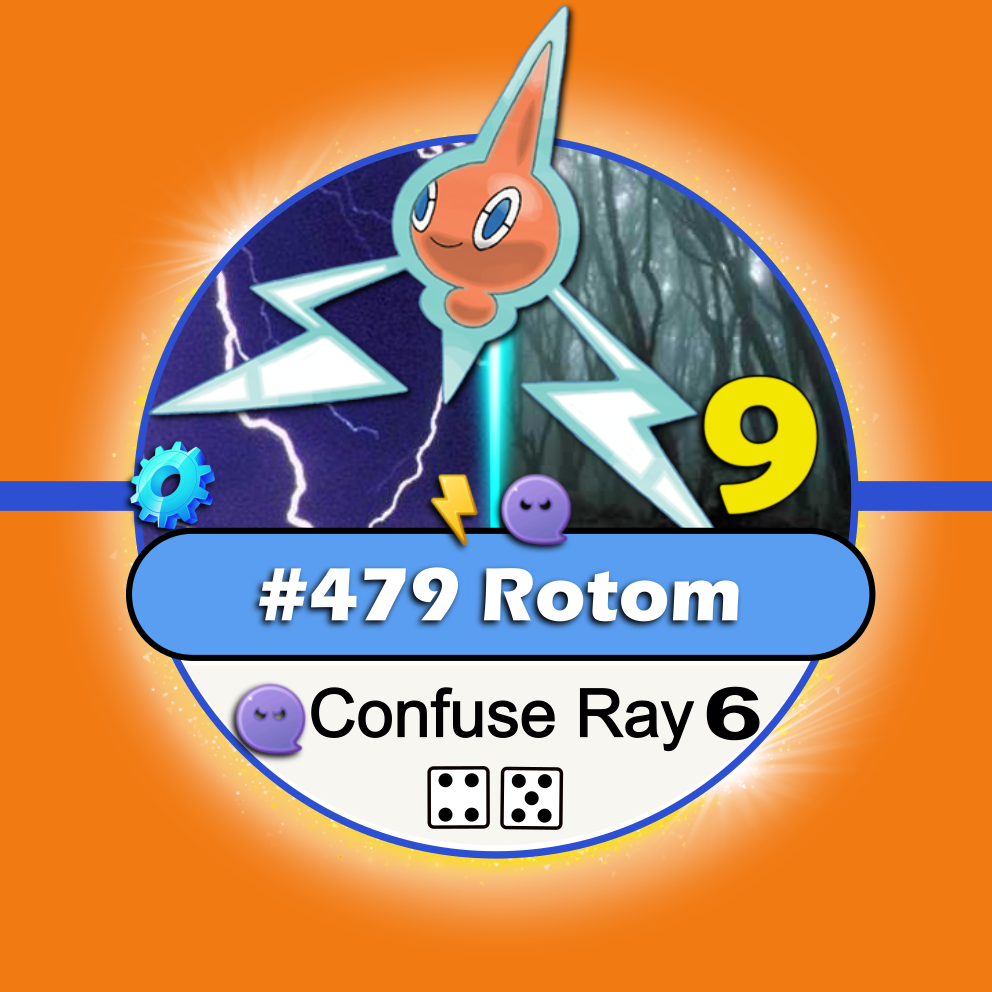
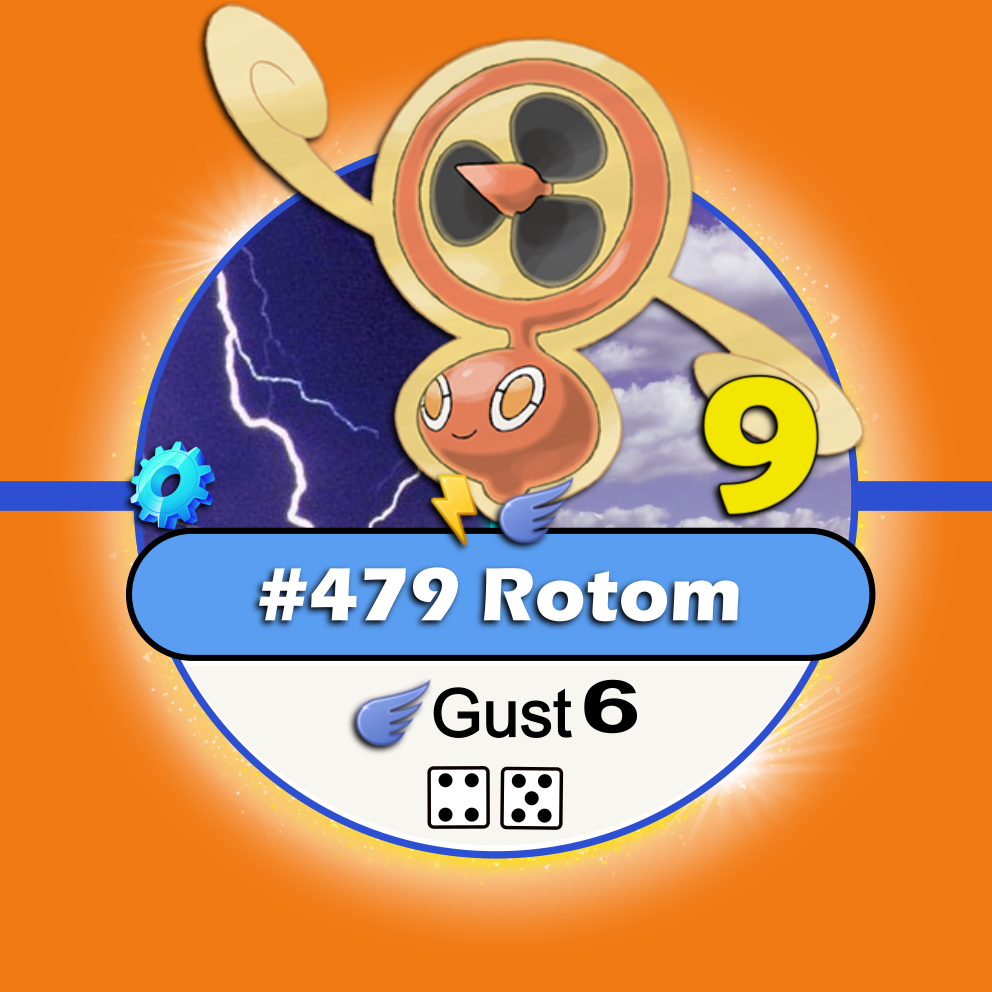
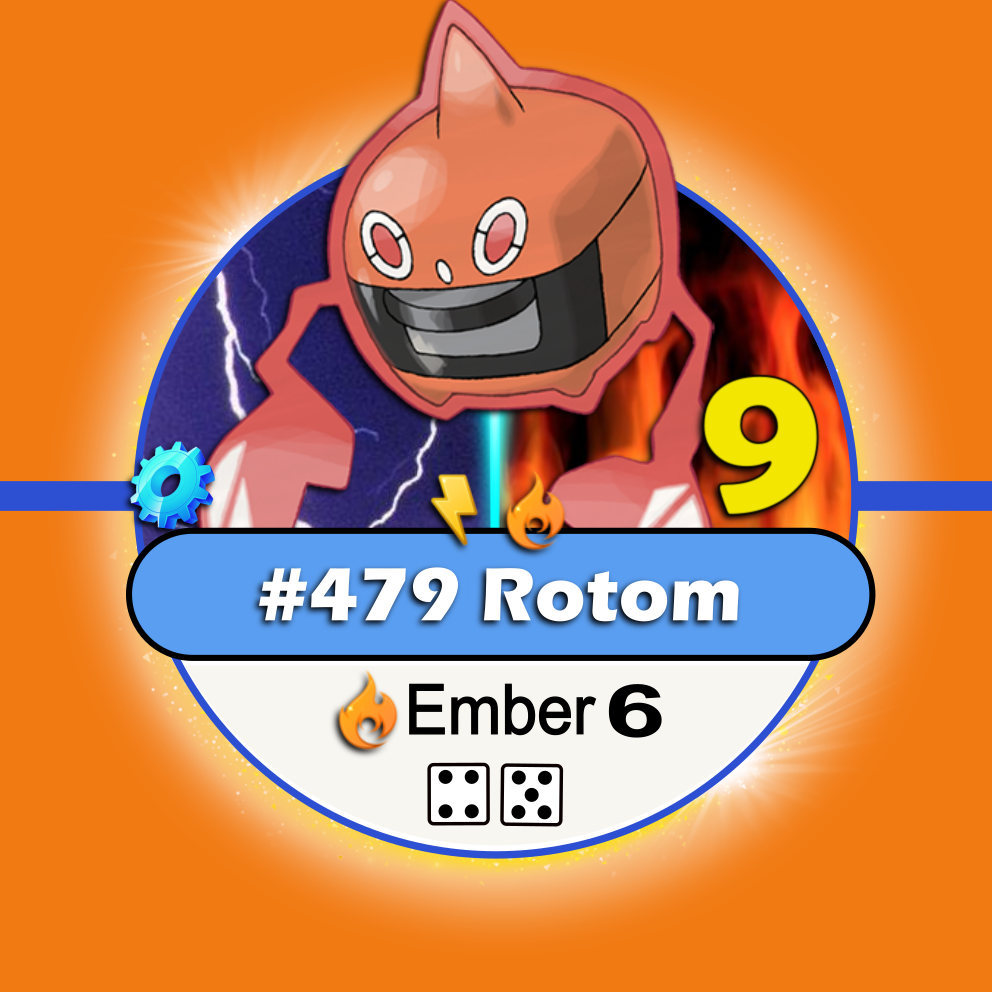
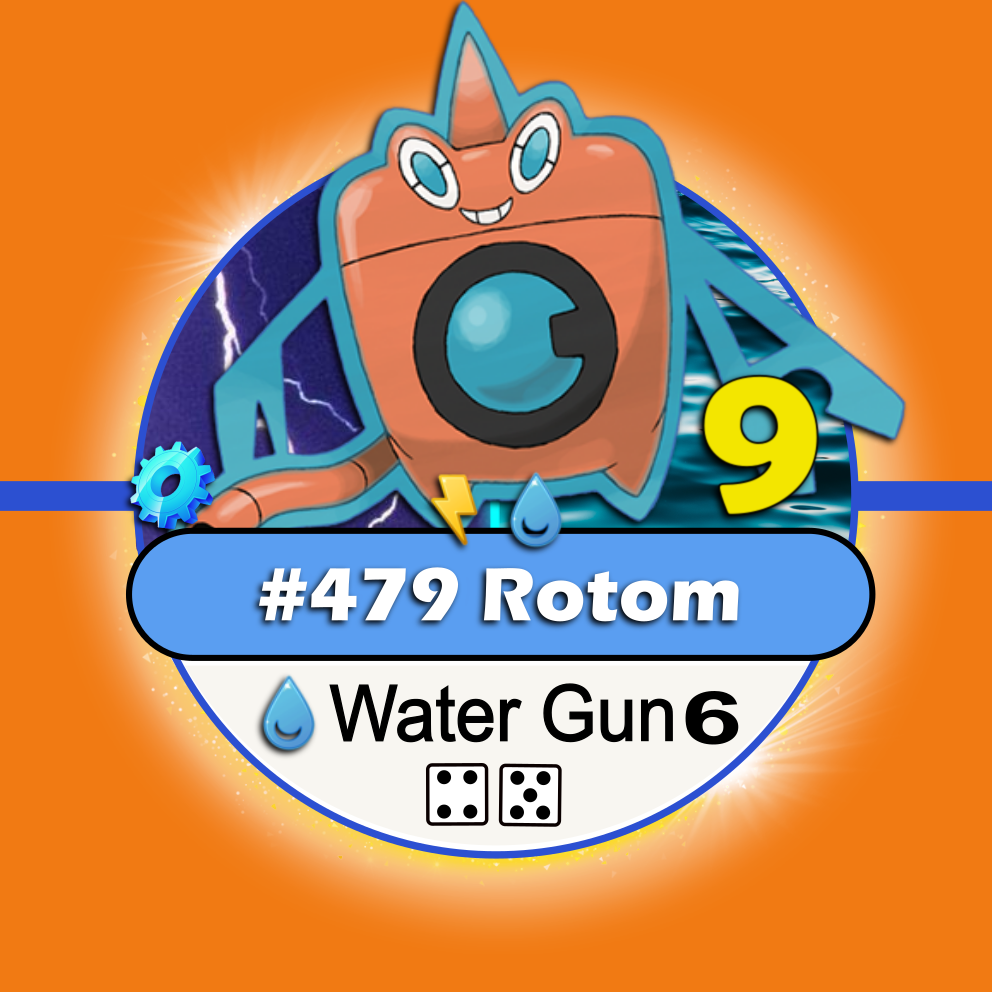
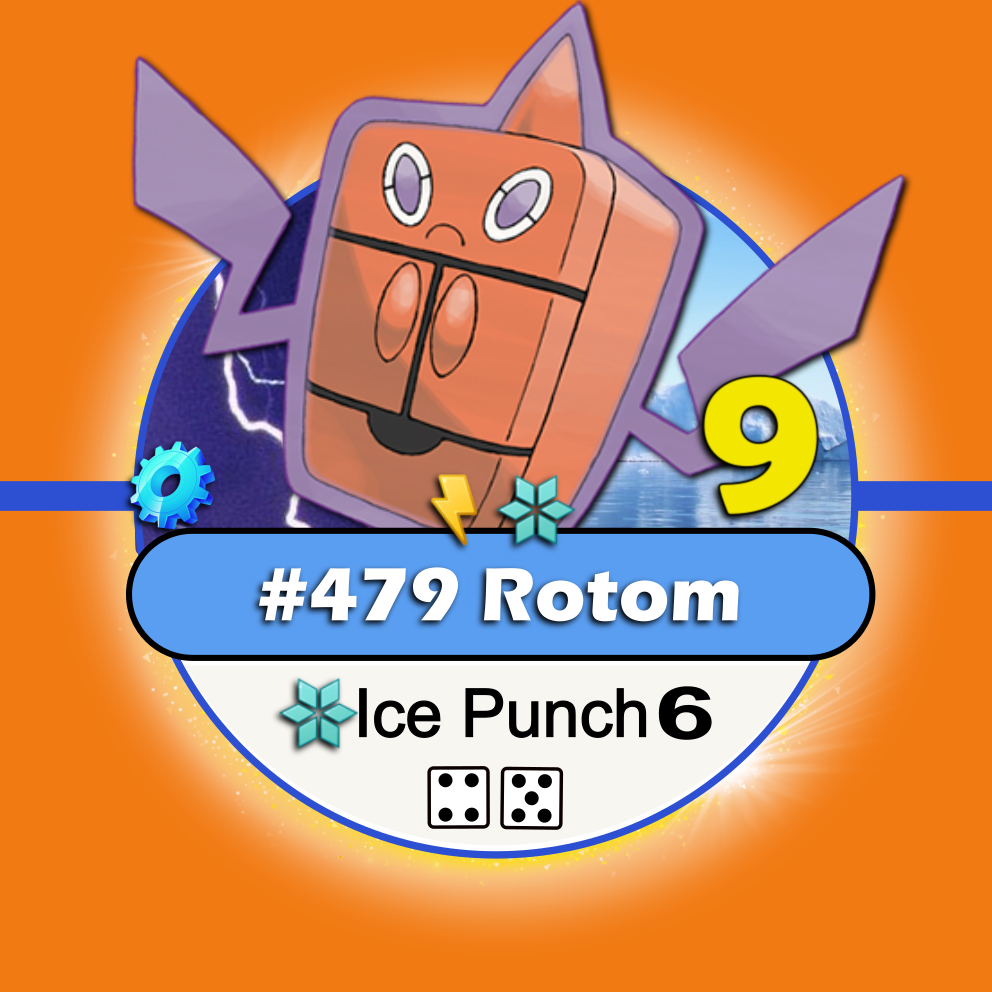
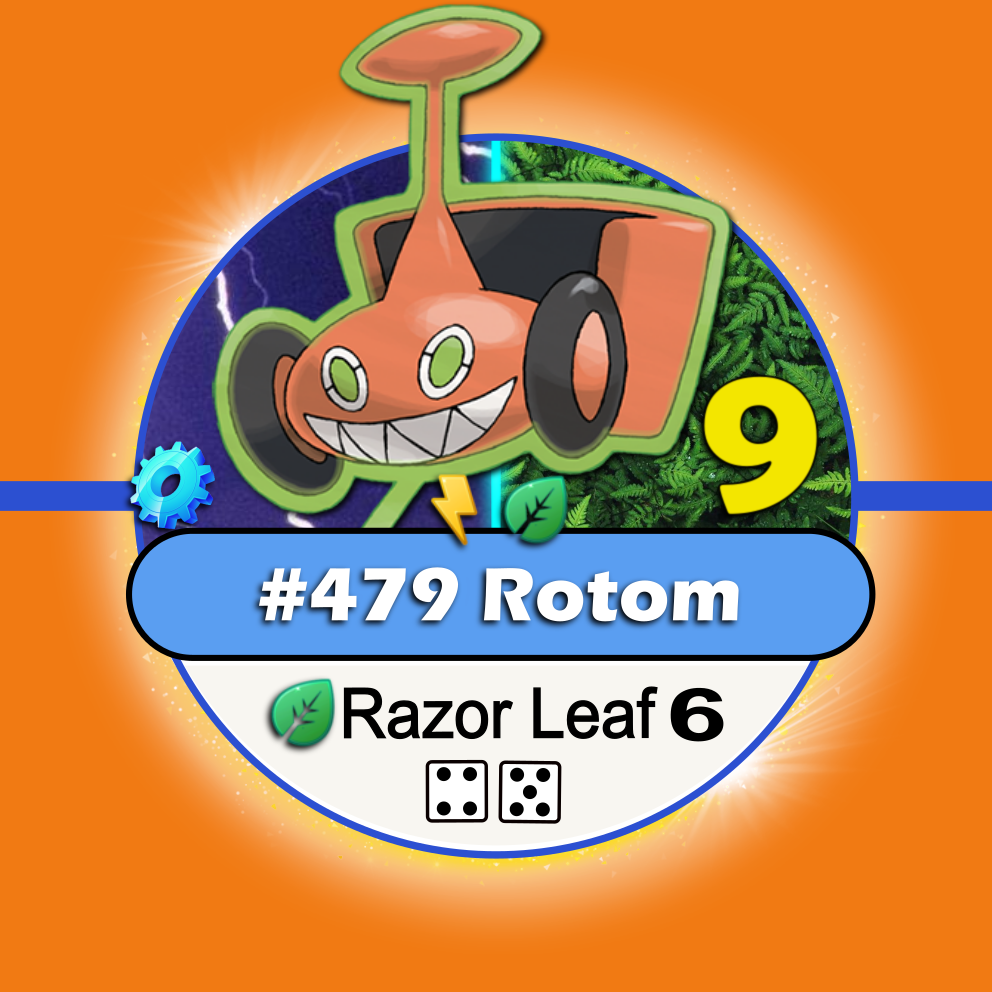
Rotom
When having a “Rotom” (orange/blue chip) players can choose (BEFORE starting a battle) between its “electric/ghost”, “electric/flying”, “electric/fire”, “electric/water”, “electric/ice” and “electric/grass” types forms.“Rotom” can only learn “electric” type “ultimate” attack.
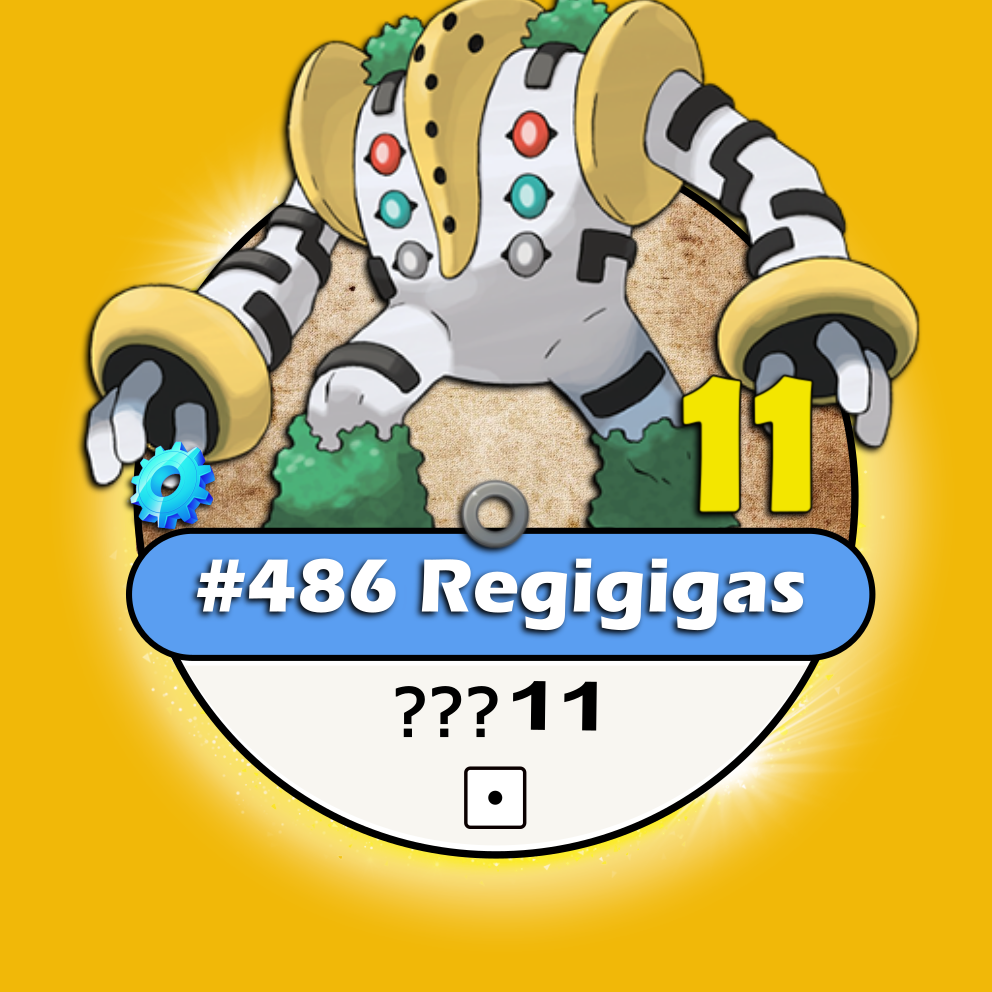
Regigigas
When fighting against (or with) an orange “Regigigas”, it will always use one (1) of the most effective (green “D6”) attack type move(s) against its opponent (when applicable).
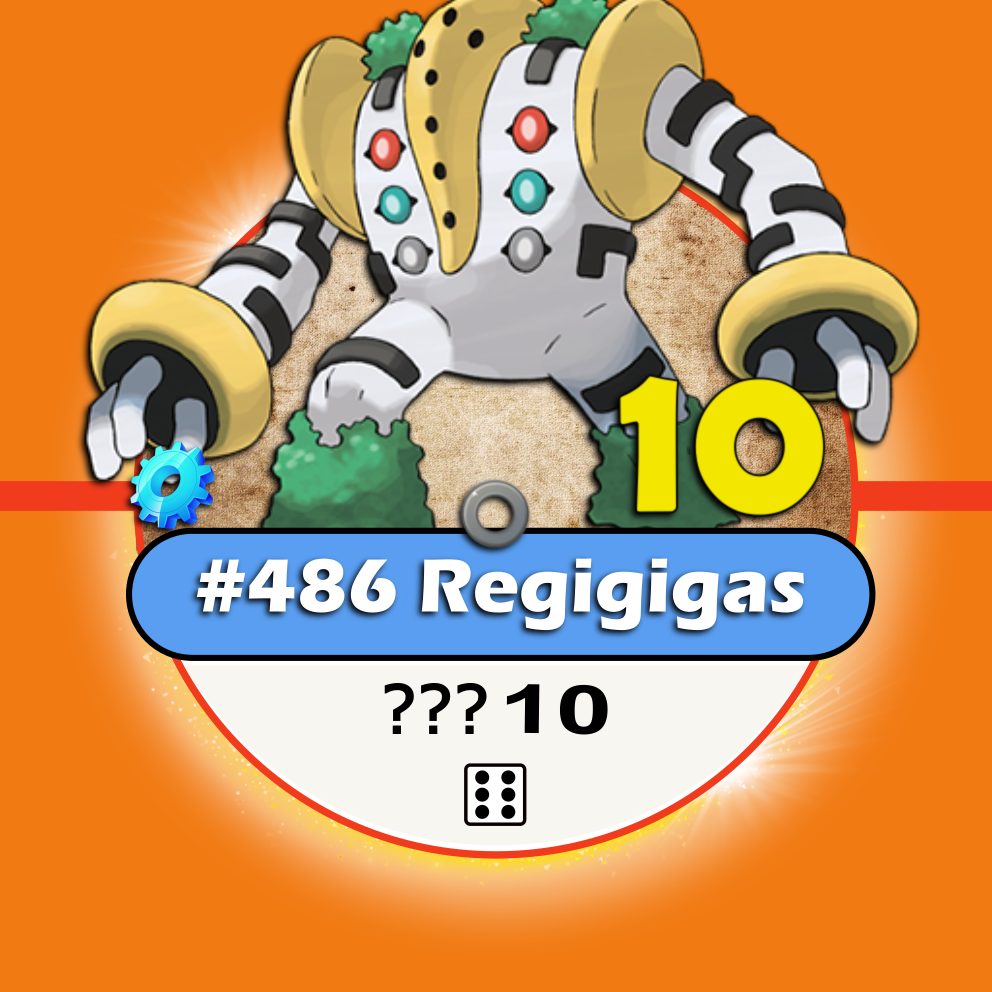
Now, when fighting against (or with) a yellow “Regigigas” (found only at "GO" map), it will follow the same rule but using an ultimate attack instead of the normal one, this way granting a “+5”) bonus to its total attack power.
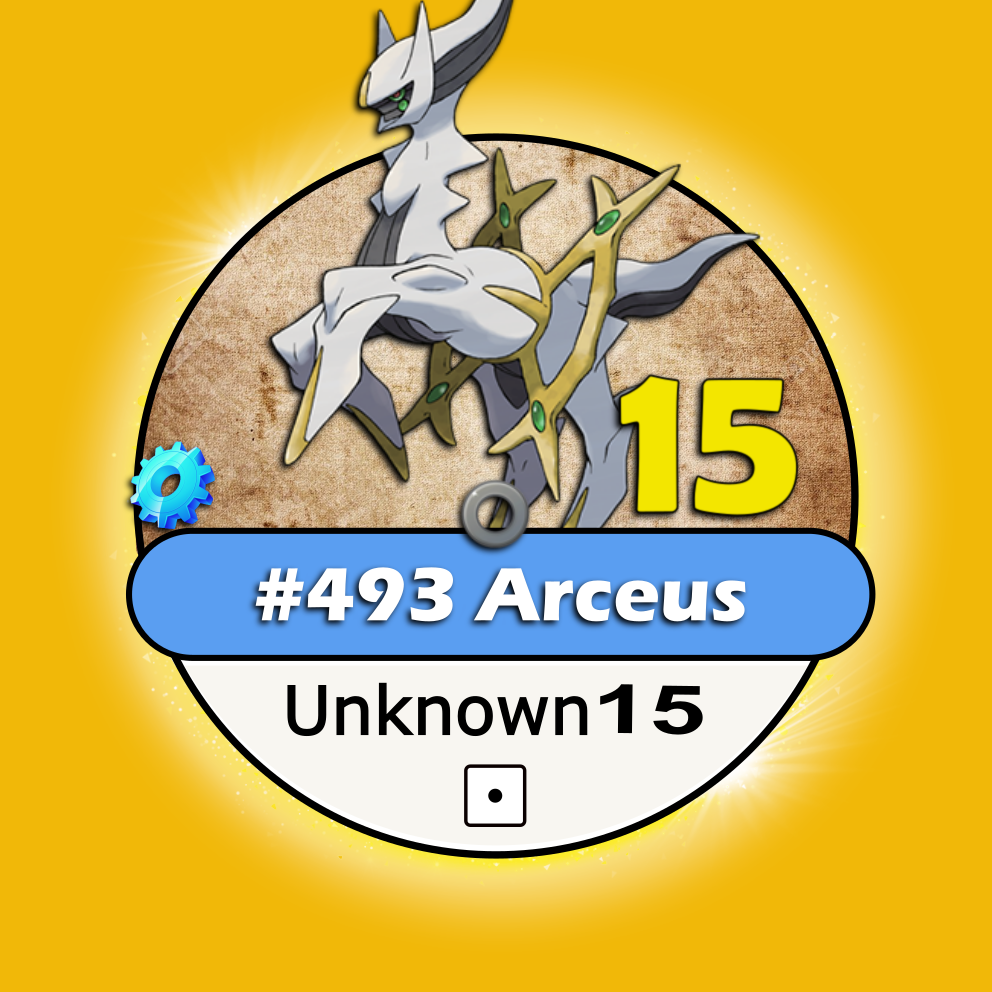
Arceus
When fighting against (or with) an “Arceus” (only yellow chip), fighting type moves will have no advantages against it. although, ghost type ones will keep its disadvantages. *Arceus can only be found at the "GO" map.
Victini
When having an active “Victini” in their hands, players can flip it out (knock it down) in order to make another Pokémon to win (by nullifying) a battle. *Works against any kind of opponent (player’s/wild/rival’s Pokémon) and must be done before the battle starts.
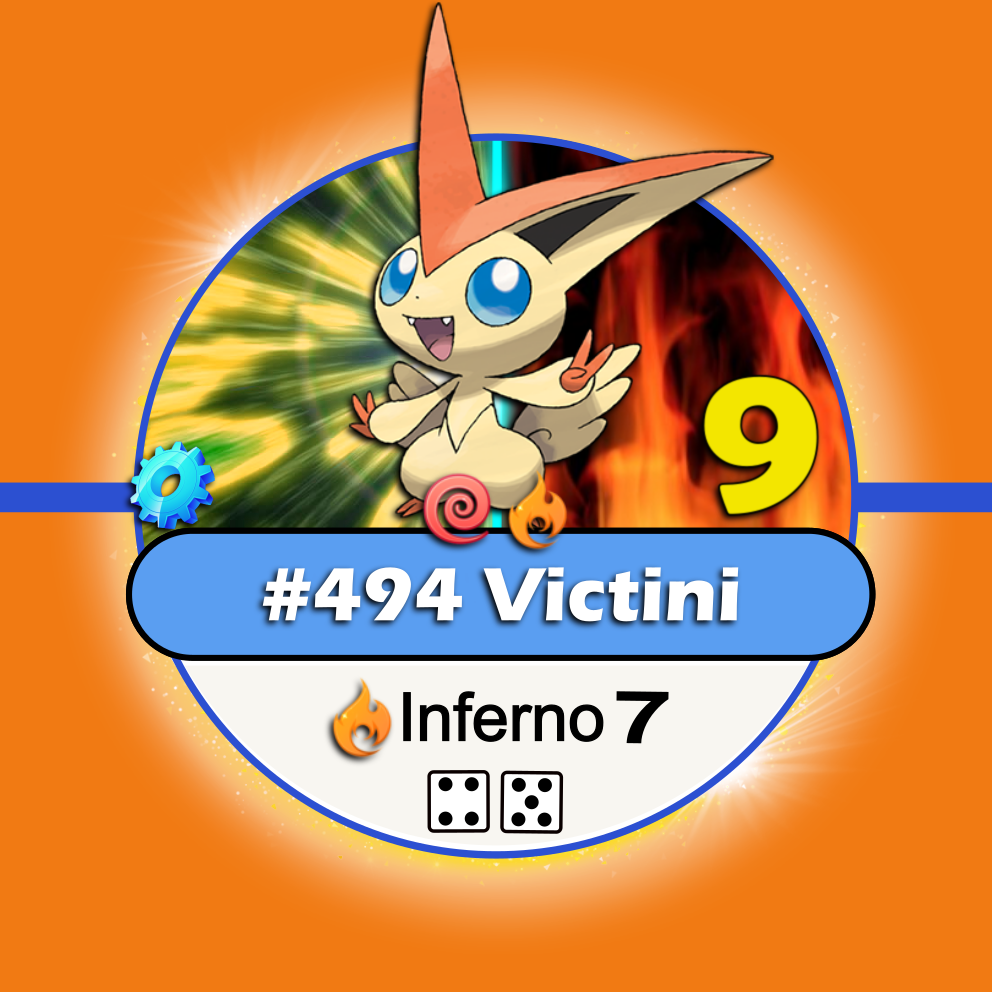
The victorius Pokémon shall receive its "XP" normally and proceed just like it has won other ordinary match.
Darmanitan
When fighting against (or with) a “Darmanitan”, it will change into a “Darmanitan Zen” chip if it gets twenty five (25) “LP” or less. The “Darmanitan Zen” chip then, should start the battle with the current “LP” plus the “Life Rec” amount (in this case +20).
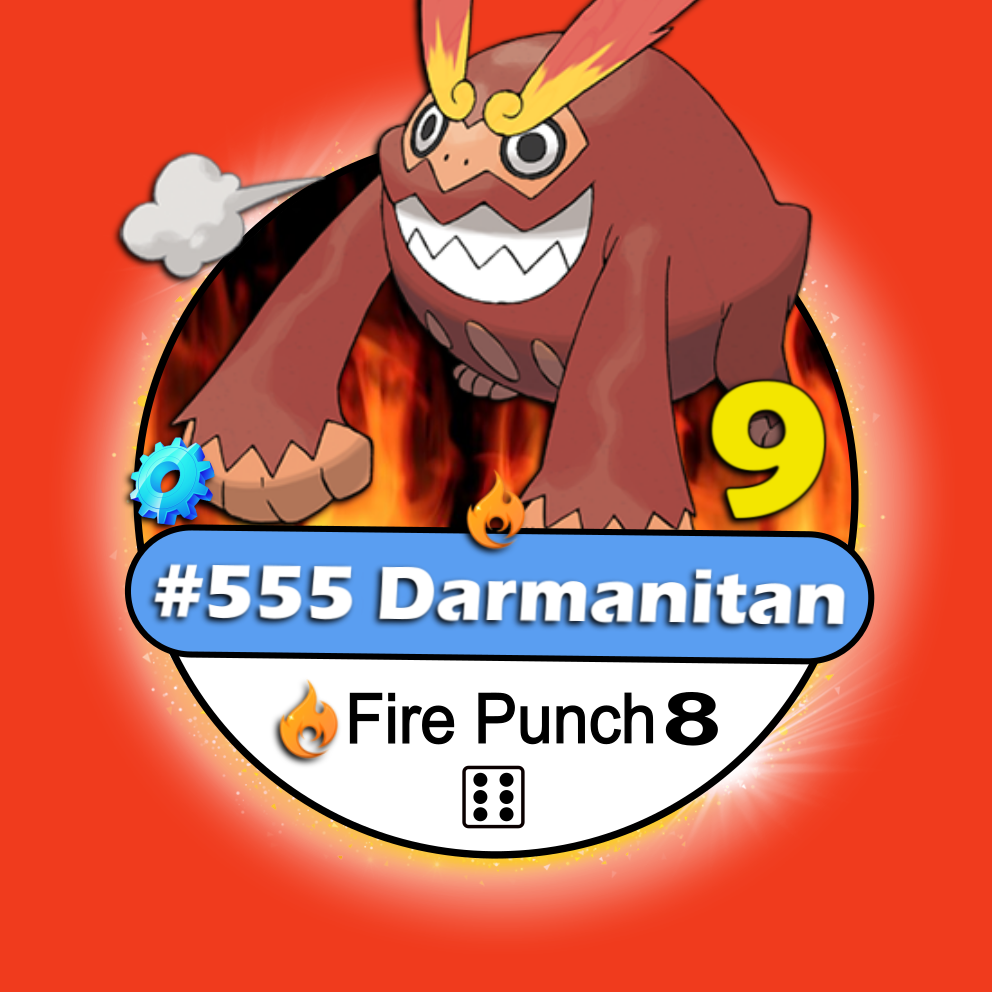
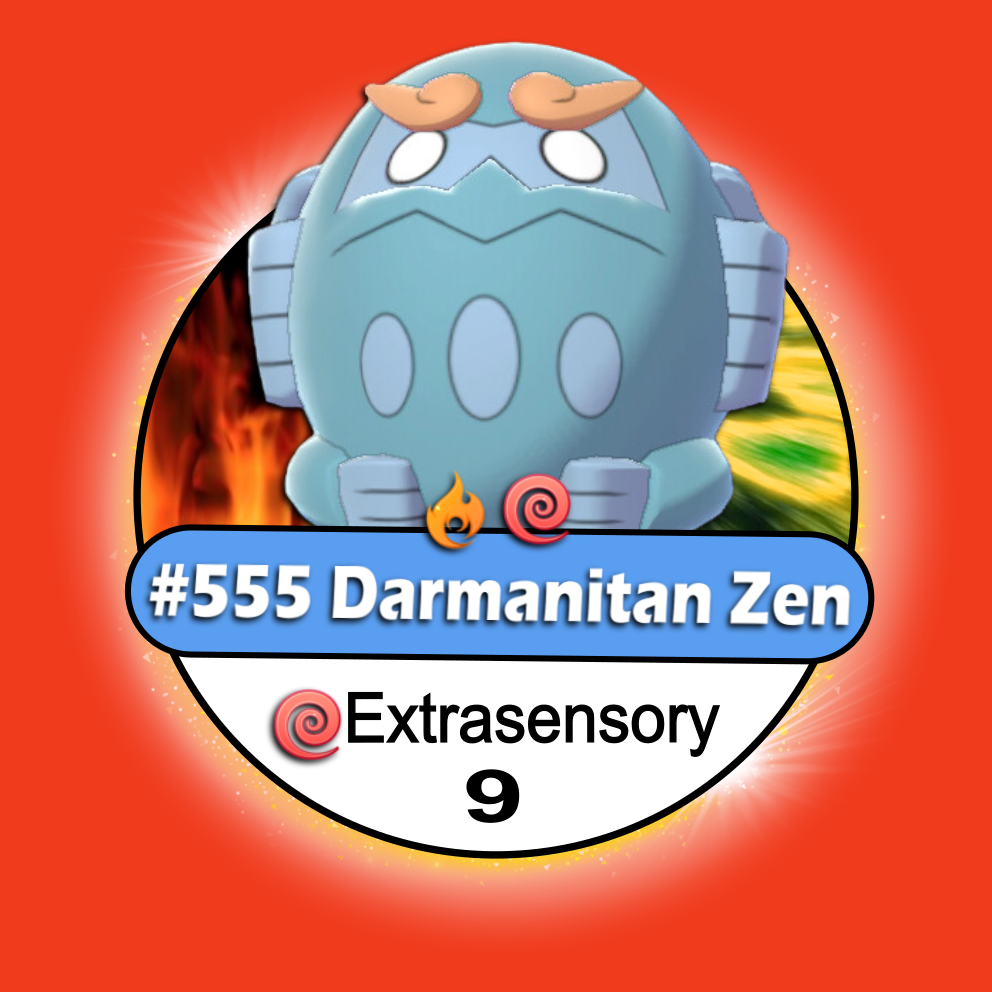
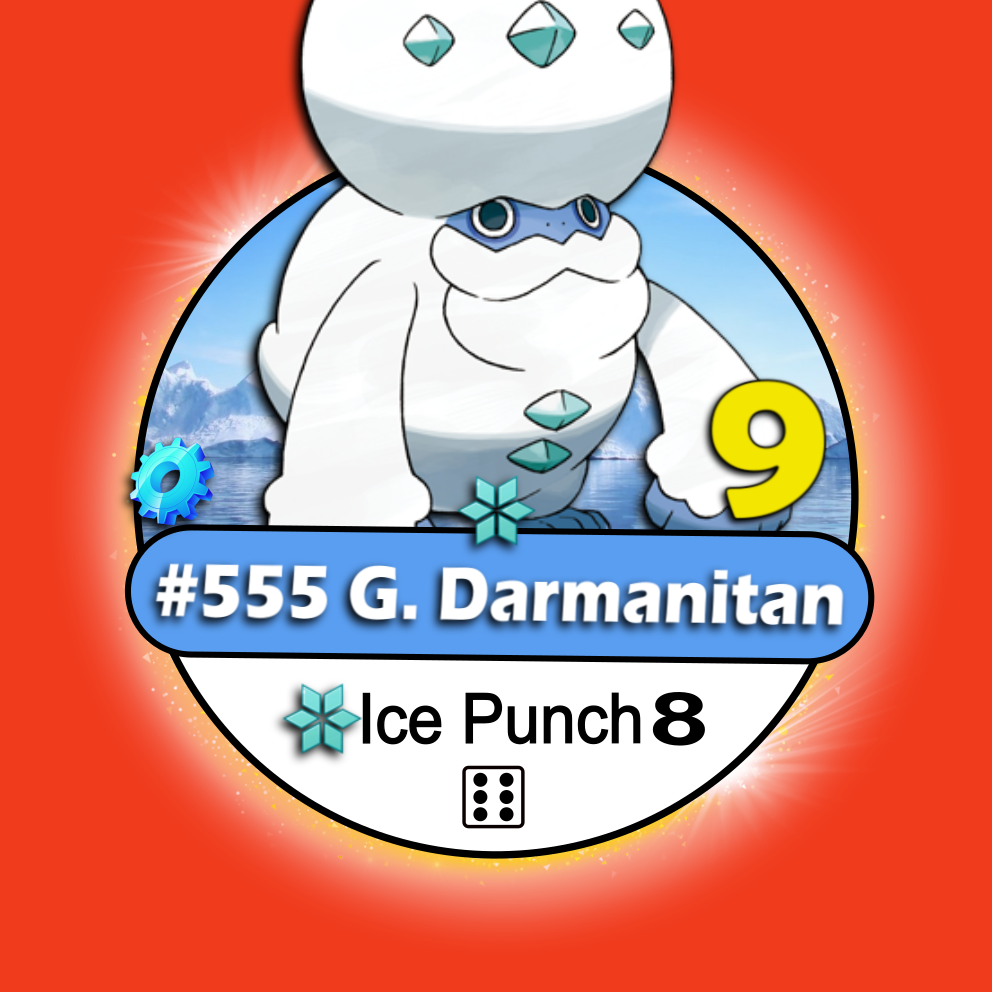
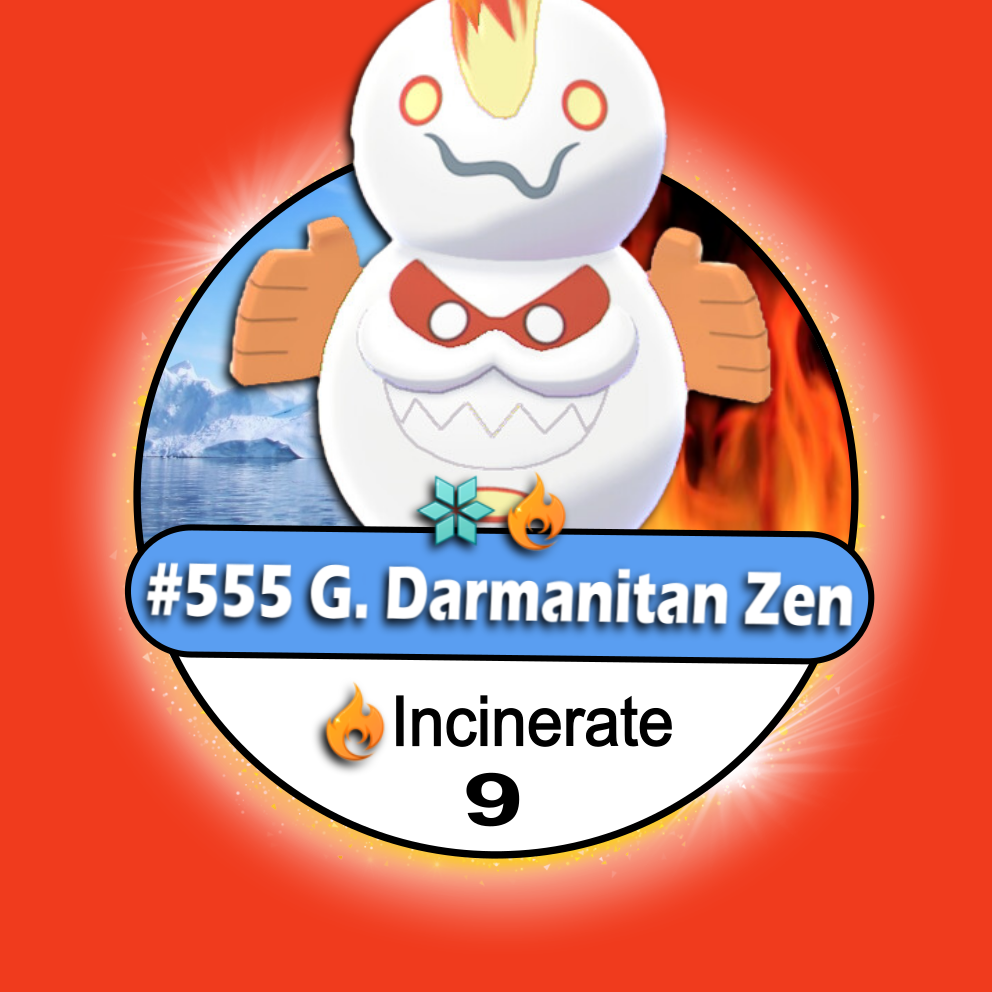
The “Darmanitan Zen” chip shall remain until it gets beaten or the battle is over. *Returning to a normal “Darmanitan” chip without the previous conditions are not an option. “Darmanitan Zen’s” chip cannot be caught, so it should remain aside from the red chip’s bag (non-catchable).
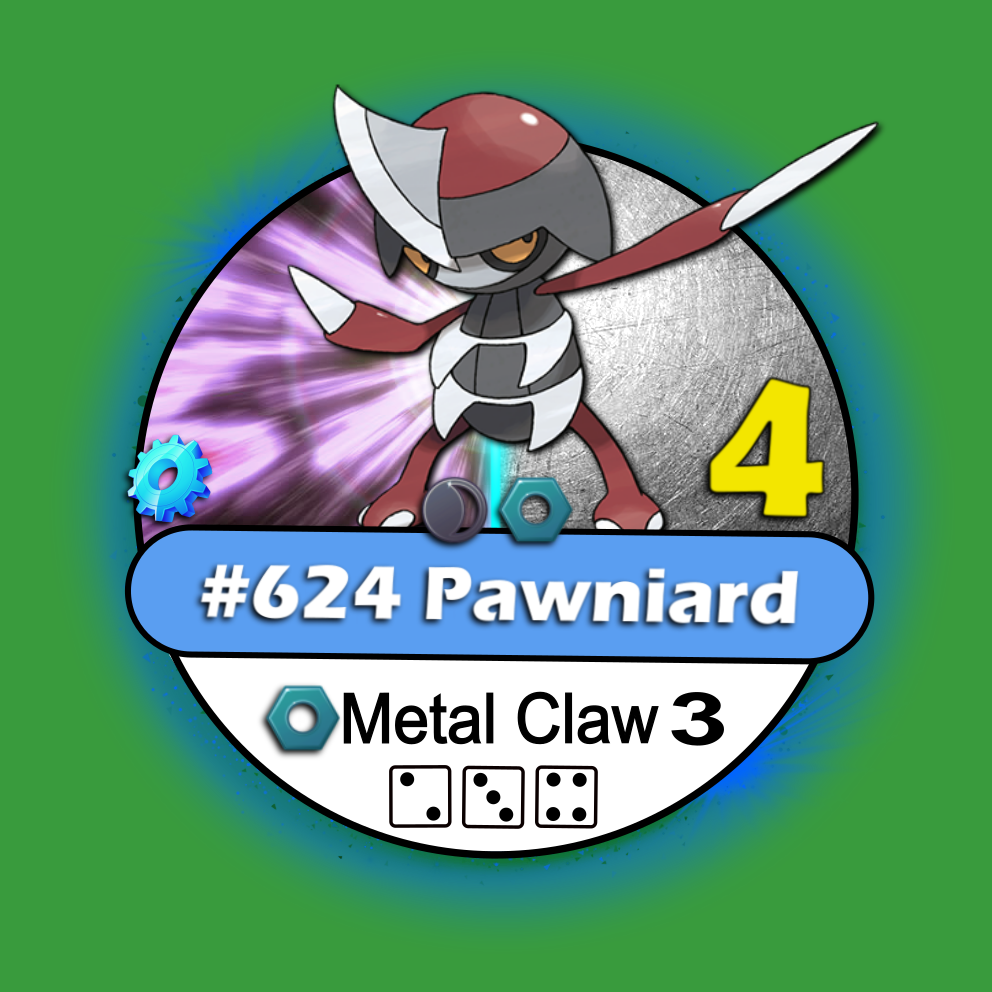
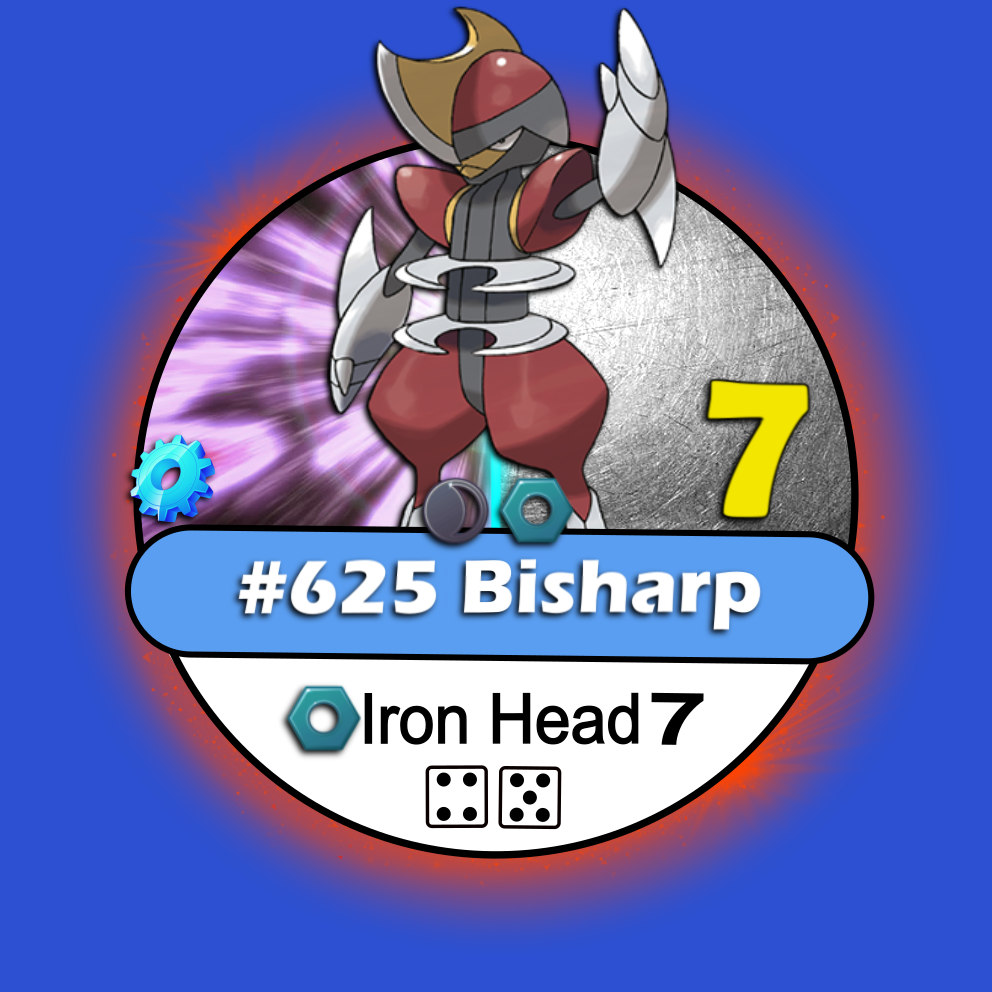
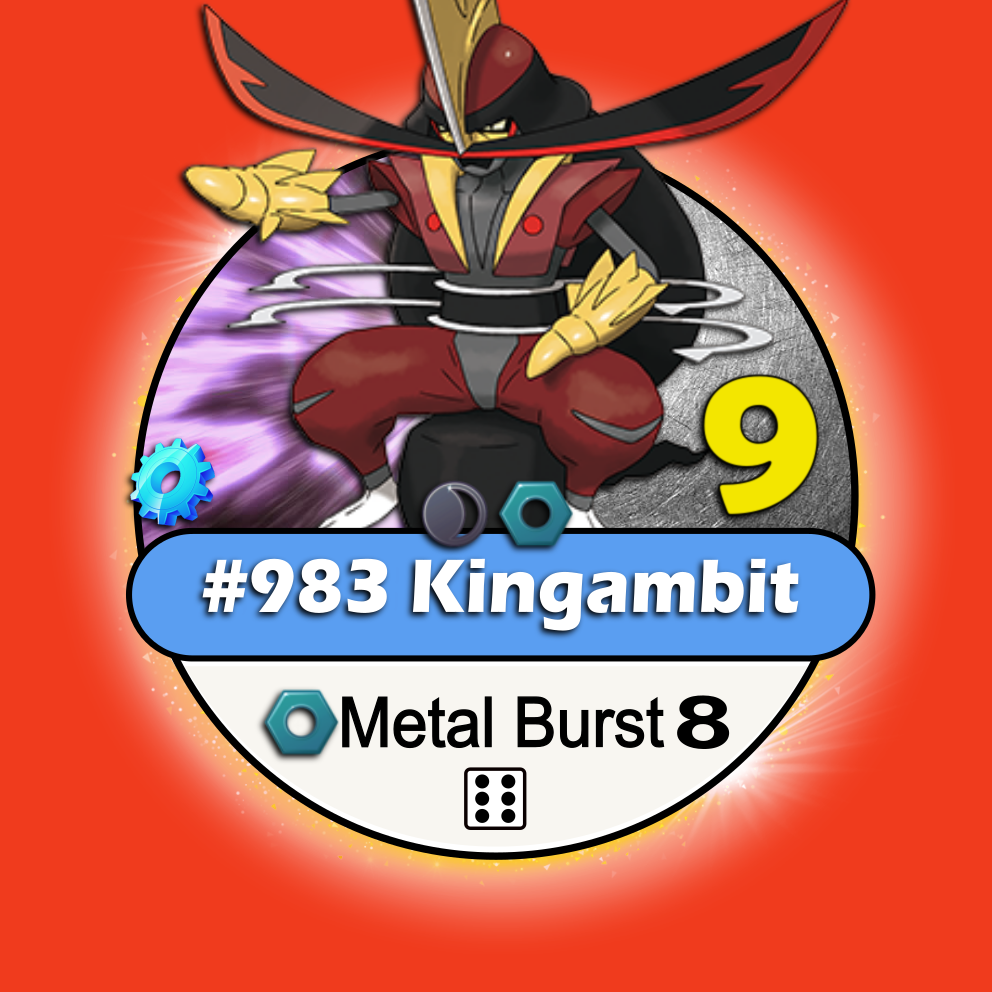
Pawniard/Bisharp/Kingambit
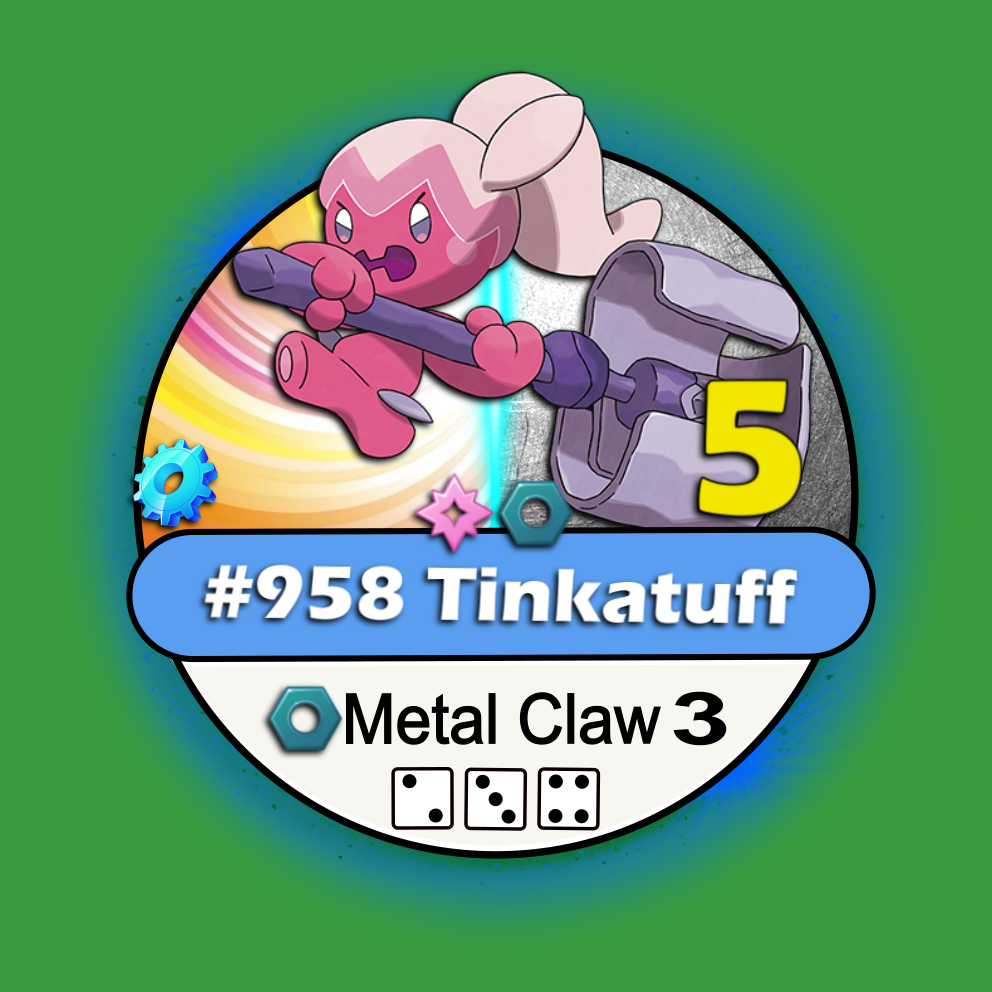
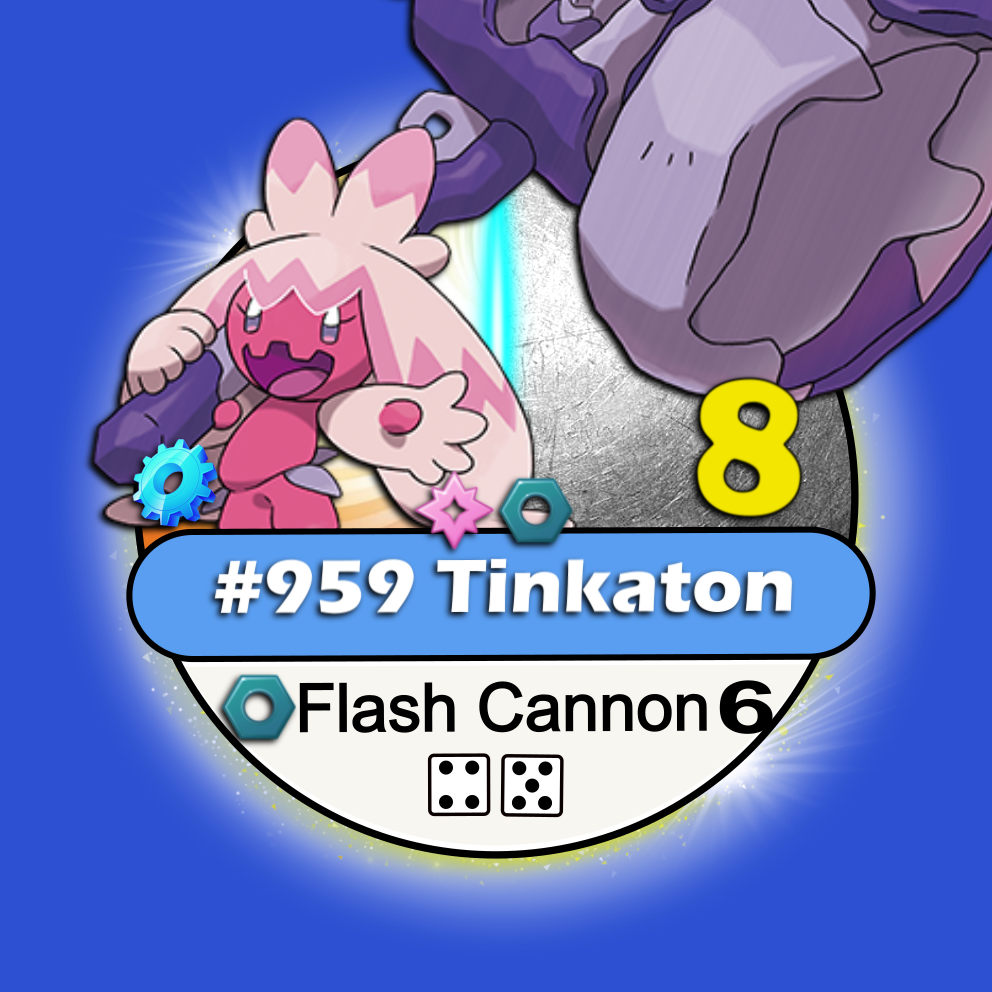
When a “Pawniard”/“Bisharp”/“Kingambit” is fighting against a “Tinkatink”/“Tinkatuff”/“Tinkaton”, it will always receive a bonus attack of "+3".
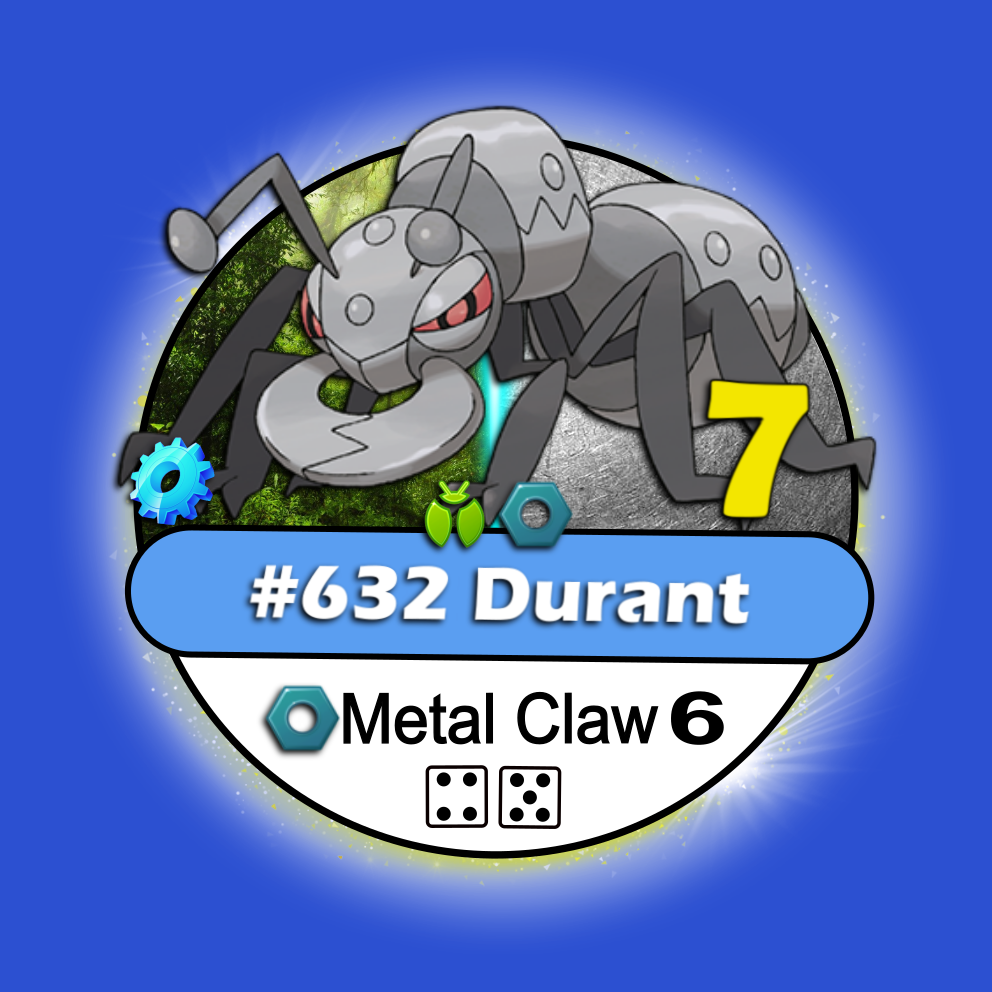
Durant
When a “Durant” is fighting against a fire type Pokémon, it will always receive a bonus attack of "+5" (fire = primary type), or "+3" (fire = secondary type).
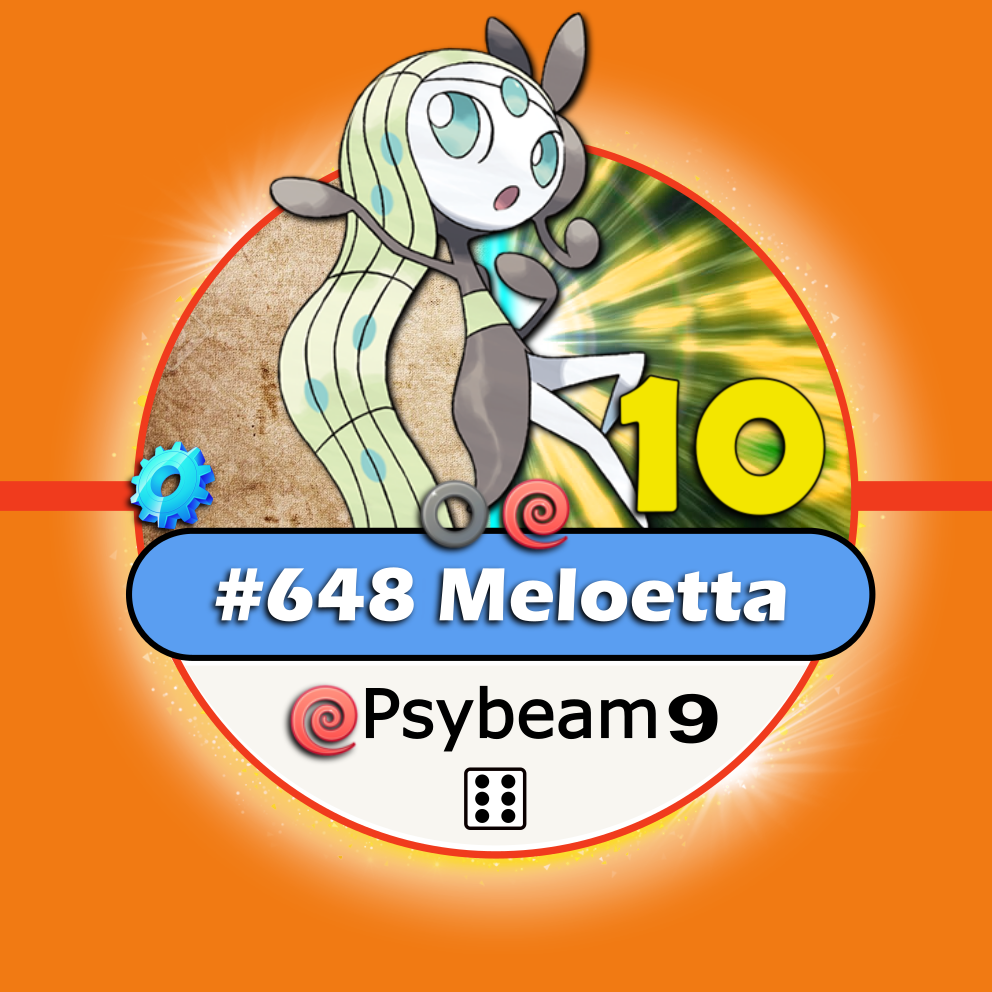
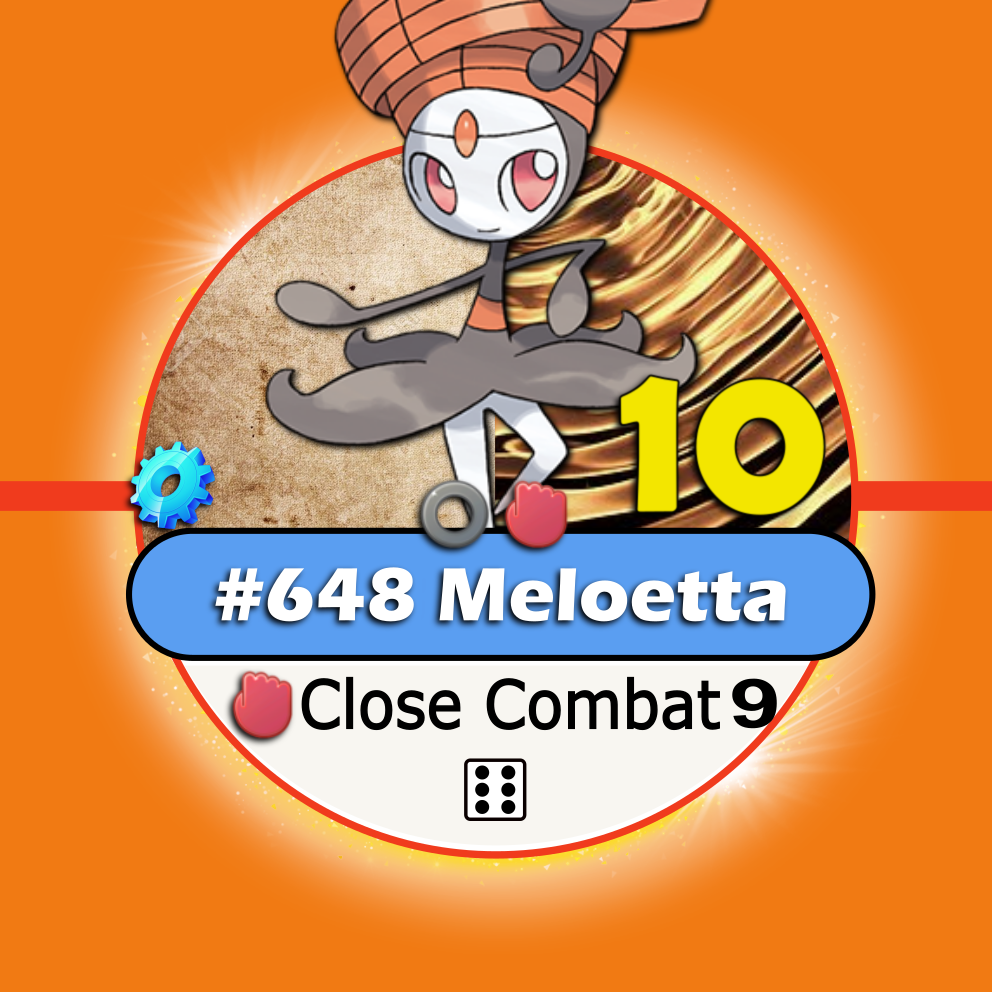
Meloetta
When having a “Meloetta”, players can choose (BEFORE starting a battle) between its “normal/psychic”and “normal/fighting” forms. “Meloetta” can only learn “normal” type “ultimate” attack.
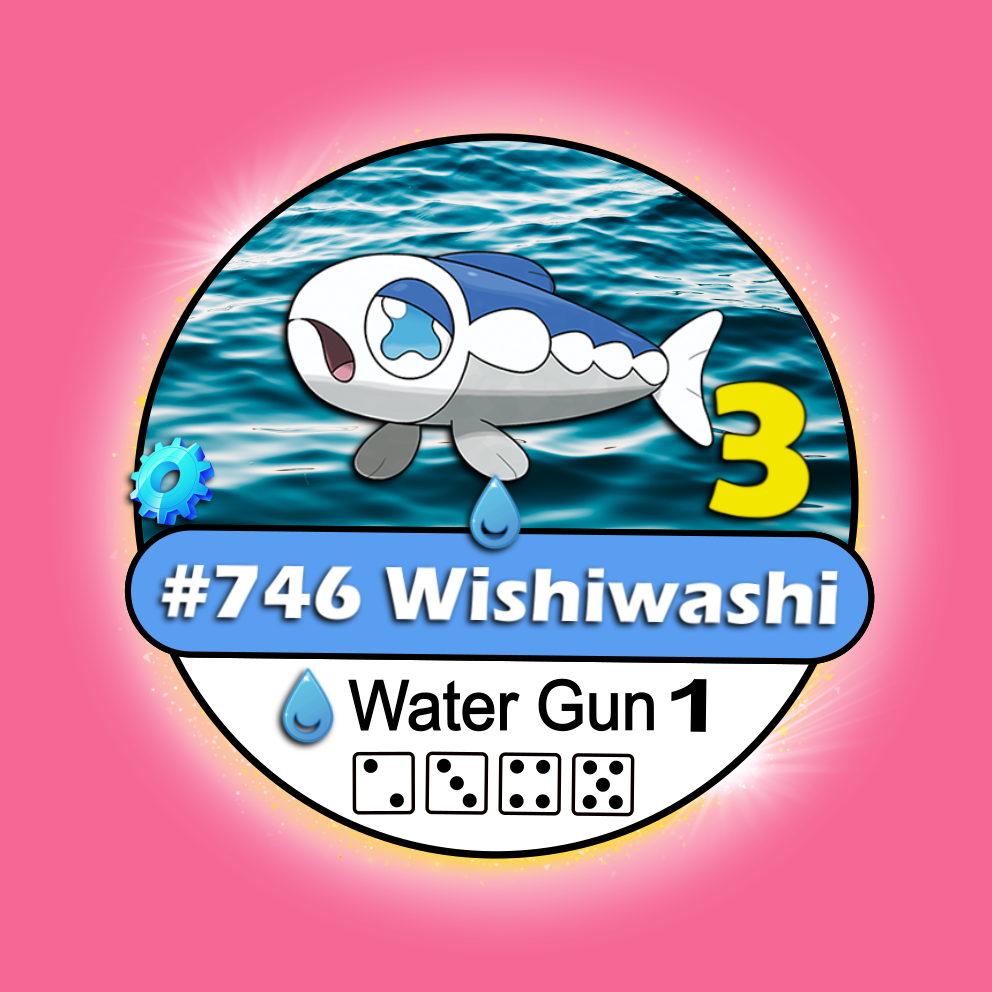
Wishiwashi
When fighting against a wild “Whishiwhasi”, it will change into a “Whishiwhasi School” red chip after only two (2) hits (attacks). This way, becoming a whole different and tougher opponent.
The “Whishiwhasi School” chip then, should start the battle with the current “LP” plus the original chip’s “Life Rec” amount (in this case ‘+5’). Although, even if it was beaten as a “Whishiwhasi School” chip, the normal “Whishiwhasi” (pink chip) is the one able to be caught. *“Whishiwhasi School” red chip cannot be caught and should remain aside from the red chip’s bag (non-catchable).

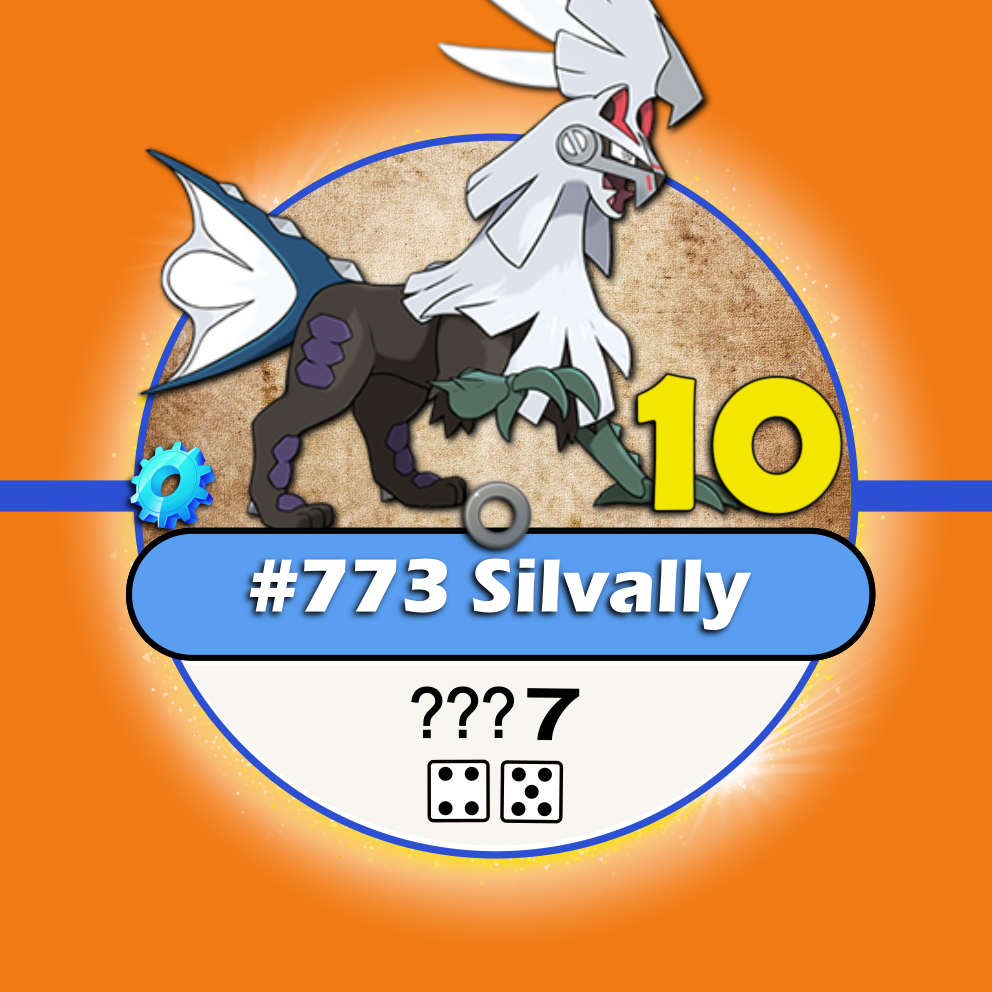
Silvally
When fighting with a “Silvally”, players can choose its attack type according to each opponent. *If fighting against It, its attack has no type, this way never triggering any advantage/disadvantage.
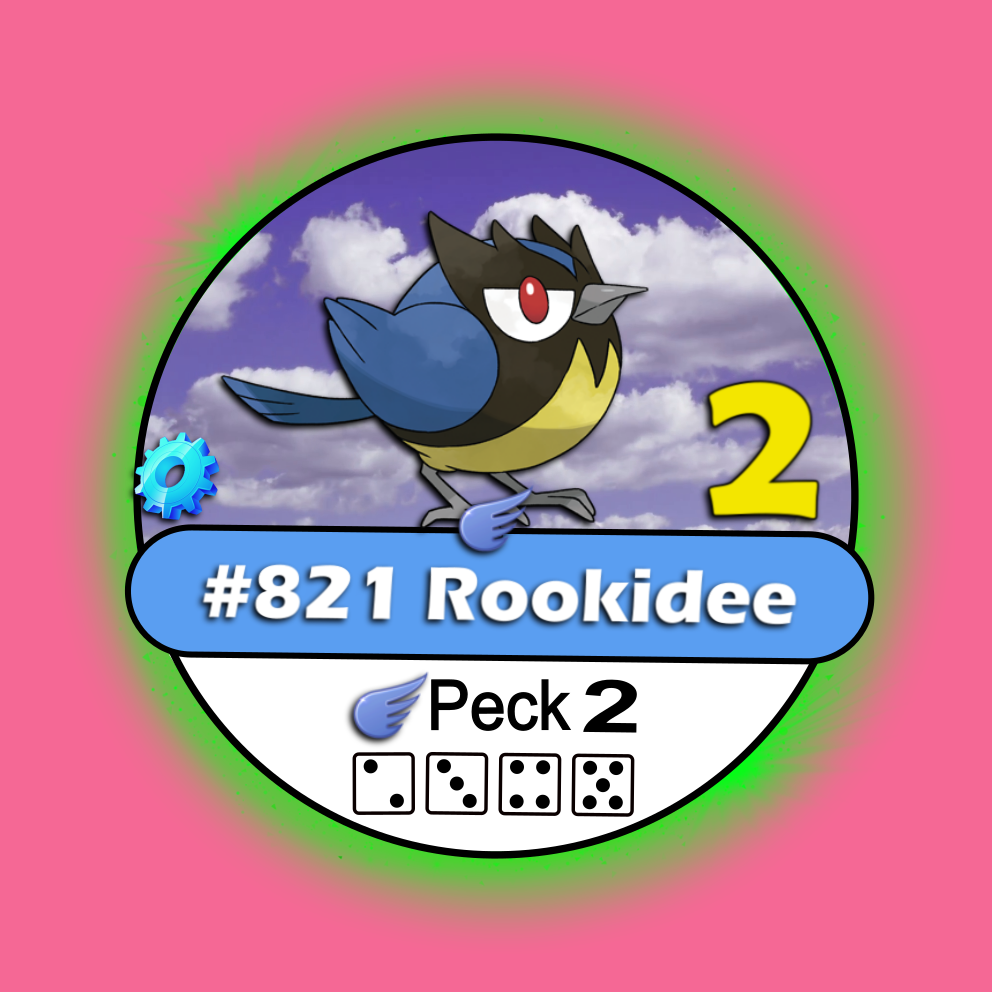
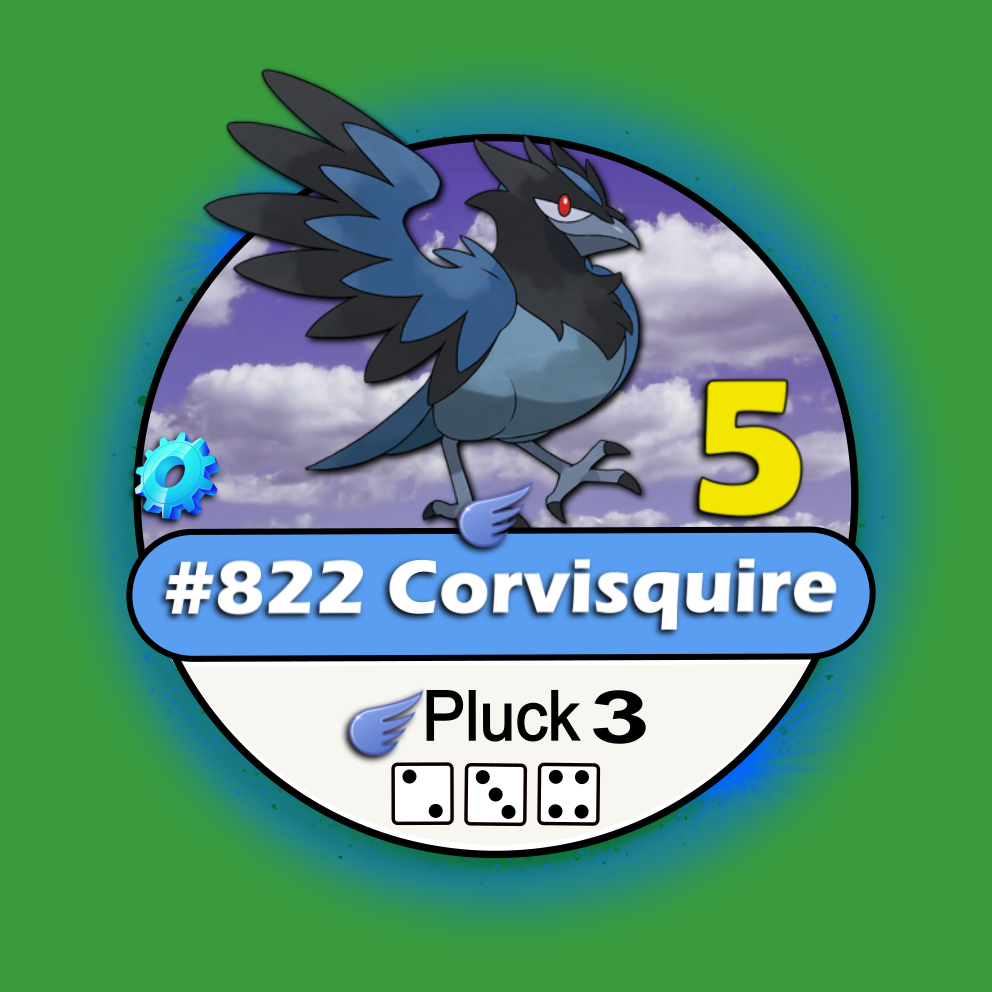
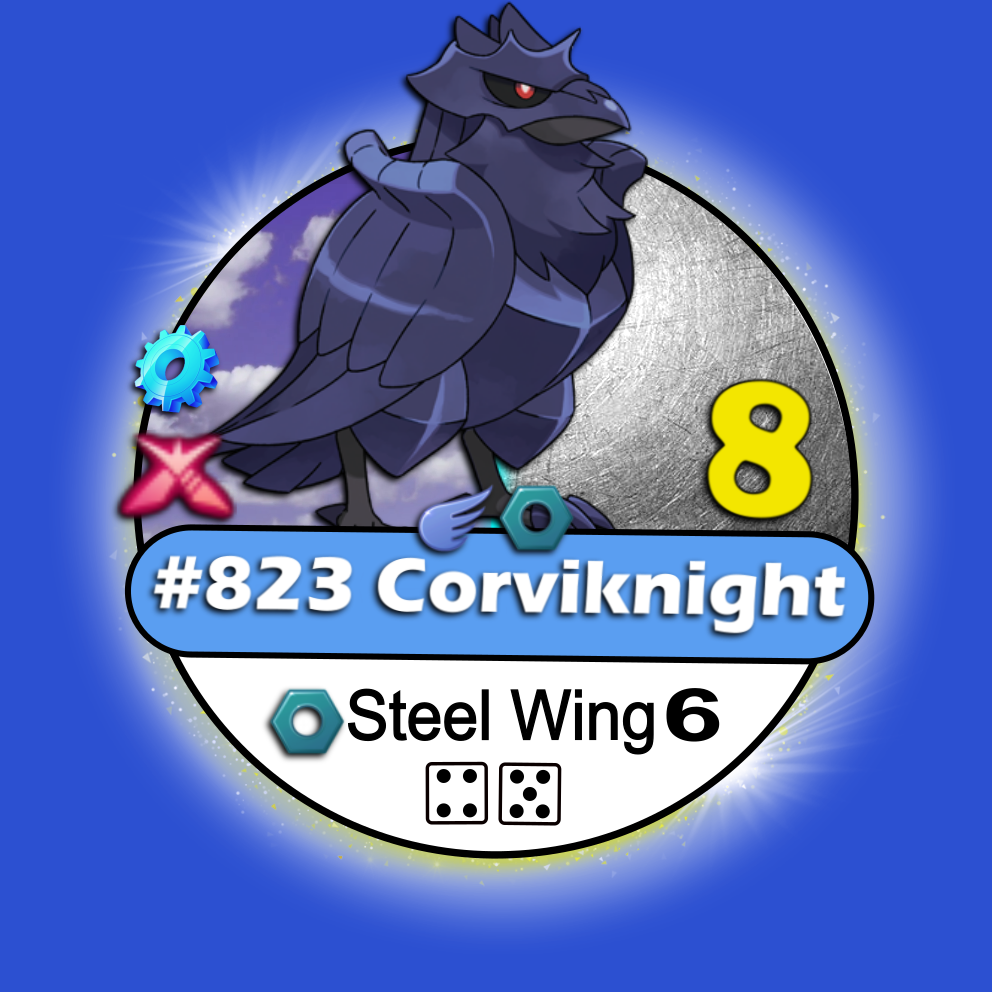
Rookidee/Corvsquire/Corviknight
When a “Rookidee”/“Corvsquire”/“Corviknight” is fighting against a “Tinkatink”/“Tinkatuff”/“Tinkaton”, it will always receive a bonus attack of "+3".
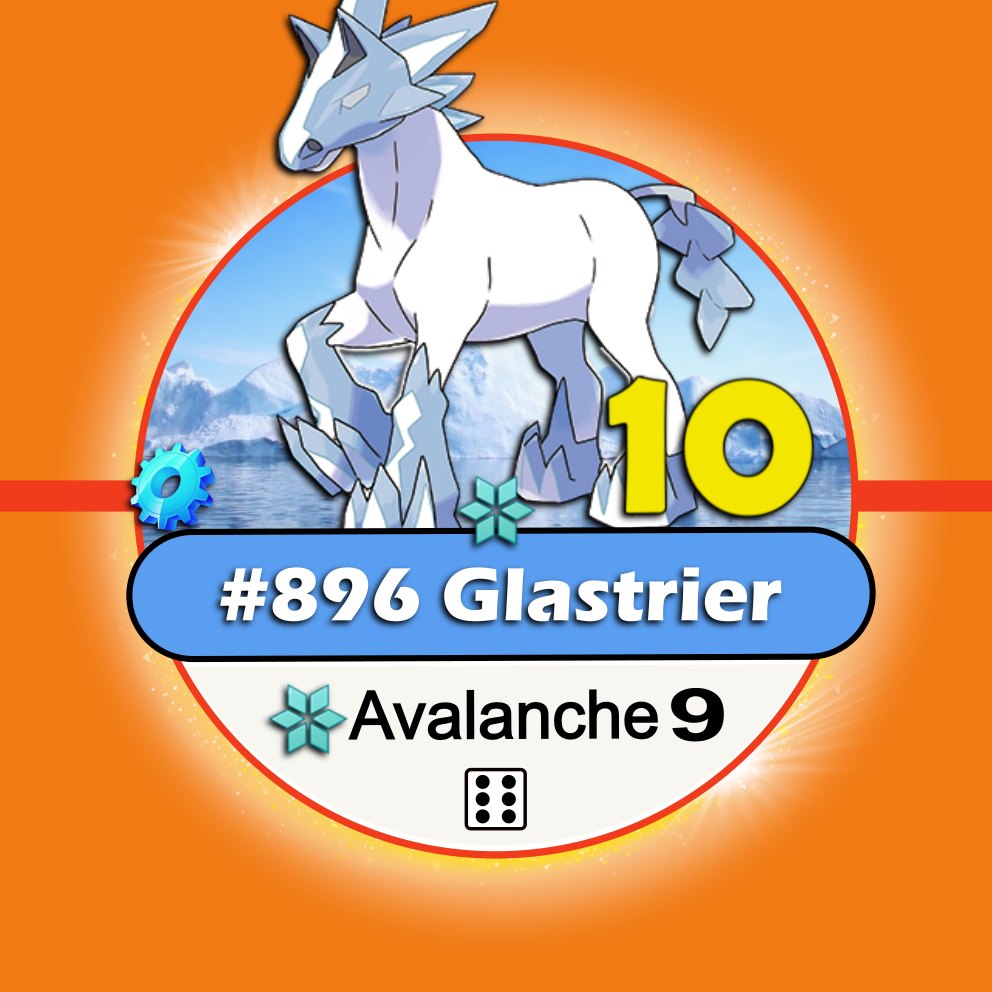
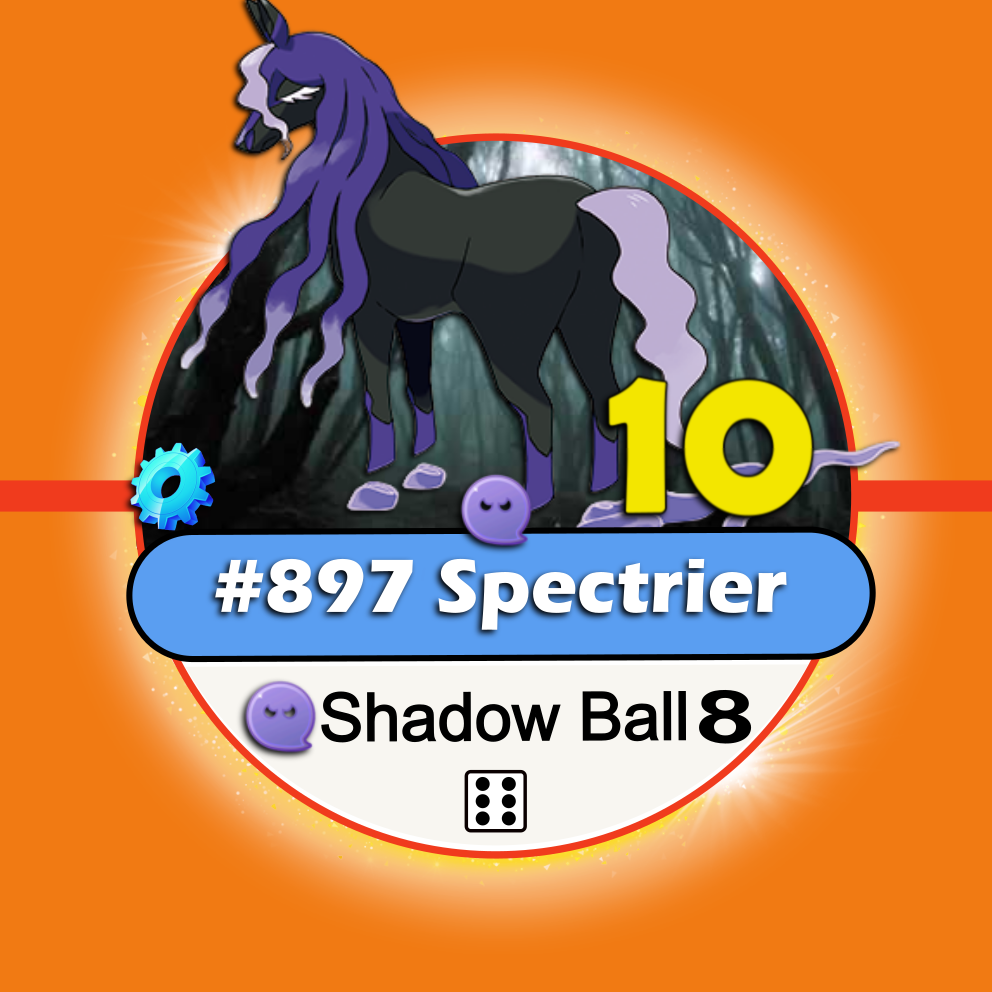
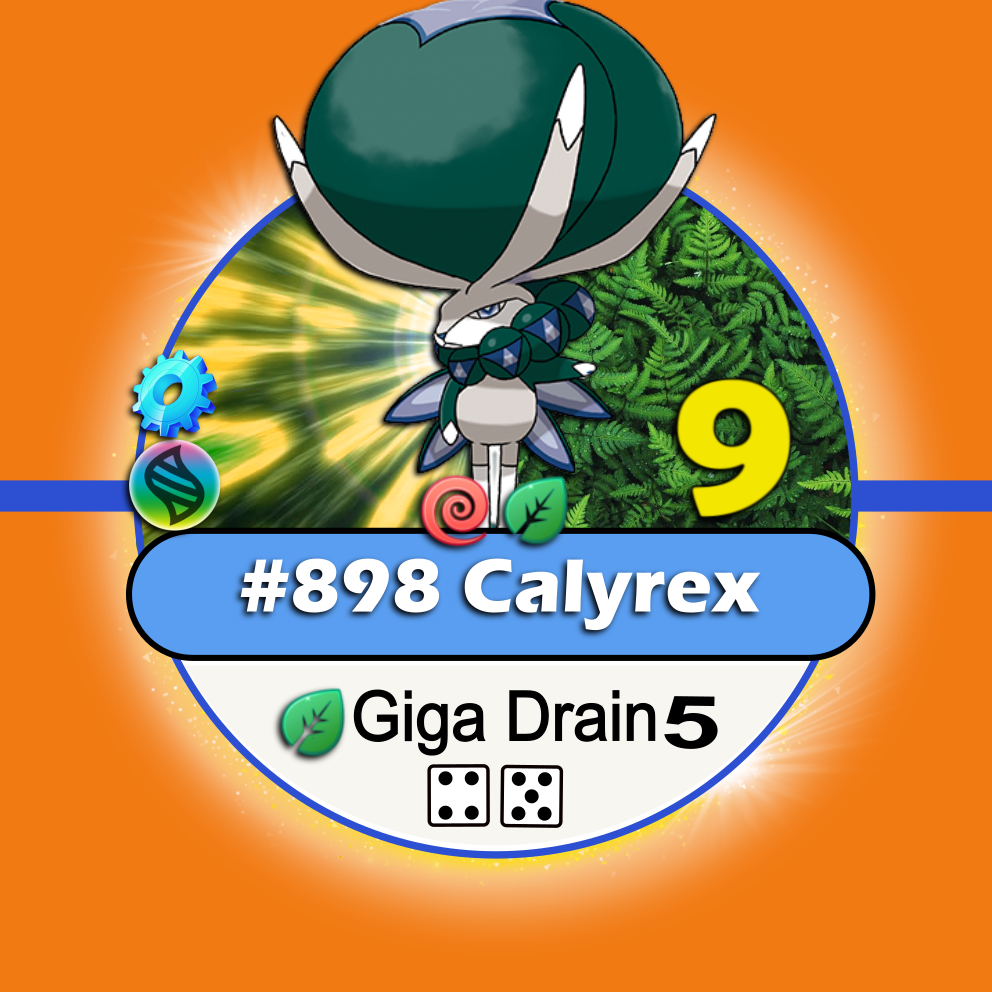
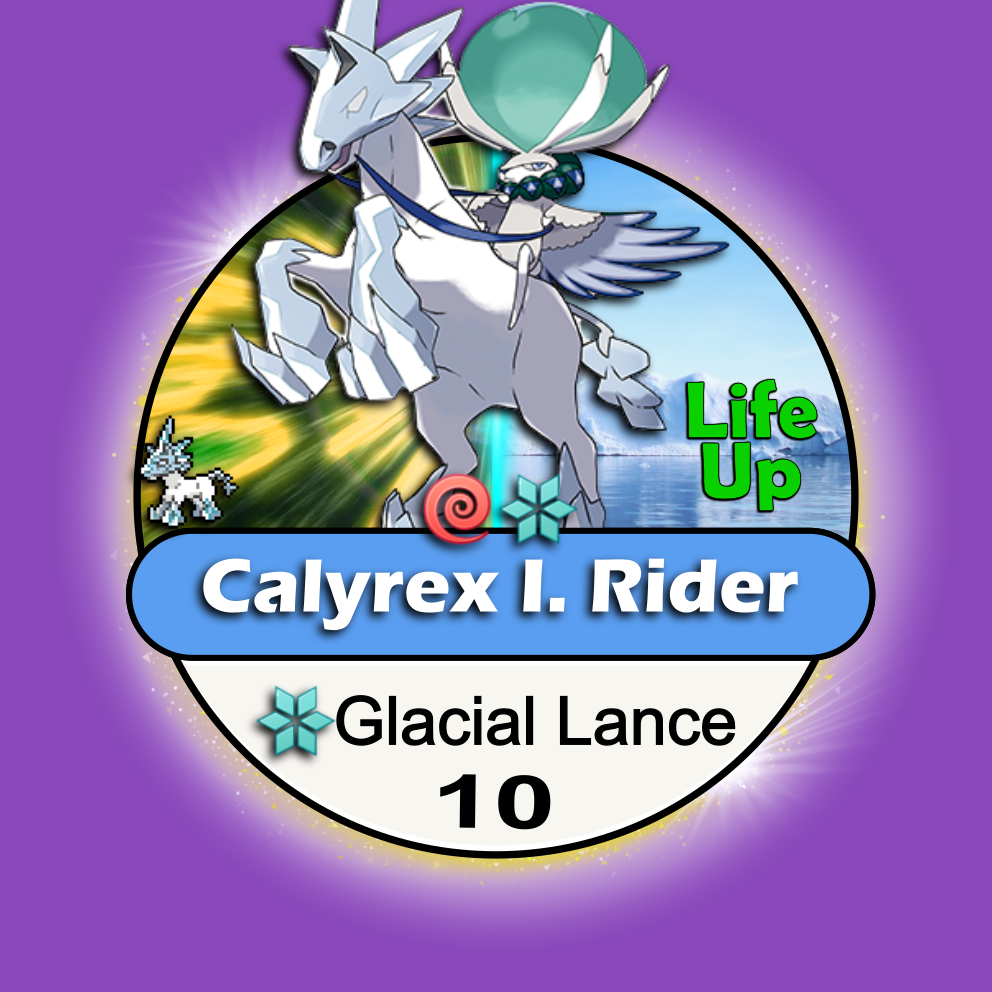
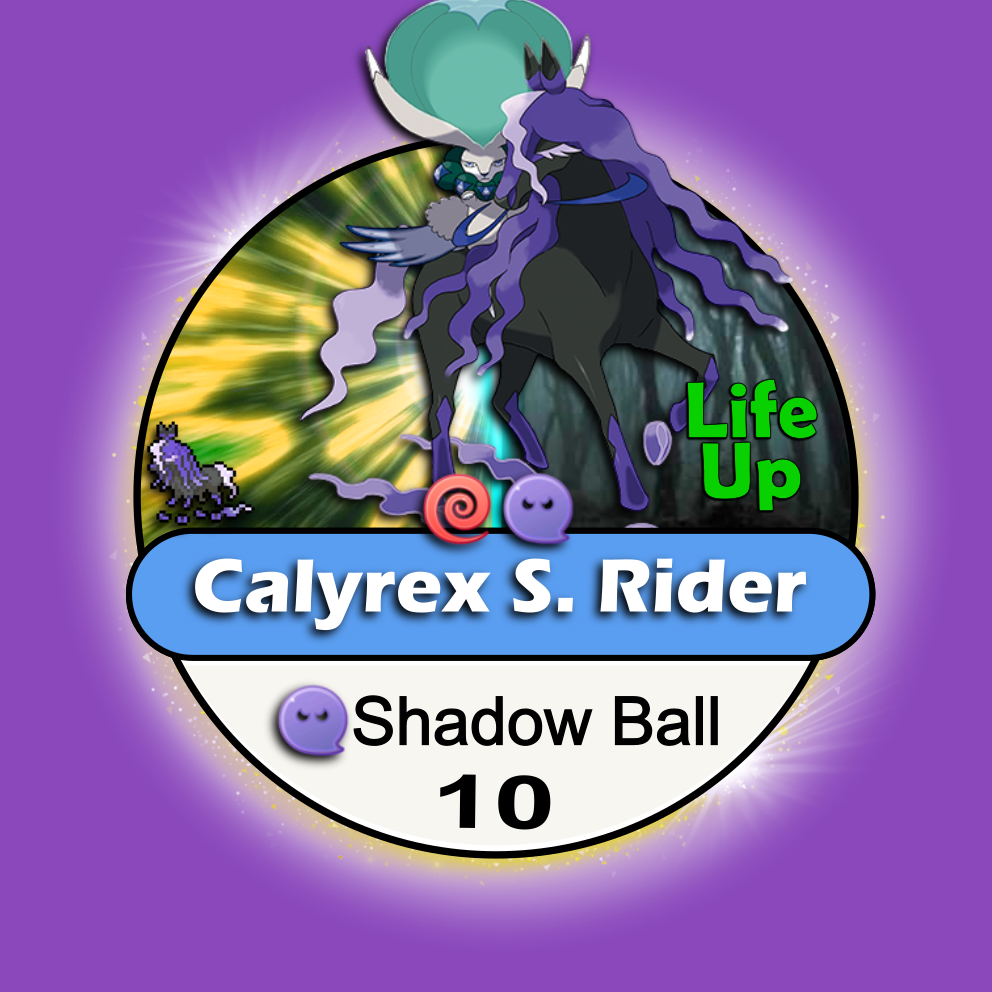
Glastrier/Spectrier/Calyrex
When having an active “Glastrier”/“Spectrier” in their hands, along with an active “Calyrex”, players can choose to “mega evolve” (6.11) “Calyrex” into a “Calyrex Ice Rider” (using “Glastrier”) or a “Calyrex Shadow Rider” (using a “Spectrier”). *If the “mega evolved“ form loses the battle, both Pokémon (“Glastrier”/“Spectrier” and “Calyrex”) shall return knocked out to the player’s hand.
Tinkatink/Tinkatuff/Tinkaton
When a “Tinkatink”/“Tinkatuff”/“Tinkaton” is fighting against a “Pawniard”/“Bisharp”/“Kingambit” or “Rookidee”/“Corvisquire”/“Corviknight”, it will always receive a bonus attack of "+3".

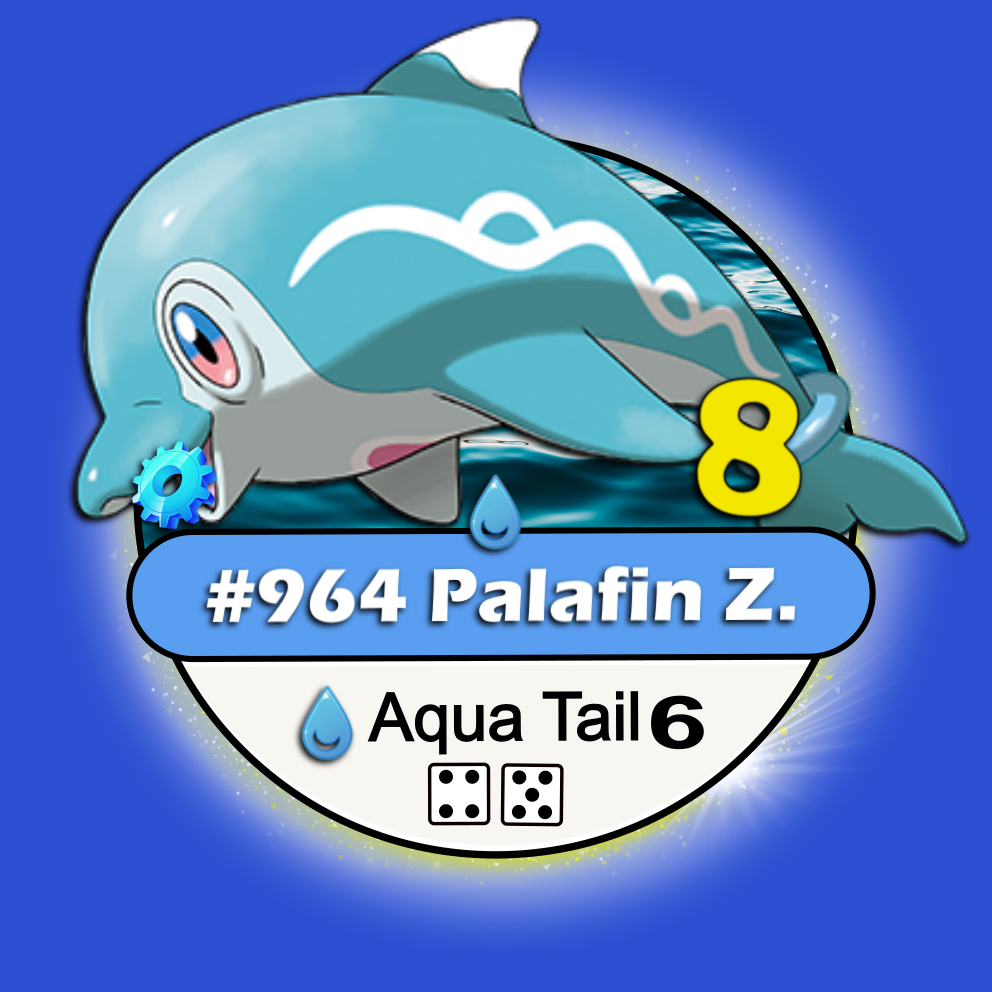
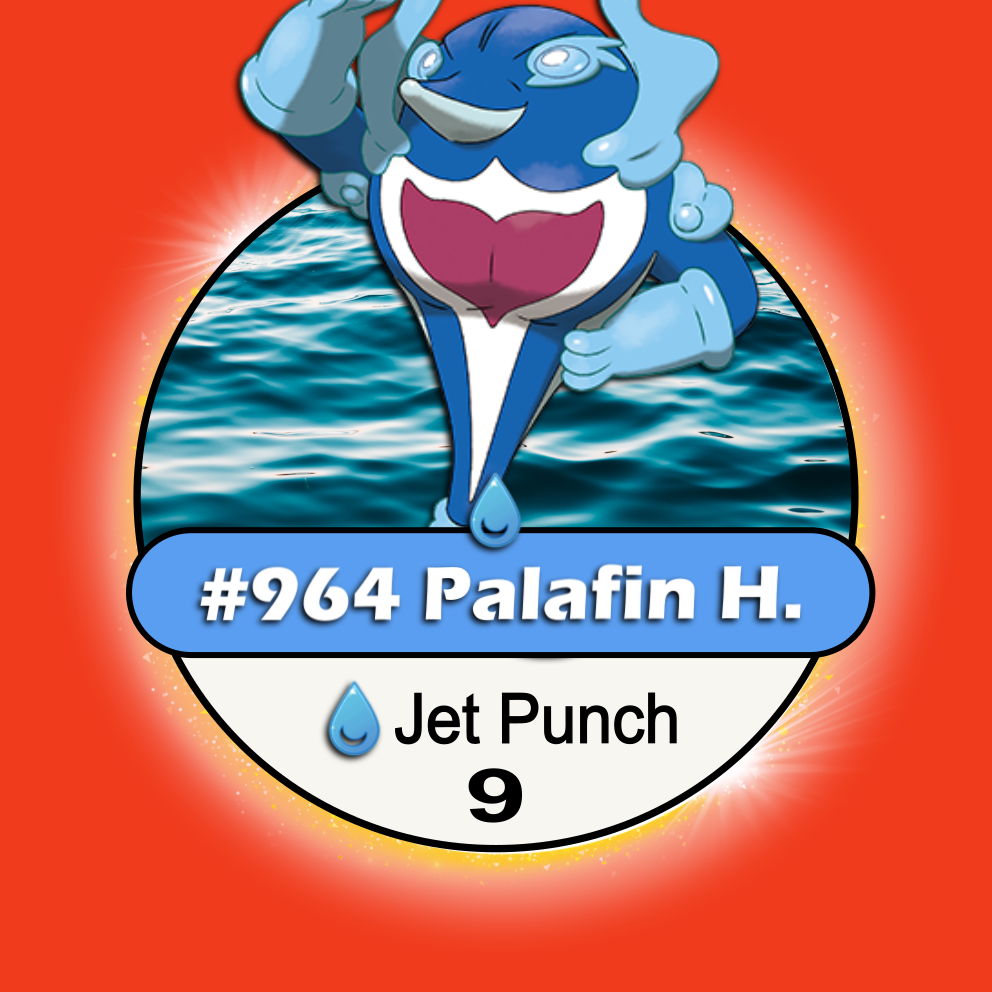
Palafin
When fighting against a wild “Palafin Zero”, it will change into a “Palafin Hero” red chip after only one (1) hit (attack). This way, becoming a whole different and tougher opponent.
The “Palafin Hero” chip then, should start the battle with the current “LP” plus the original chip’s “Life Rec” amount (in this case ‘+15’). Although, even if it was beaten as a “Palafin Hero” chip, the normal “Palafin Zero” (pink chip) is the one able to be caught (in case of wild encounter). *“Palafin Hero” red chip cannot be caught and should remain aside from the red chip’s bag (non-catchable).
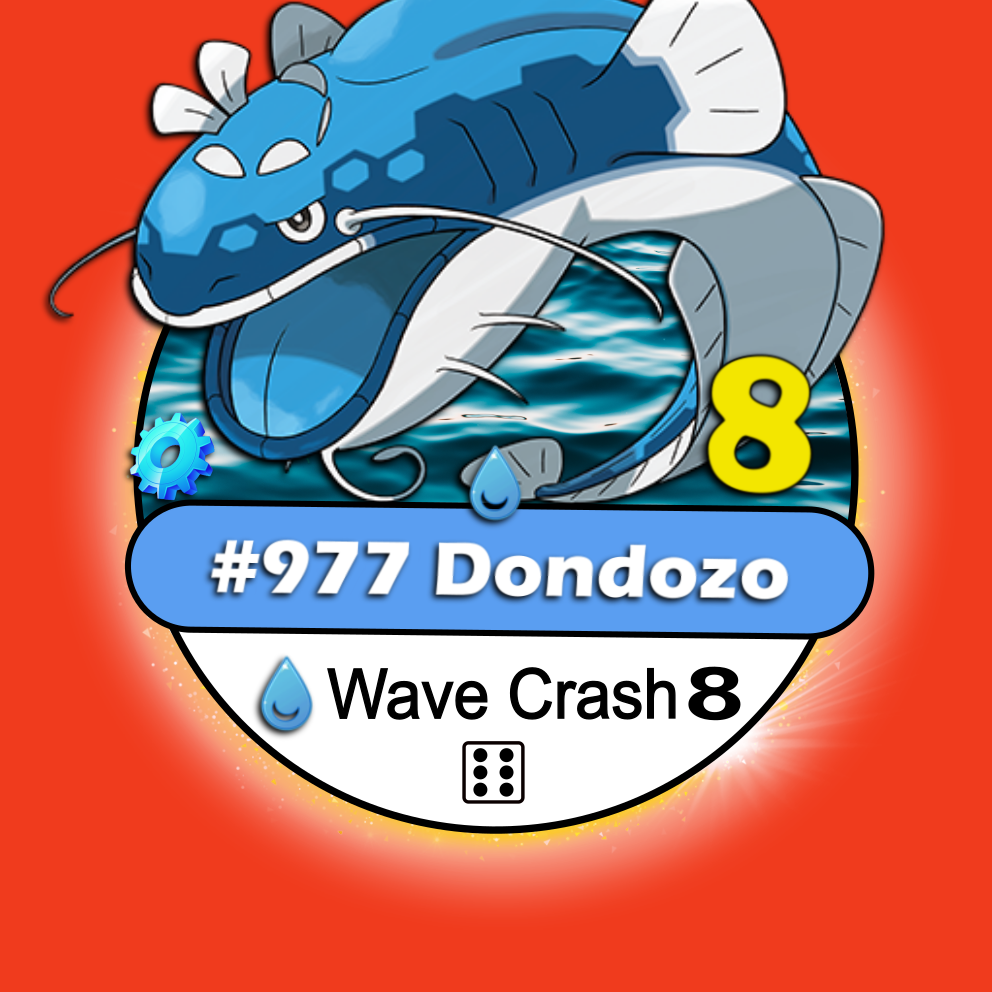
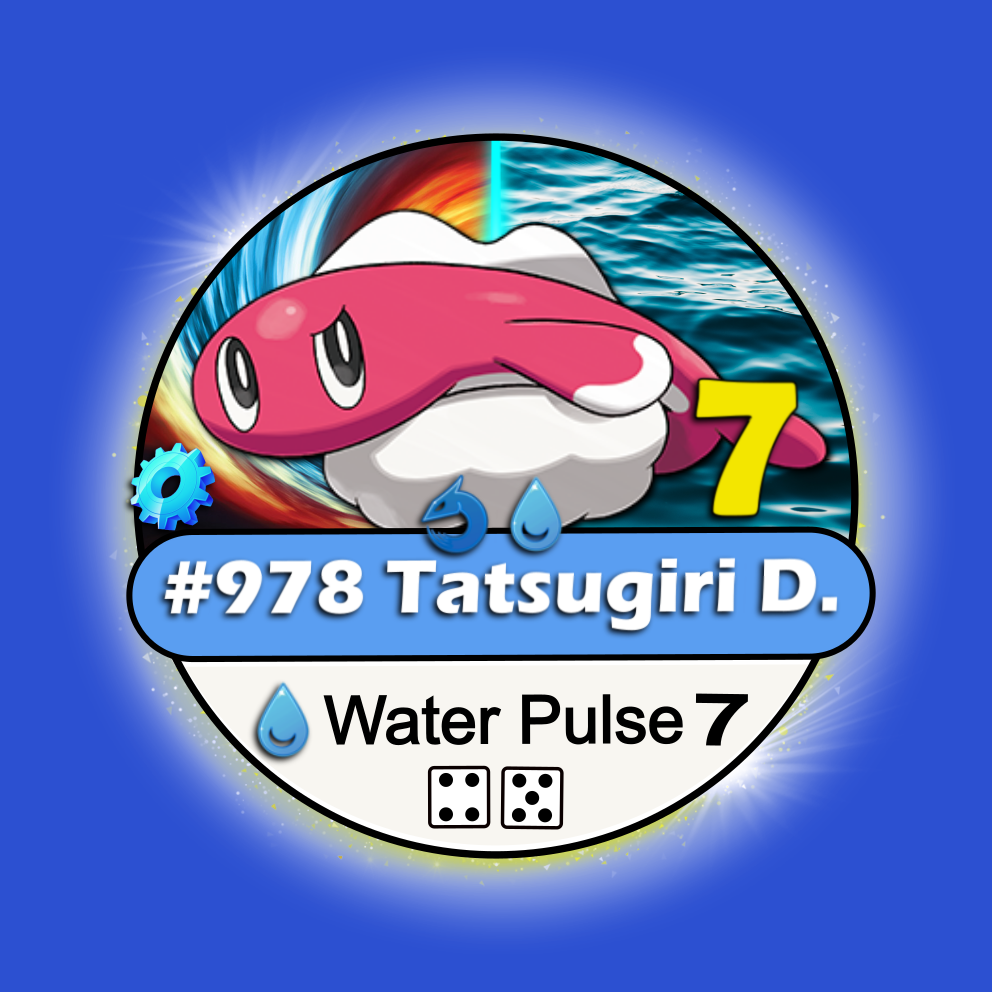
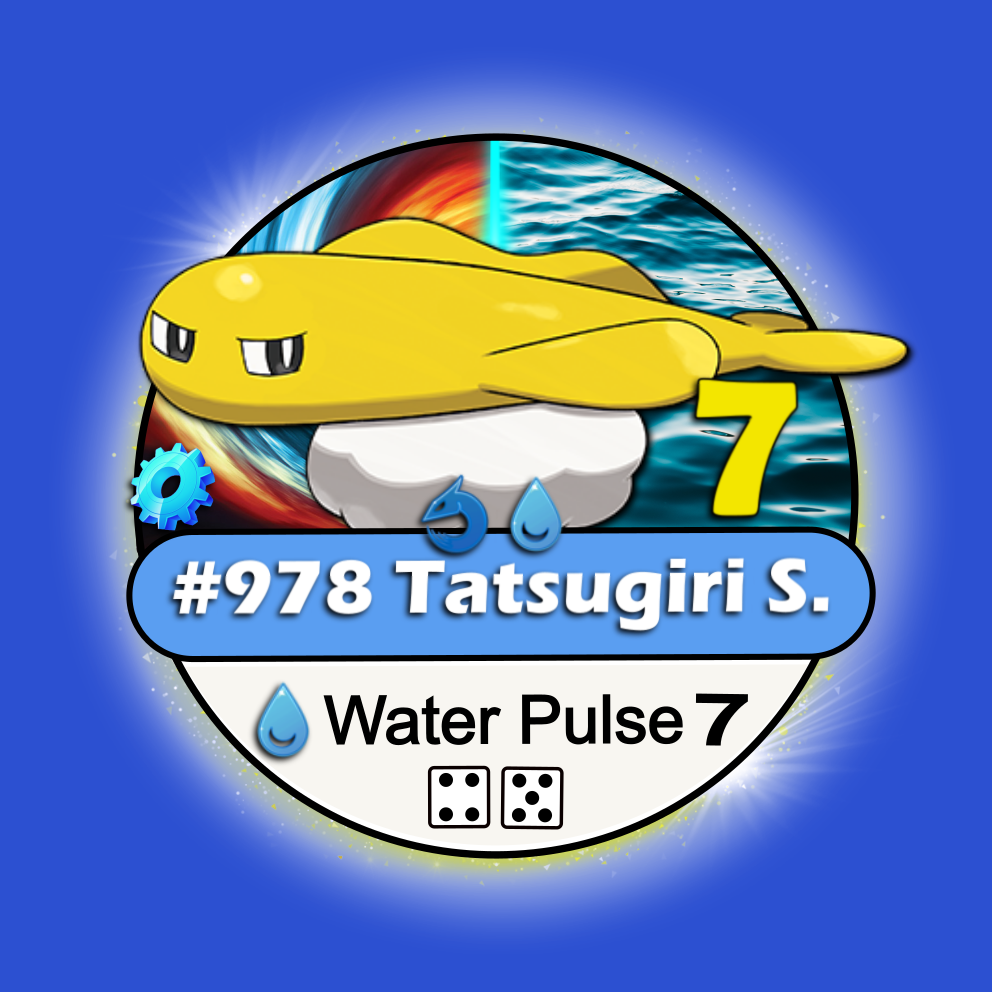
Dodonzo/Tatsugiri
When having an active “Tatsugiri” on their hands, players can choose to flip it (knock it out) in order to prevent a "Dodonzo" to be knocked out in battle (making it survive with 1 "LP"). *If a player has more than one (1) "Tatsugiri", they can use this feature until all of them got flipped out.

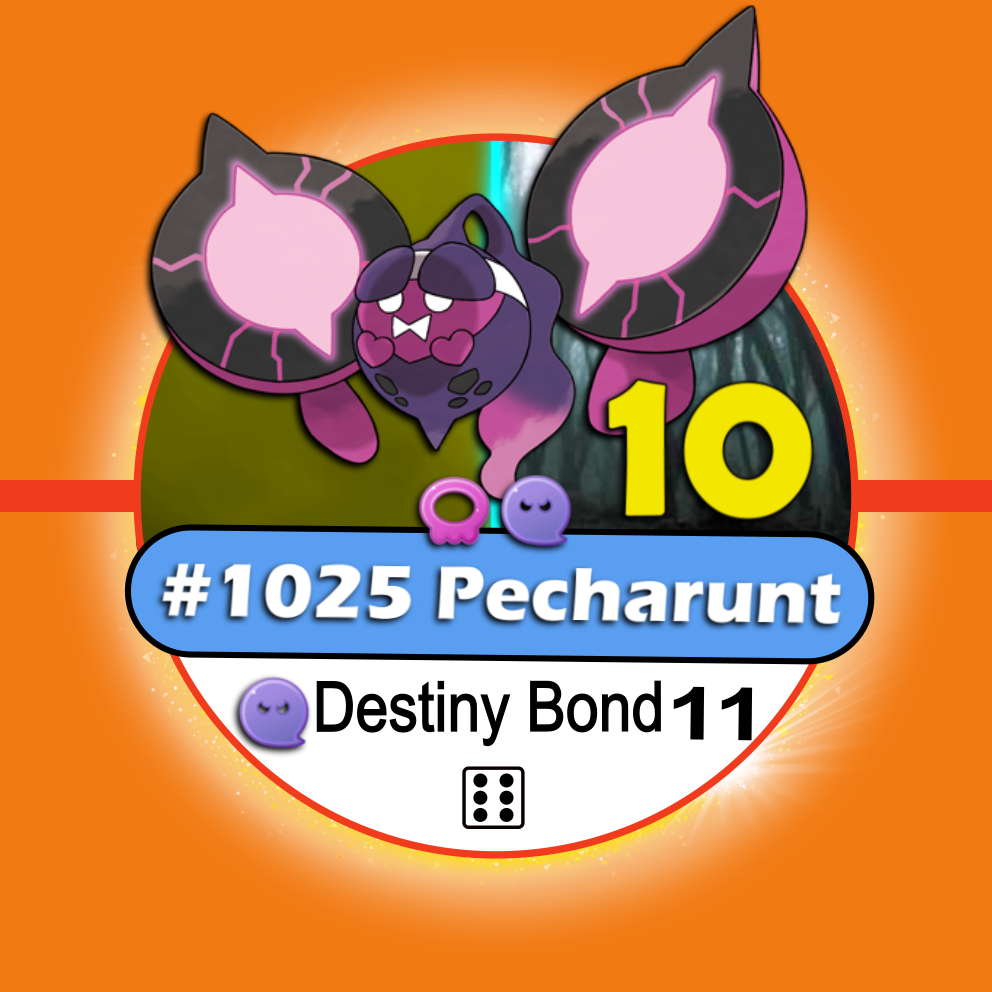
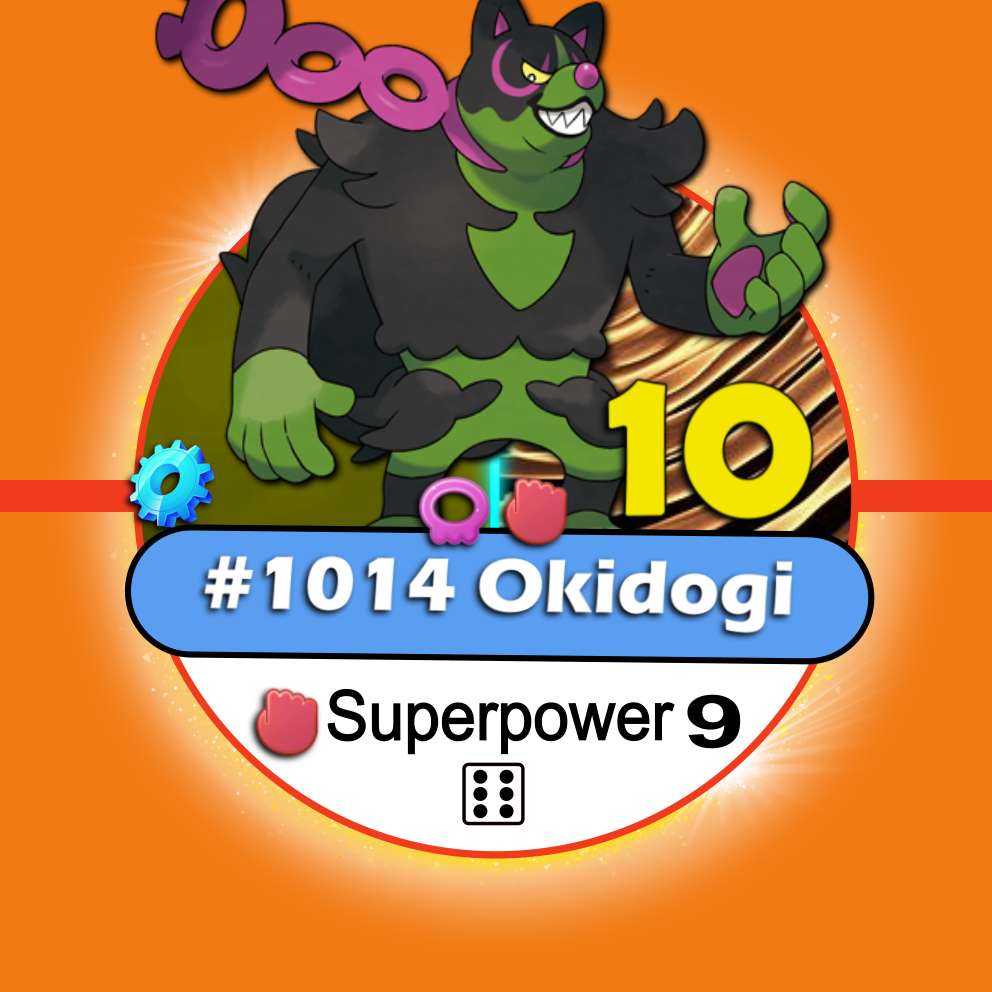
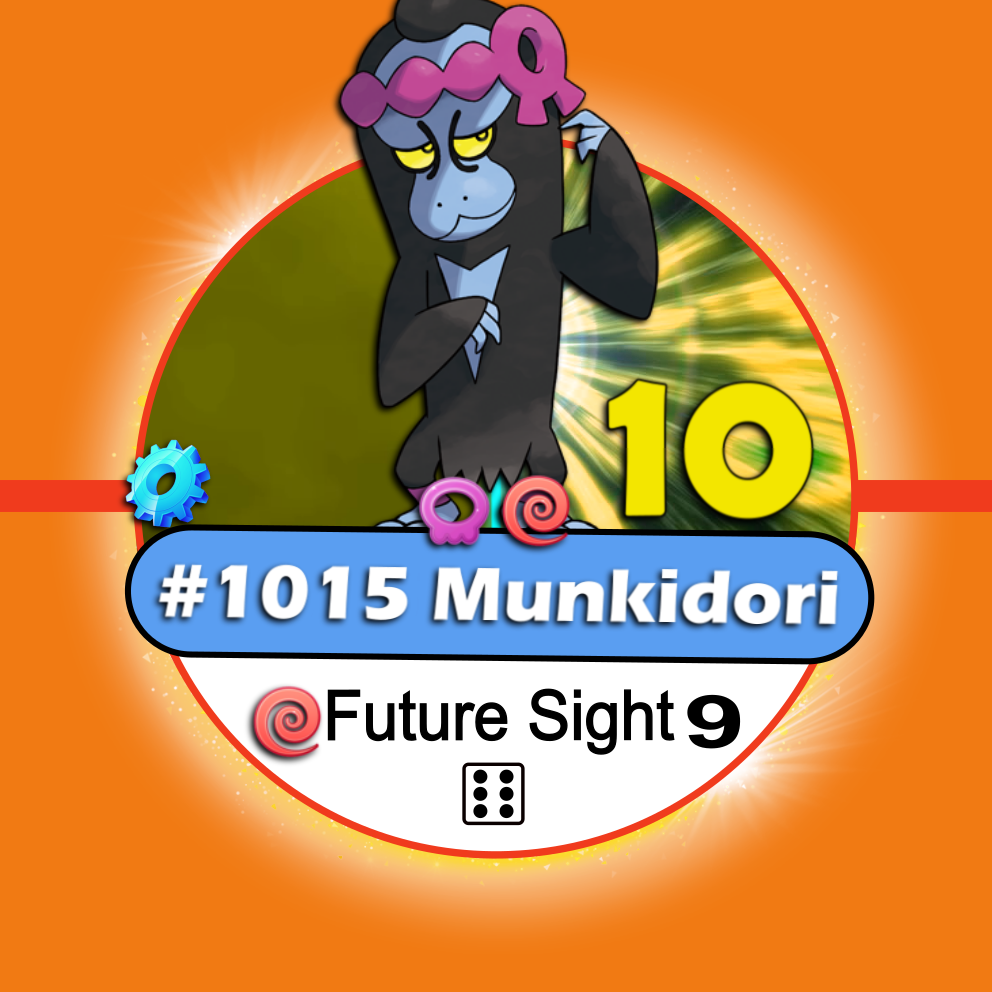
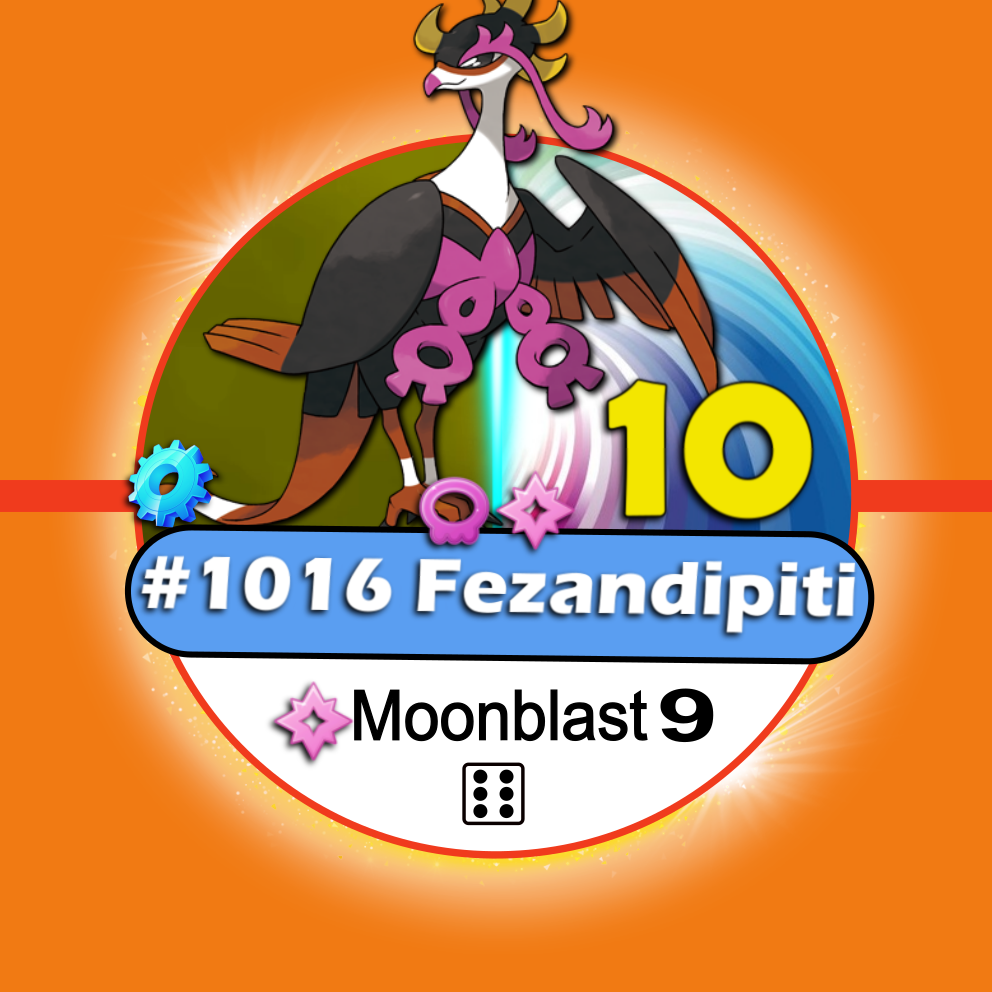
Okidogi/Munkidori/Fezandipiti (Loyal Three)
When the players have an active “Pecharunt” on their hands, any of their “Loyal Three” will always receive a bonus attack of “+5” in a battle.
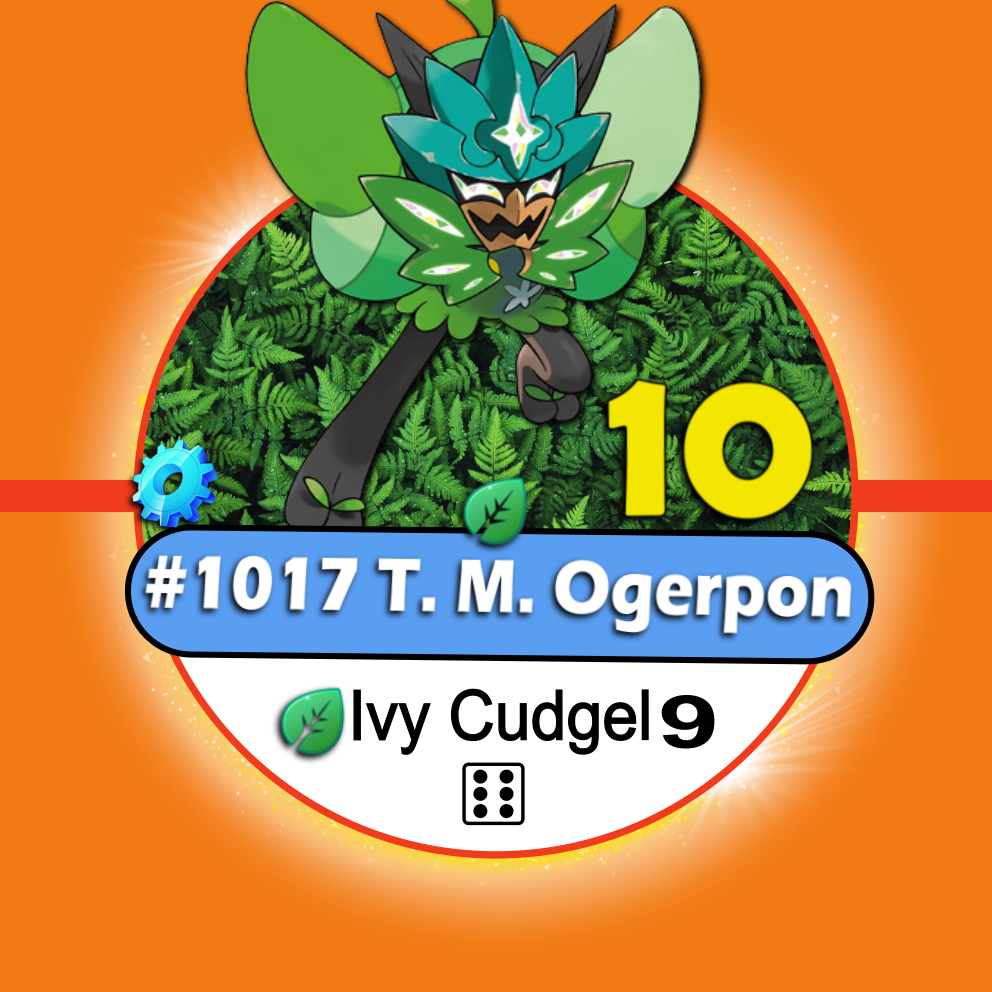
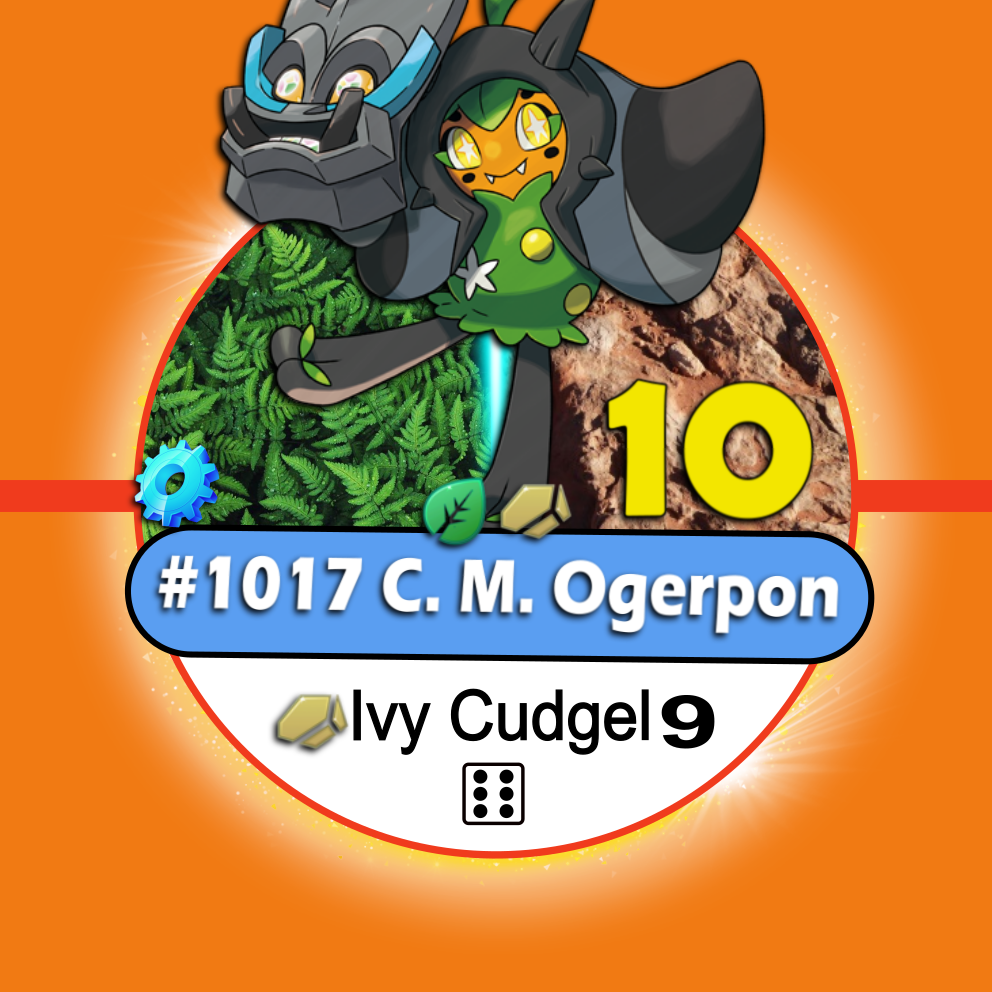
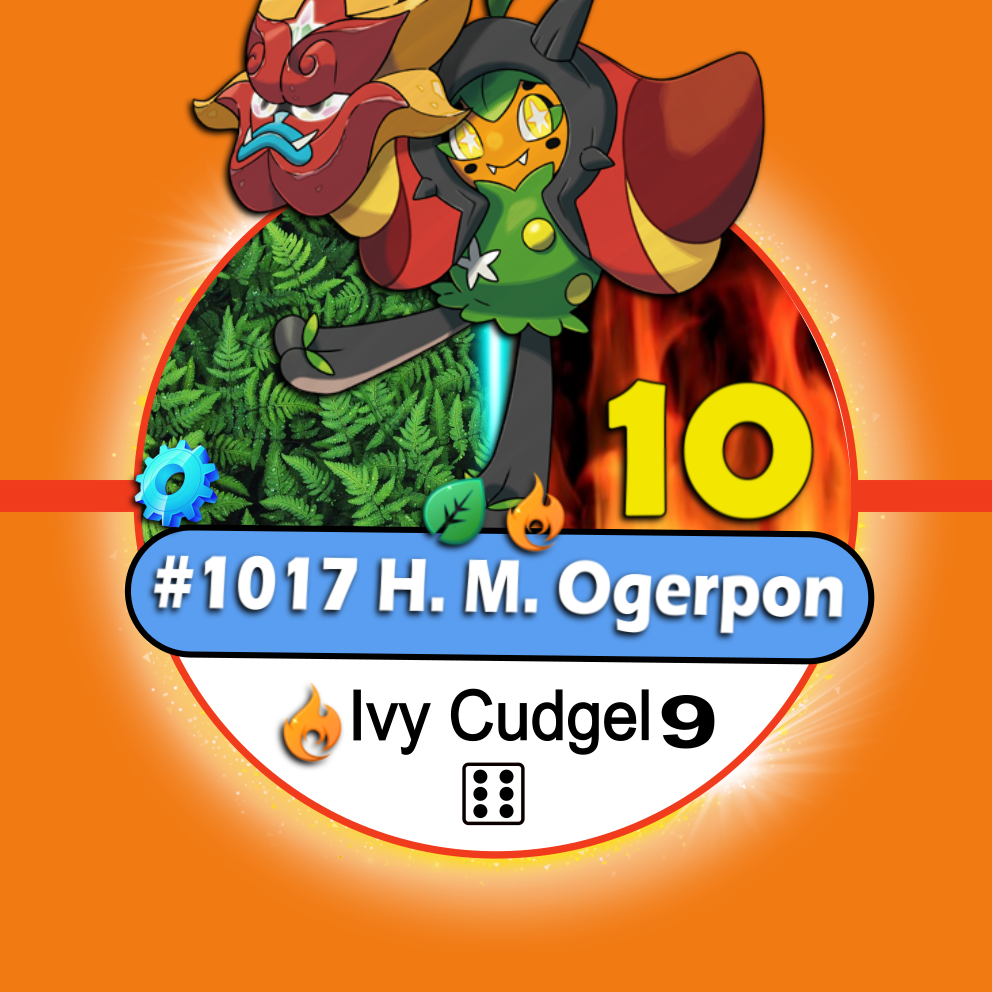
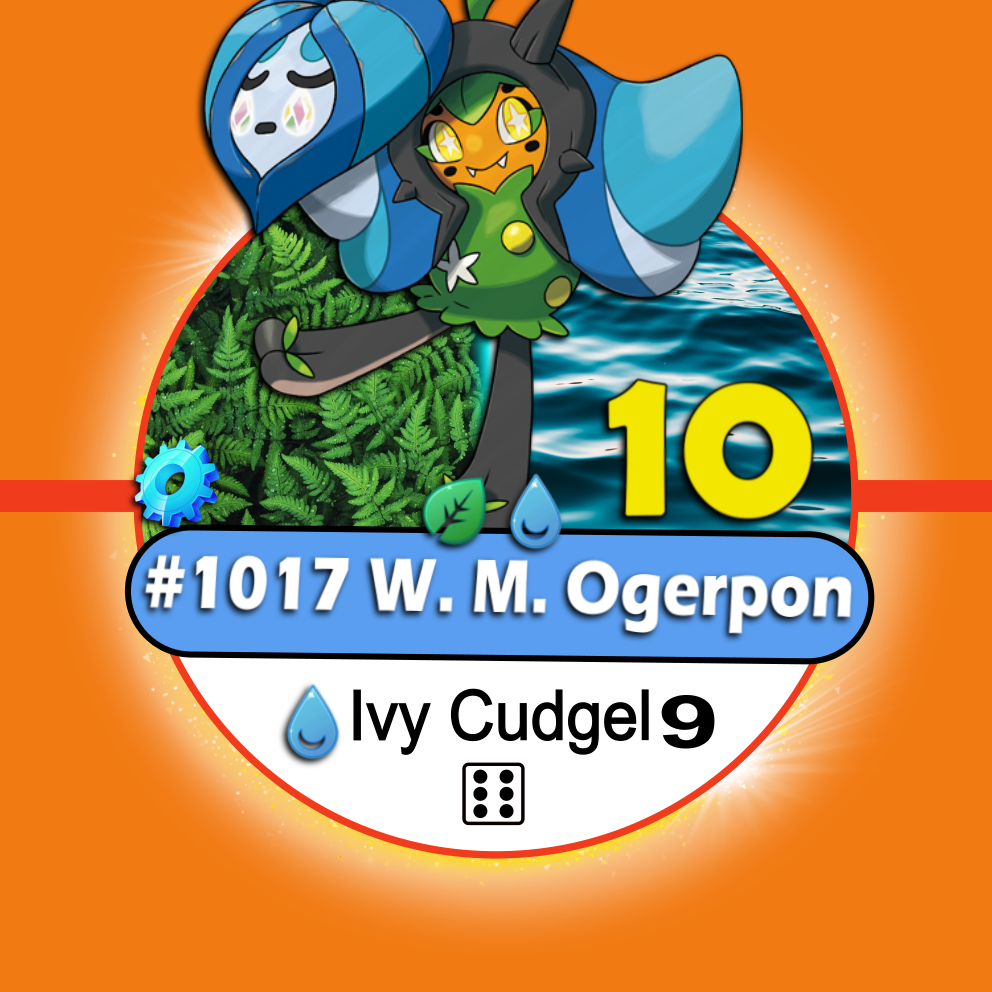
Ogerpon
When having a “Ogerpon”, players can choose between its different type forms (BEFORE starting a battle). The available forms are “grass”, “grass/rock”, “grass/fire” and “grass/water”. “Ogerpon” can only learn “grass” type “ultimate” attack.
Terapagos
When using a “Tera Orb” item card on a “Terapagos” (in battle), it will always receive a bonus attack of “+10” (no die roll needed) and change its form into a “Tera Terapagos” (blue chip).
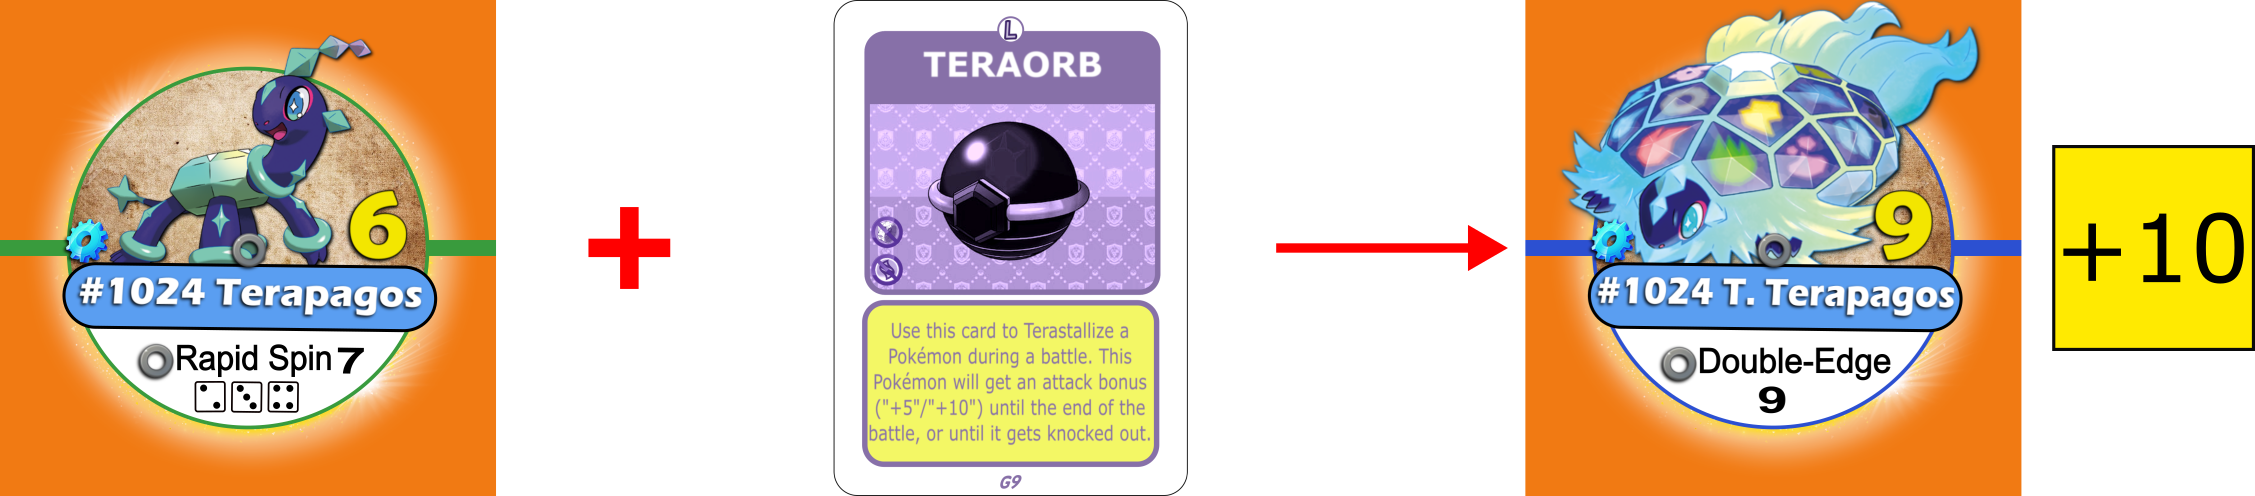
If a second “Tera Orb” item card is used, the “Terapagos” will change its form into a “Stellar Terapagos” (red chip).
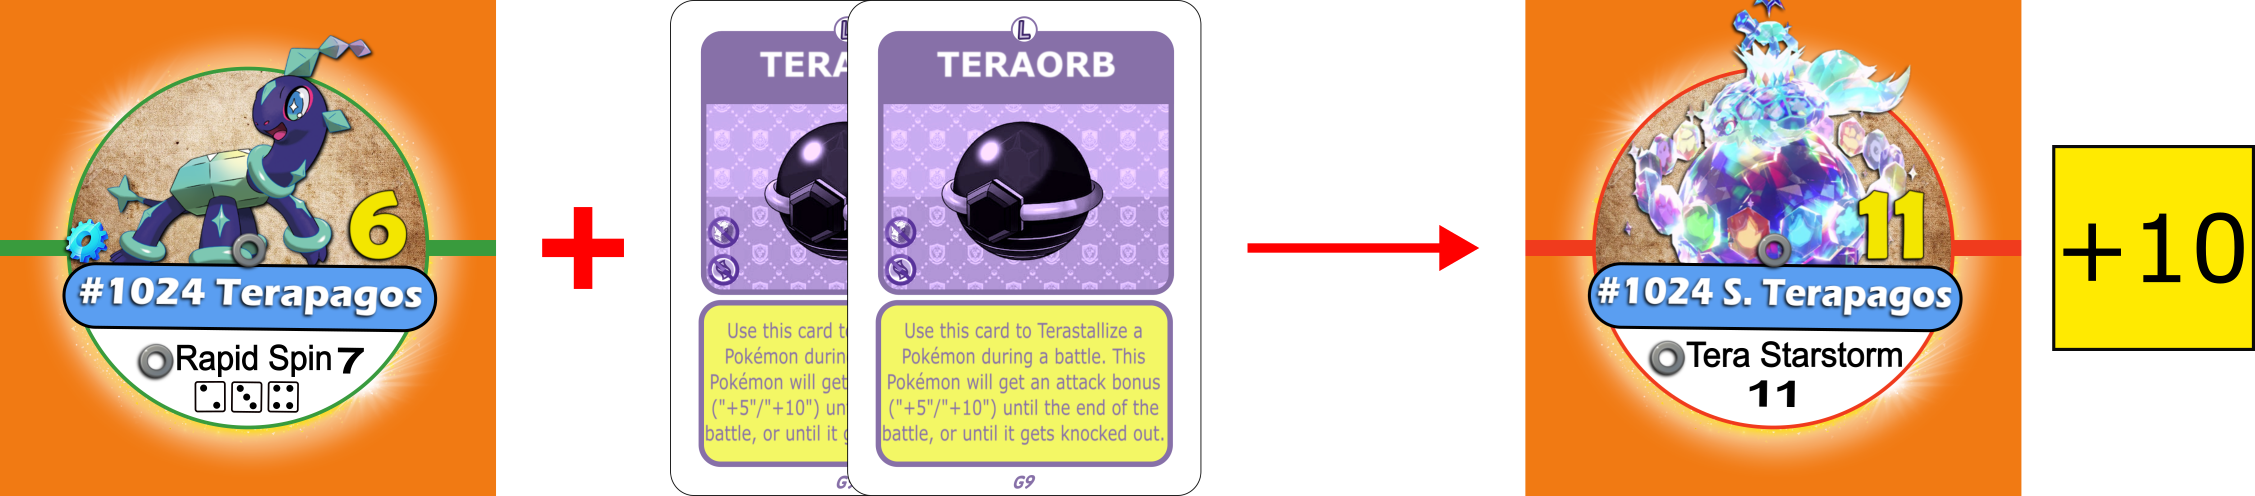
*The “Tera Orb” card(s) shall be used before the battle starts (first turn). Returning to its previous form is not an option unless the battle ends. “Tera Terapagos/Stellar Terapagos” chips cannot be caught, so they should remain aside from the chip bags (non-catchable).
Evolutions
Not all Pokémon, but most of them, evolve into a better one(s). For sure, it’s one of the most exciting features of the whole Pokémon universe and one of the main differences between this game series and the original one. But now, just like at the “console games”, players can catch, train and evolve their Pokémon, if they want.
*In this game series, Pokémon do not evolve during a battle (including duels), only afterwards, and players can only hold the evolution when it is regarding their STARTER Pokémon.
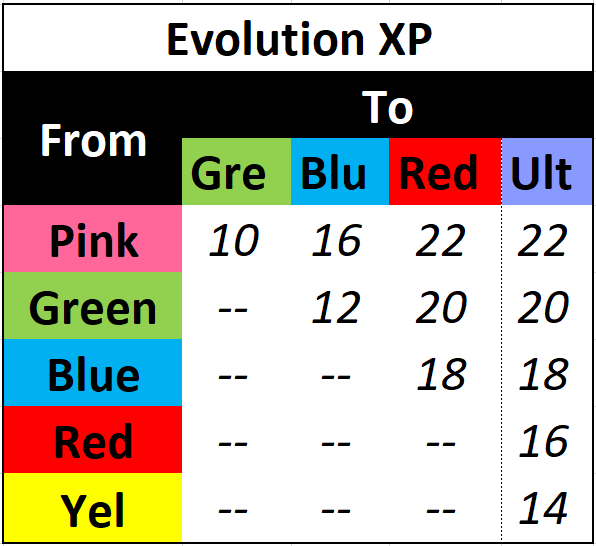
When evolution does occur (not mega ones), it can happen in two (2) different ways, once or twice. Despite the case, an specific amount of “Experience Points” (XP) is needed according to the Pokémon's color label and the one it is going to evolve into. *The aura around the Pokémon’s chip art indicate the color of its respective evolution’s chip.
Remember that even having all the needed XP (or using stone), players can only achieve the evolution if their Pokémon is active/not knocked out (not flipped out) in their hand.
Although, even that the great majority of Pokémon follow the previous "XP" rules for achieving the evolution, couple of them (44) can alternatively do so through the use of an "evolution stone" instead.
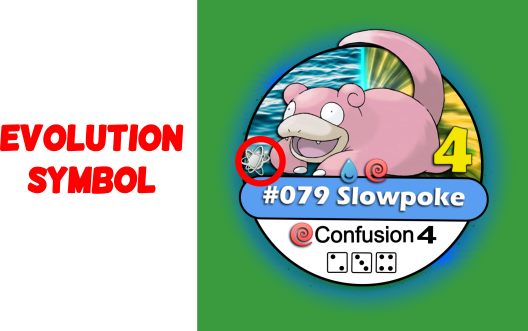
On top of that, some even have specific ways to define their next form. *These Pokémon's chips display a silver evolution icon on the left corner of the Pokémon's art.
Let’s check these specific cases:
Charizard
When mega evolving a “Charizard” for the first time, players must roll a die (D6) to figure out which mega evolution they are going to get. After that it will always mega evolve into the same one until the end of the game. *Odd numbers result on “X” (fire/dragon) while even ones result on “Y” (fire/flying).

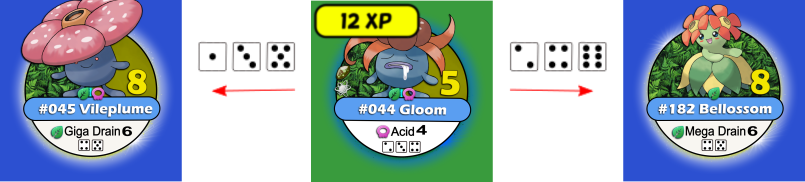
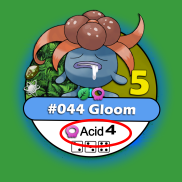
Gloom
When evolving a “Gloom”, players must roll a die (D6) to figure out which evolution they are going to get. *Odd numbers result on “Vileplume” while even ones result on “Bellossom”.
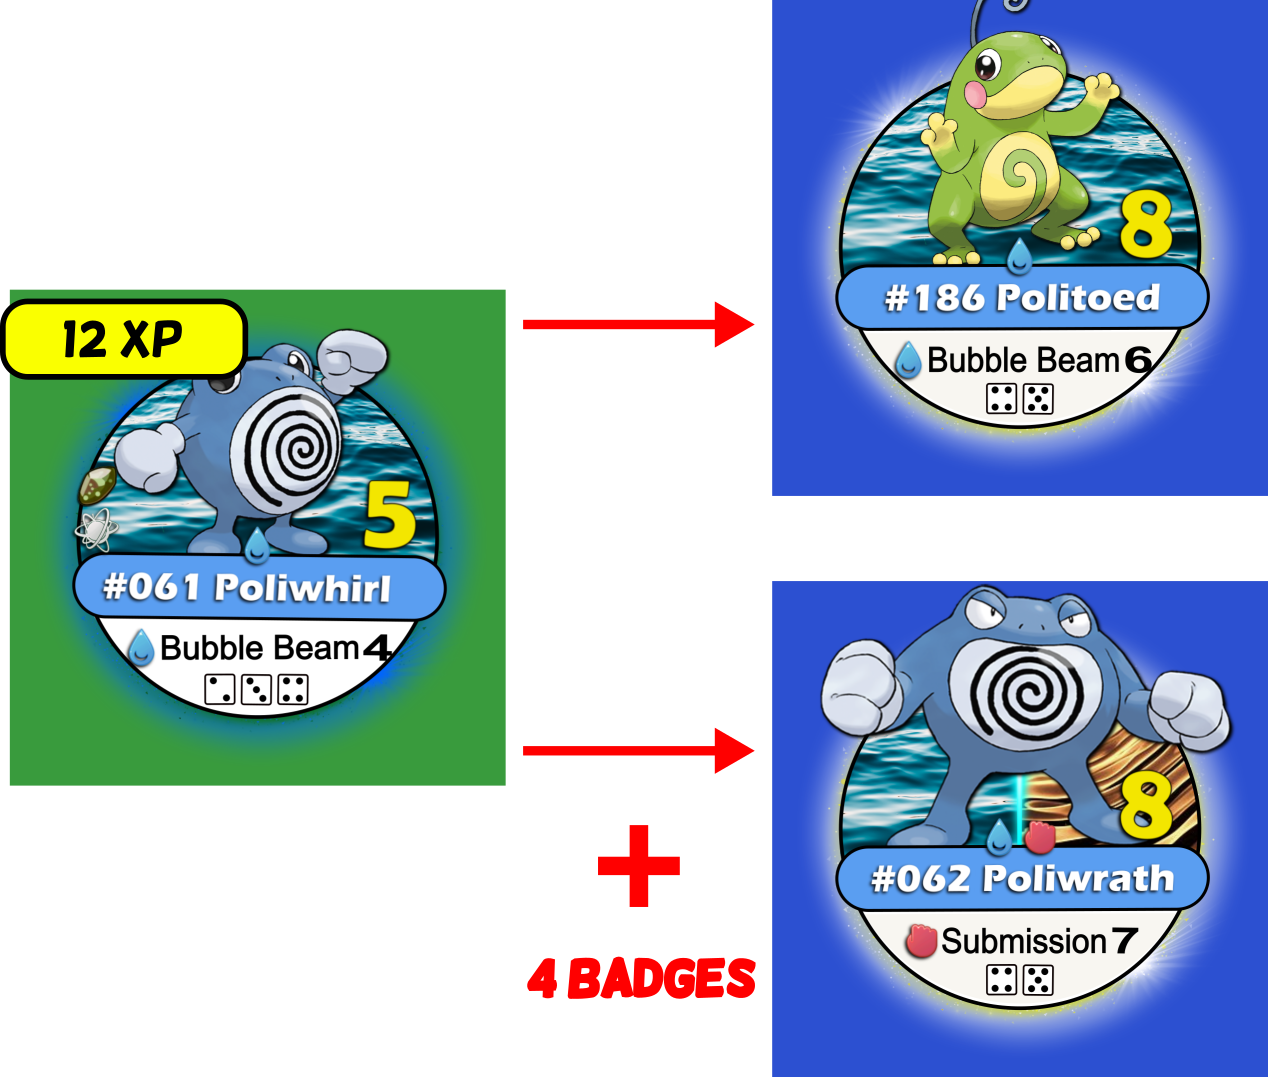
Poliwhirl
To allow a “Poliwhirl” to reach a “Poliwrath” as final evolution (instead of “Politoed”), players must have at least four (4) mandatory badges (2 badges/stamps for Orange I./Alola).
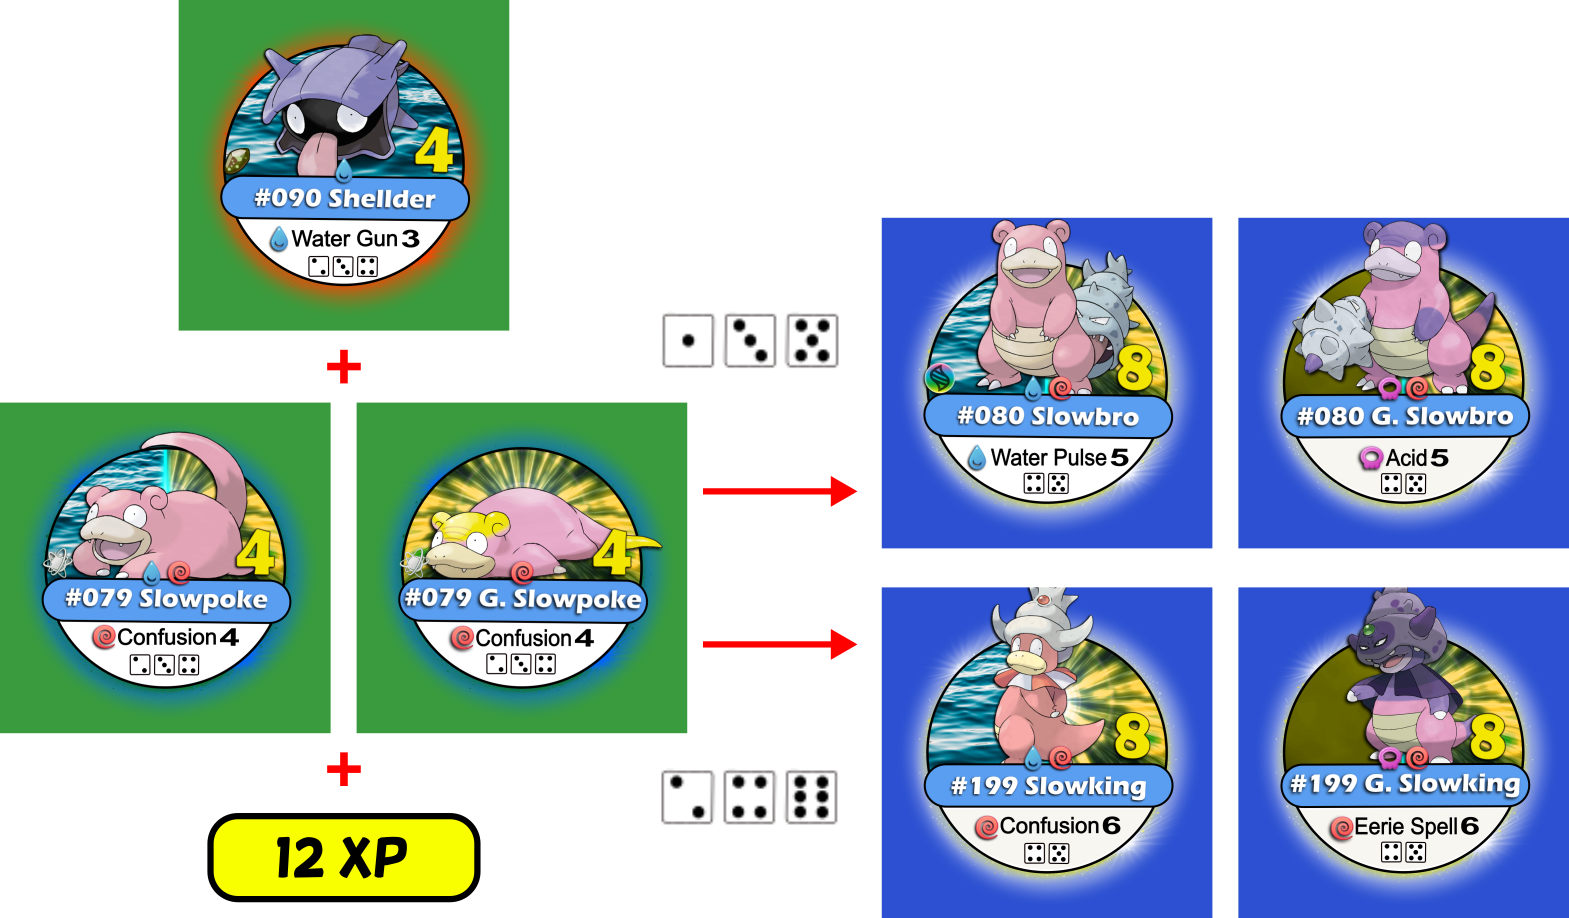
Slowpoke
When having a “Slowpoke”, players can evolve it into a “Slowbro” (odd results) or “Slowking” (even results) by reaching the needed amount of XP or keeping an active “Shellder” in their hand, at the same time of the active “Slowpoke”. In both cases they will need to roll a die (D6) to get to know which evolution they are going to get.*If achieving the evolution through the second option, after evolving, both “Slowpoke” and “Shellder” chips must be returned to the stack.
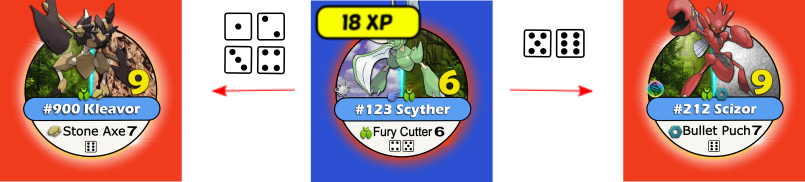
Scyther
When evolving a “Scyther”, players must roll a die (D6) to figure out which evolution they are going to get. *1|2|3|4 results on “Kleavor” while 5|6 results on “Scizor”.
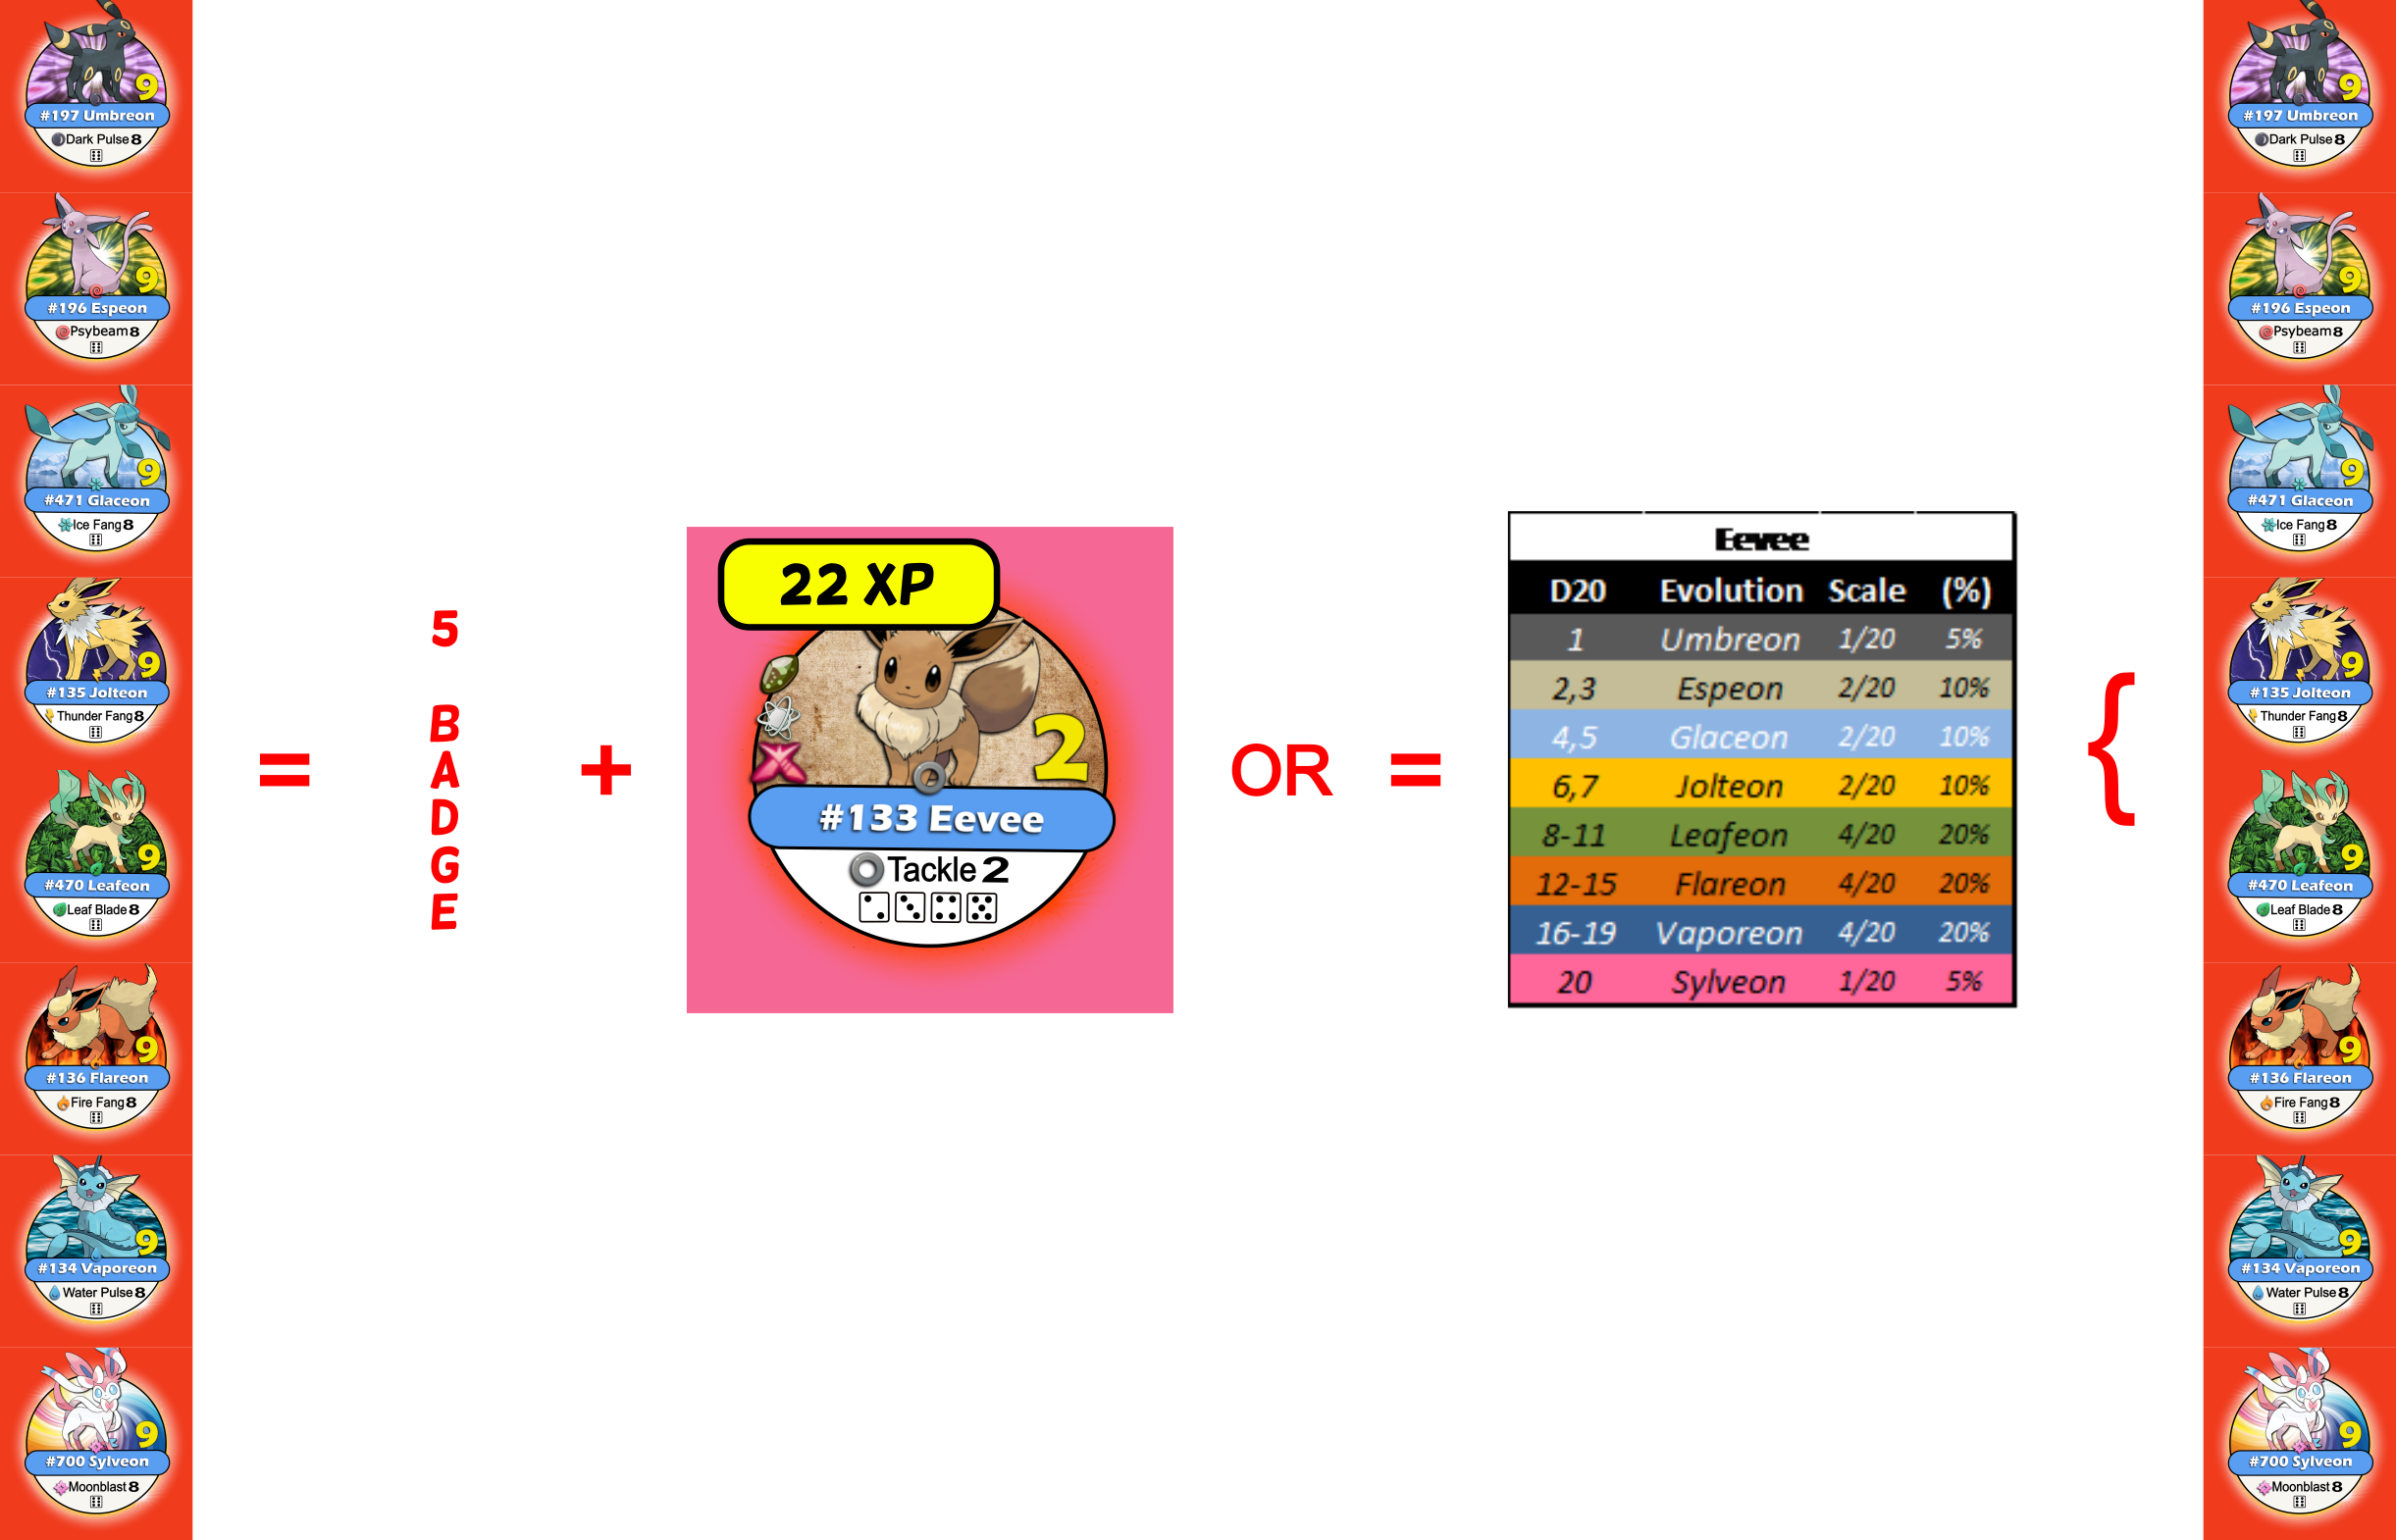
Eevee
When having an “Eevee”, players can evolve it by normally gathering the needed amount of XP and having the evolution randomly determined by a die roll (D20). *To check which values match each evolution check the “Eevee” table.
Now, if the players want to determine which evolution they are going to get instead, then they can only do so if they have earned at least five mandatory badges (2 badges/stamps for Orange I./Alola).
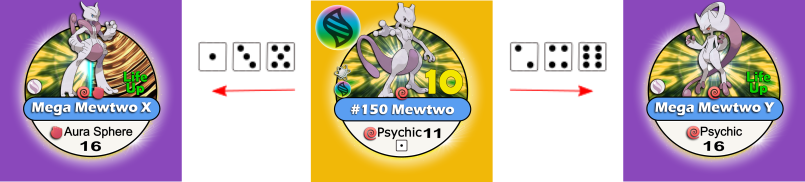
Mewtwo
When mega evolving a “Mewtwo” for the first time, players must roll a die (D6) to figure out which mega evolution they are going to get. After that it will always mega evolve into the same one until the end of the game. *Odd numbers result on “X” (psychic/fighting) while even ones result on “Y” (psychic).
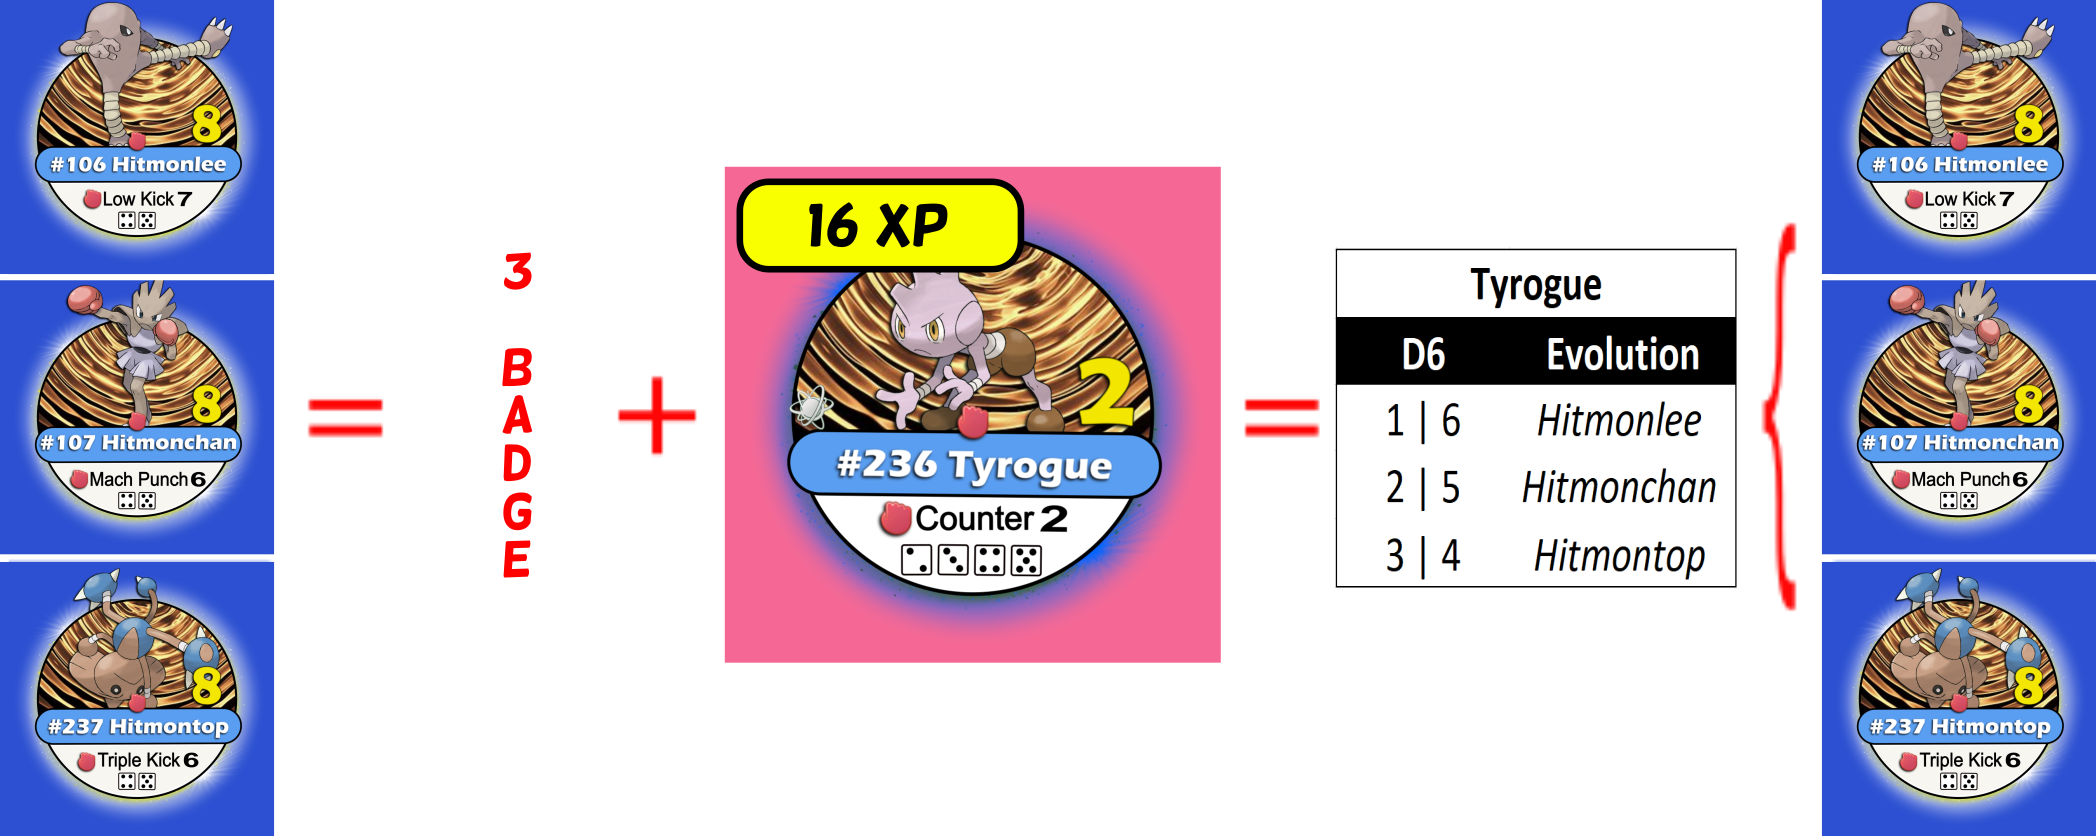
Tyrogue
When having a “Tyrogue”, players can evolve it by normally gathering the needed amount of XP for it, however, the evolution’s result will be randomly determined by a die (D6) roll. *To know which die results match which evolution, just check the “Tyrogue” table.
Now, if the players want to determine the evolution they are going to get instead, they can only do so if they have at least three (3) mandatory badges (2 badge/stamp for Orange I./Alola).
Wurmple
When evolving a “Wurmple”, players must roll a die (D6) to figure out which evolution they are going to get. *Odd numbers result on “Cascoon” > “Dustox” line, while even ones result on “Silcoon” > “Beaultifly” line.

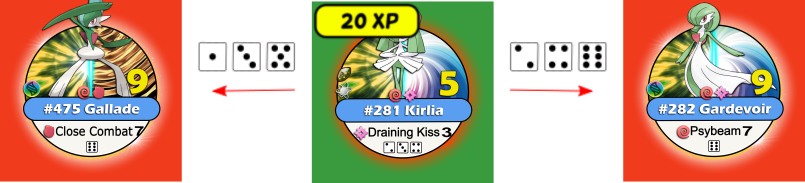
Kirlia
When evolving a “Kirlia”, players must roll a die (D6) to figure out which evolution they are going to get. *Odd numbers result on “Gallade” while even ones result on “Gardevoir”.
Nincada
When evolving a “Nincada”, players get a "Ninjask” by default, unless if they have a free Pokémon slot in their hand, if so, then they get two (2) Pokémon instead, a “Ninjask” and a “Shedinja”.

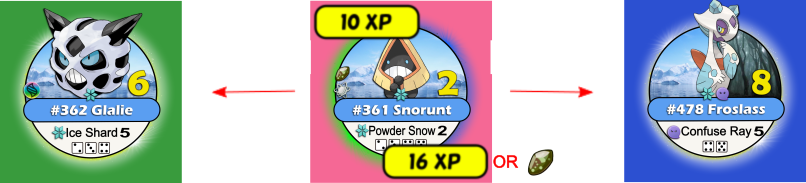
Snorunt
When evolving a “Snorunt”, players can choose to do it at first with 10 XP gathered (obtaining a 'Glalie'), or later on with 16 XP instead (obtaining a 'Froslass').*When using “evolution stone” players can only achieve “Froslass” as final form.
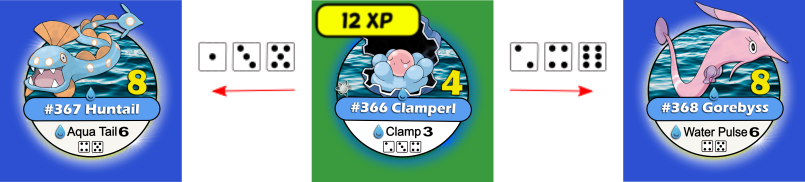
Clamperl
When evolving a “Clamperl”, players must roll a die (D6) to figure out which evolution they are going to get. Odd numbers result on “Huntail” while even ones result on “Gorebyss”.
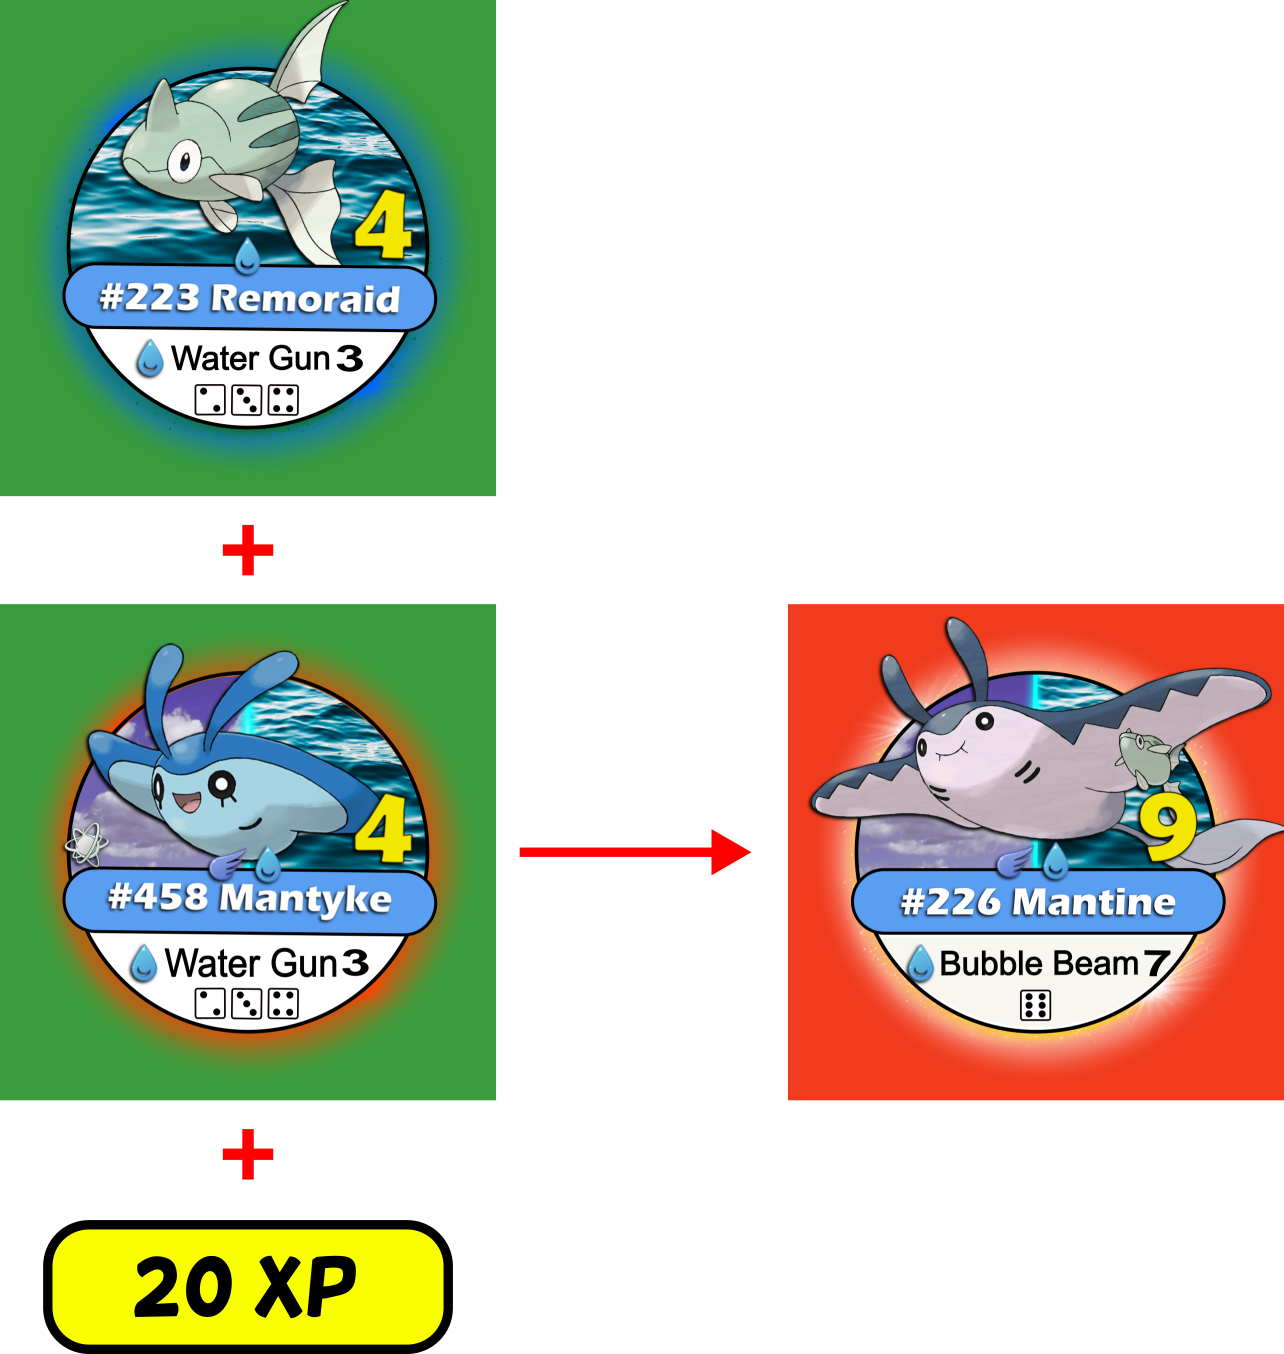
Mantyke
When having a “Mantyke”, players can evolve it into following the exactly same rules of “Slowpoke”. However, this time the “Mantyke” makes the role of the “Slowpoke”, and the “Remoraid”, the role of “Shelder”.
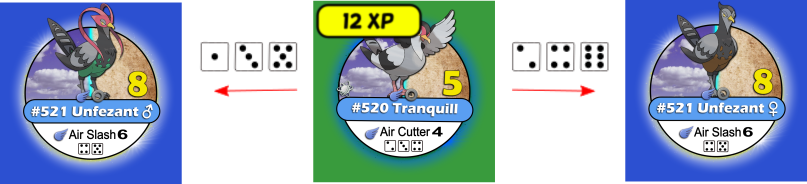
Tranquill
When evolving a “Tranquill”, players must roll a die (D6) to figure out which evolution they are going to get. Odd numbers result on “male Unfezant” while even ones result on “female Unfezant”.
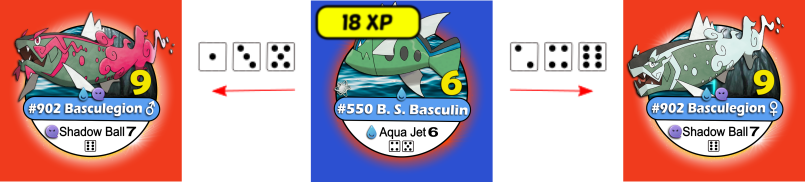
B. S. Basculin
When evolving a “B. S. Basculin”, players must roll a die (D6) to figure out which evolution they are going to get. Odd numbers result on “male Basculegion” while even ones result on “female Basculegion”.
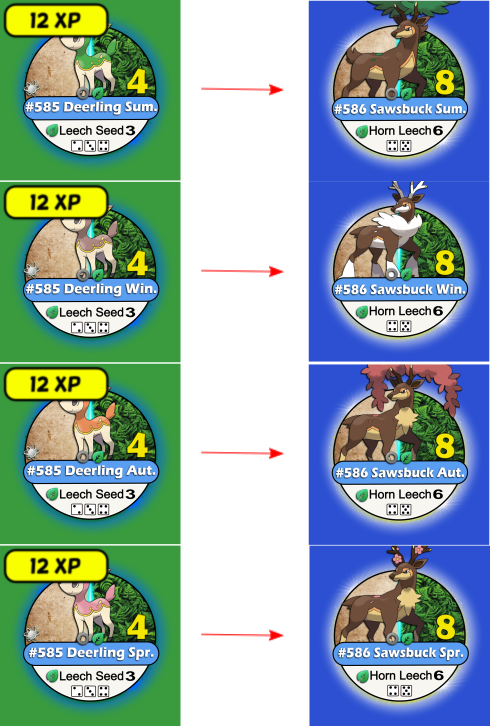
Deerling
Players will notice that “Deerlings” have different styles, so, when evolving one, they need to make sure that they are getting its respective style “Sawsbuck” chip.
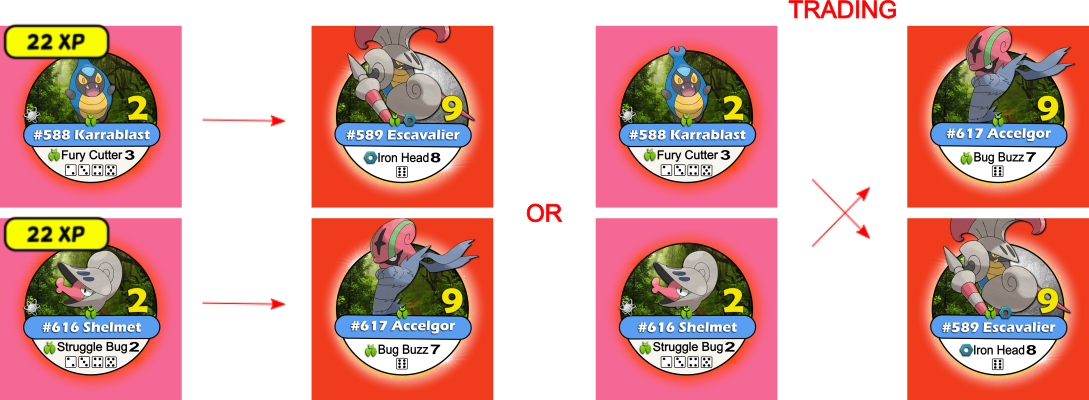
Karrablast/Shelmet
When having a “Karrablast”/"Shelmet", players can evolve them by reaching the needed amount of XP or by trading them for each other. *In this second case the trade must occur with both Pokémon active and within a “city” space.
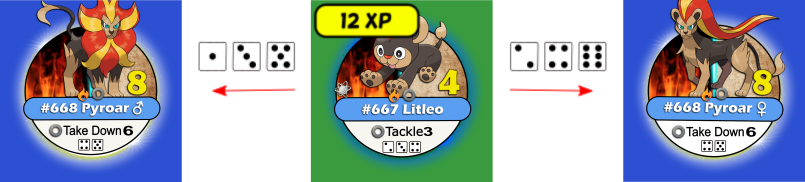
Litleo
When evolving a “Litleo”, players must roll a die (D6) to figure out which evolution they are going to get. Odd numbers result on “male Pyroar” while even ones result on “female Pyroar”.
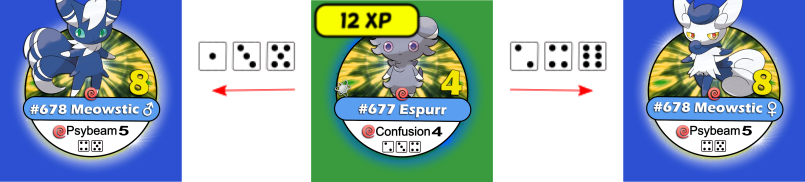
Espurr
When evolving a “Espurr”, players must roll a die (D6) to figure out which evolution they are going to get. Odd numbers result on “male Meowstic” while even ones result on “female Meowstic”.
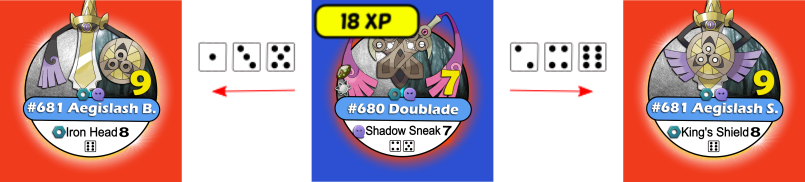
Doublade
When evolving a “Doublade”, players must roll a die (D6) to figure out which evolution they are going to get. Odd numbers result on “blade” form while even ones result on “shield” form.
Rockruff
When evolving a “Rockruff”, it is up to the players to choose which form (dusk/midday/midnight) they are going to get.

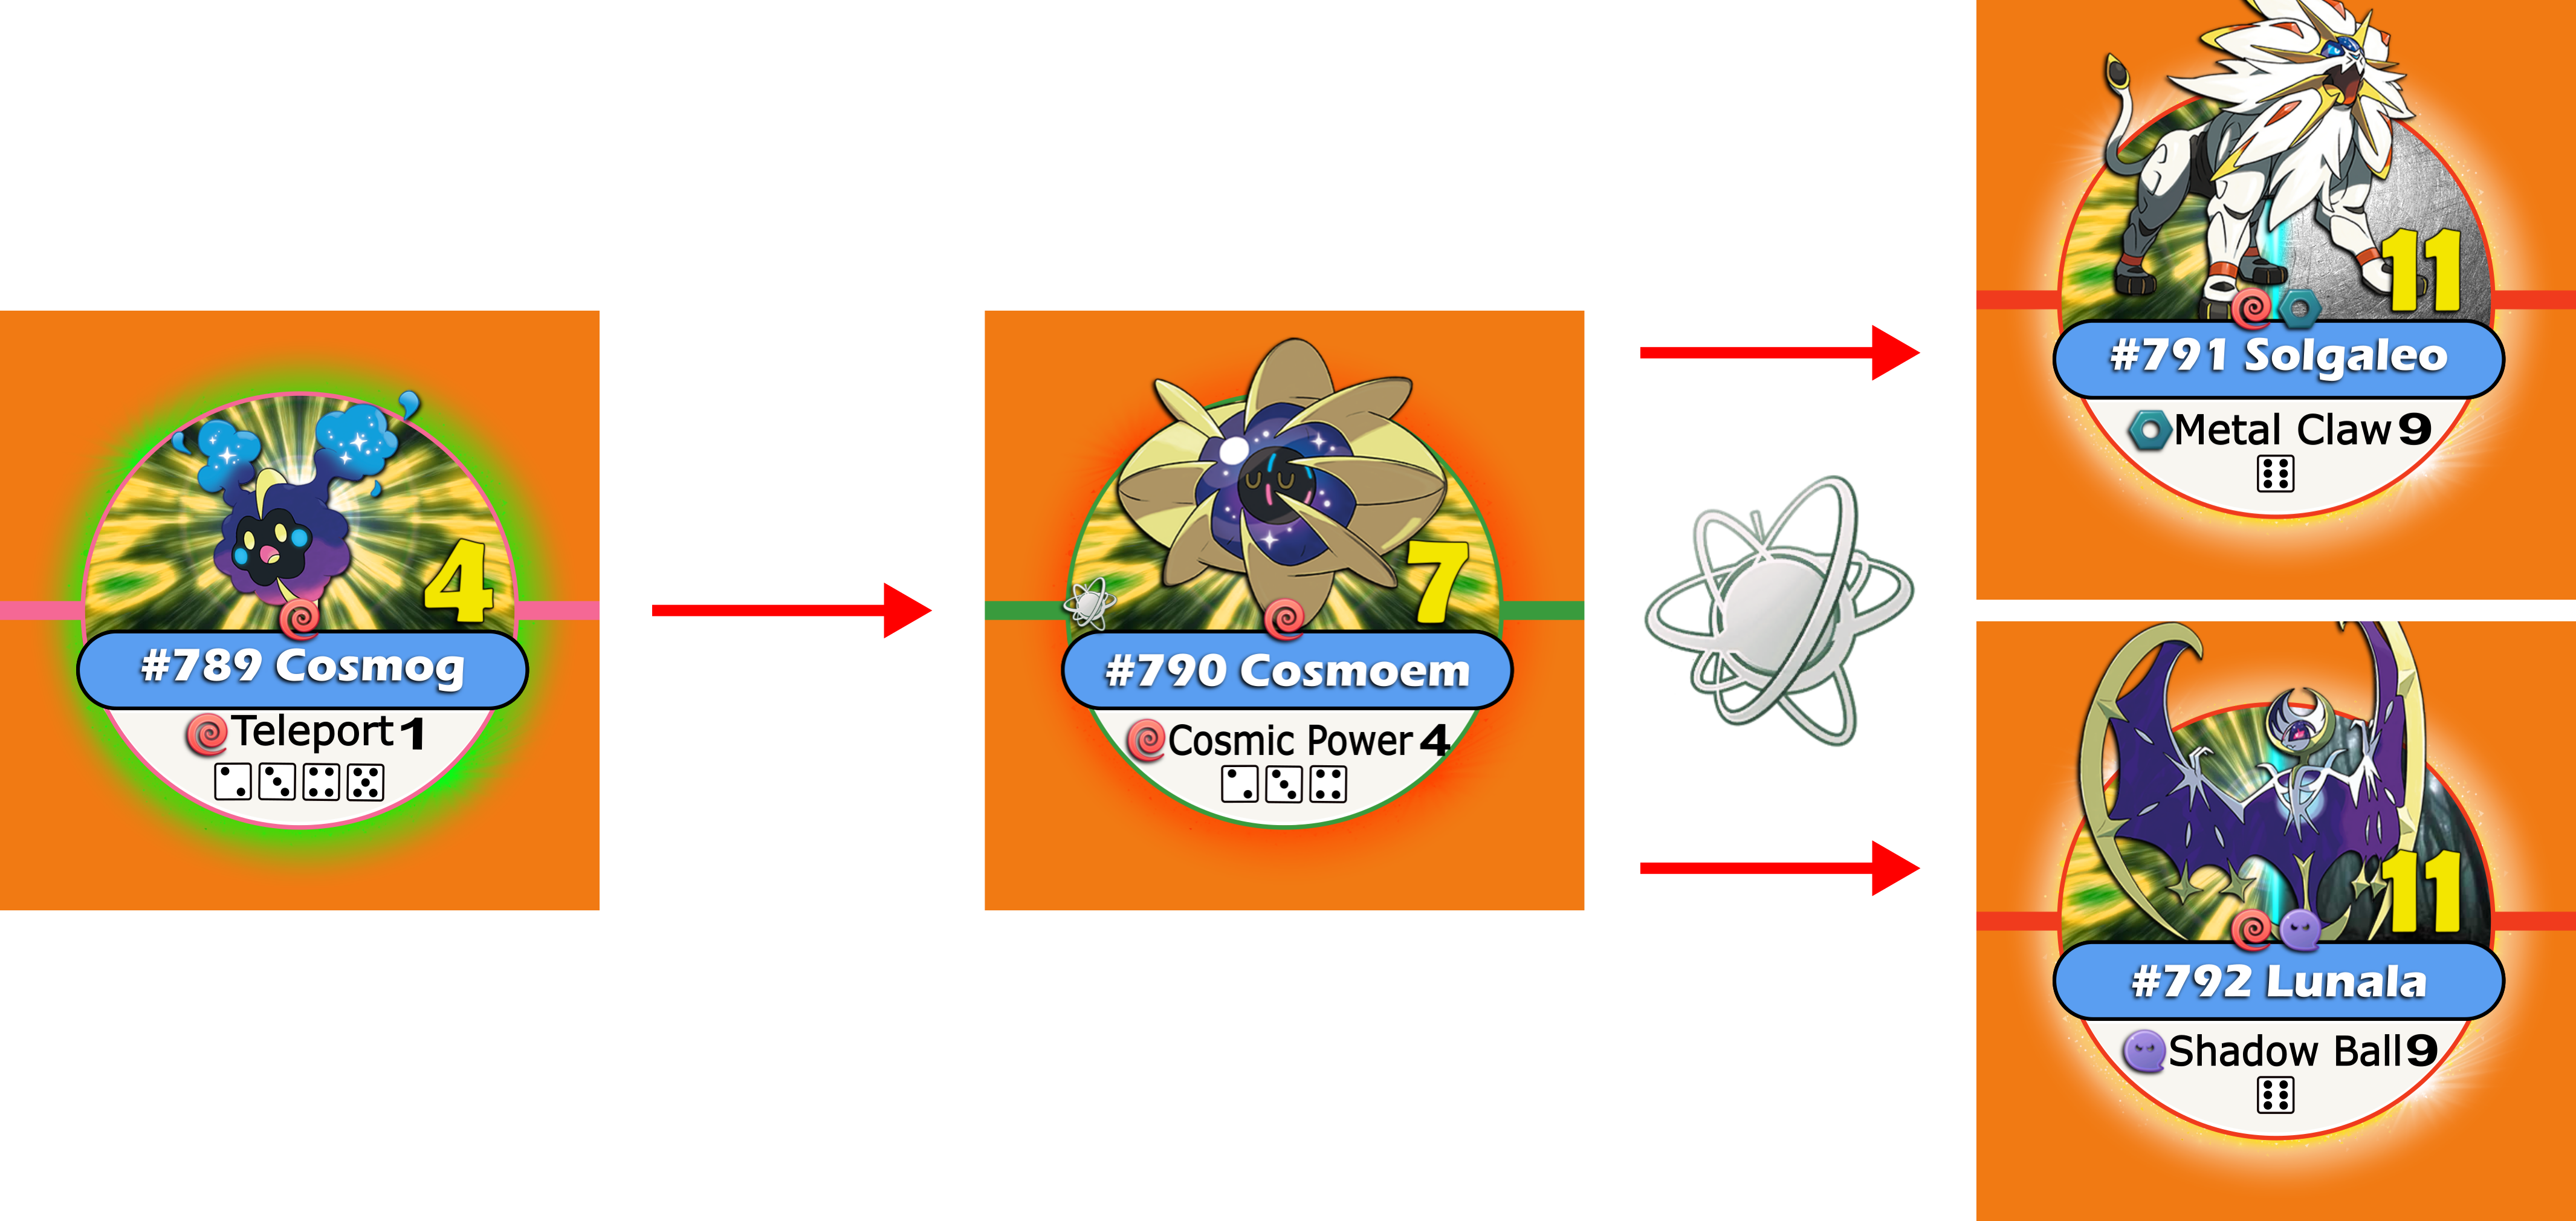
Cosmoem
When evolving a “Cosmoem”, players must roll a die (D6) to figure out which evolution they are going to get. Odd numbers result on “Solgaleo” while even ones result on “Lunala”.
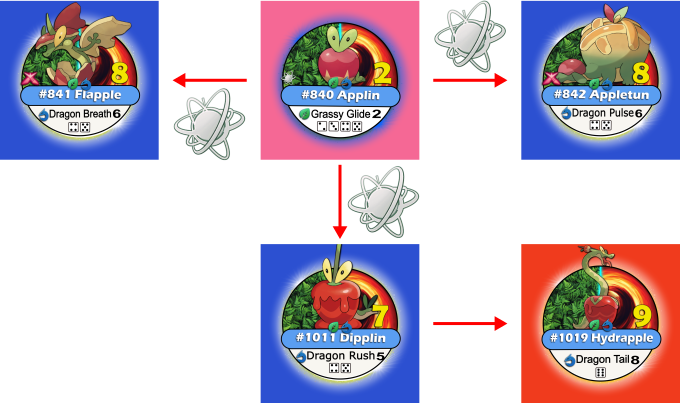
Applin
When evolving a “Applin”, players must roll a die (D6) to figure out which evolution they are going to get. Odd numbers result on “Flapple” while even ones result on “Appletun”.
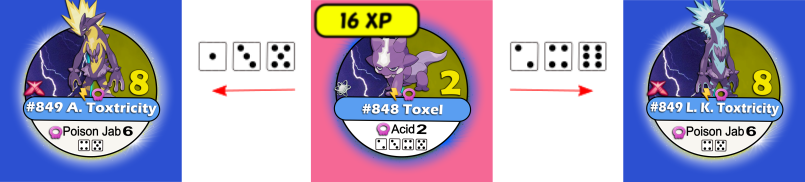
Toxel
When evolving a “Toxel”, players must roll a die (D6) to figure out which evolution they are going to get. Odd numbers result on “Ampered” form while even ones result on “Low” form.
Kubfu
When evolving a “Kubfu”, players must roll a die (D6) to figure out which evolution they are going to get. Odd numbers result on “Rapid Strike Style” form while even ones result on “Single Strike Style” form.

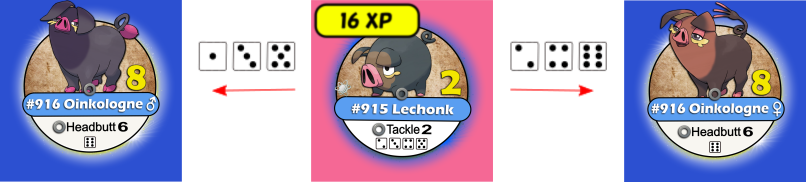
Lechonk
When evolving a “Lechonk”, players must roll a die (D6) to figure out which evolution they are going to get. Odd numbers result on “male Oinkologne” while even ones result on “female Oinkologne”.
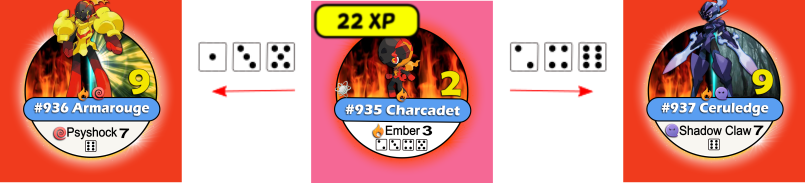
Charcadet
When evolving a “Charcadet”, players must roll a die (D6) to figure out which evolution they are going to get. Odd numbers result on “Armarouge” while even ones result on “Ceruledge”.
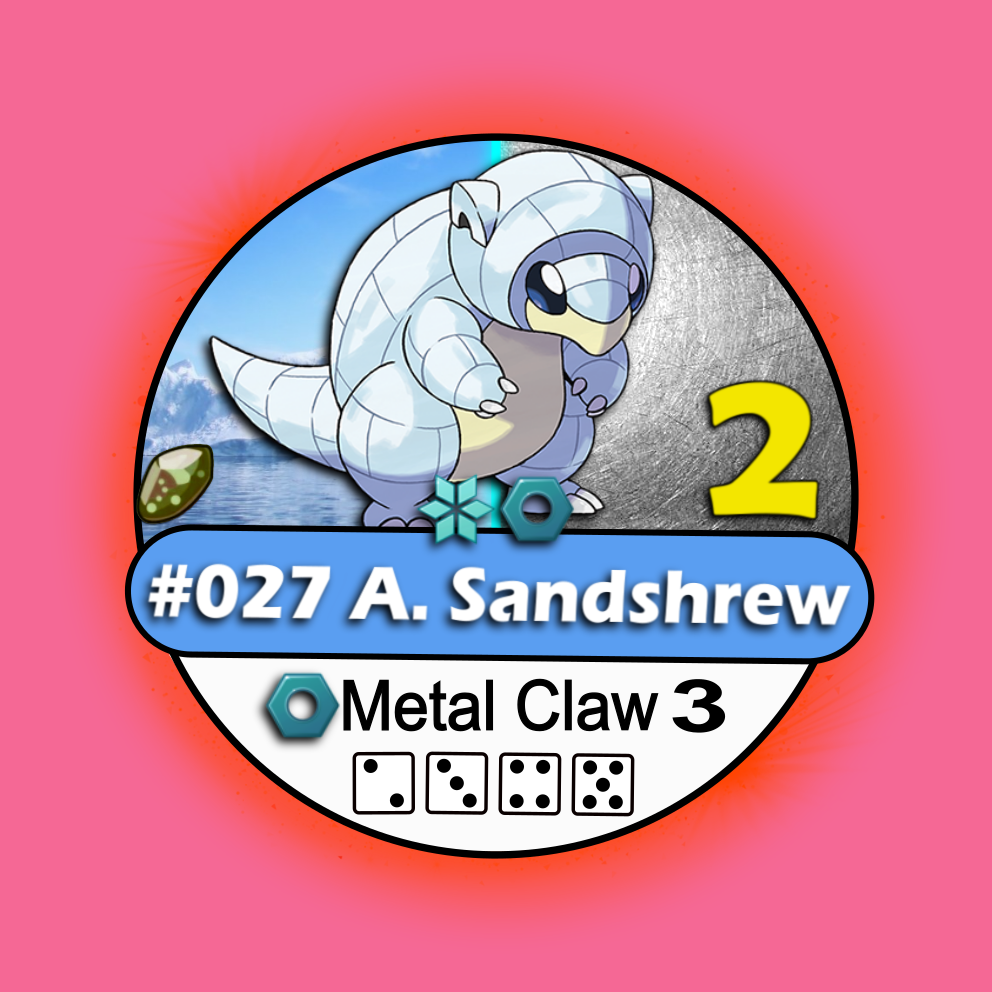
Alolan, Galarian, Hisuian & Paldean
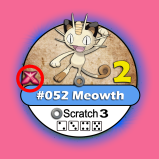
Players will notice that some Pokémon happen to have more than one (1) version, like a “Meowth”, which has its Kantonian one (normal type), the Alolan version (dark/normal type) and even a Galarian version one (steel type).
For those Alolan/Galarian/Hisuian/Paldean cases there is no special conditions to evolve, although the only thing players should know is that different versions do not mix themselves between each other, E.g.: If you are going to evolve a Kantonian “Sandshrew”, then you will get a Kantonian “Sandslash”. Now, if you evolve an Alolan “Sandshrew”, then, you will get an Alolan “Sandslash”.
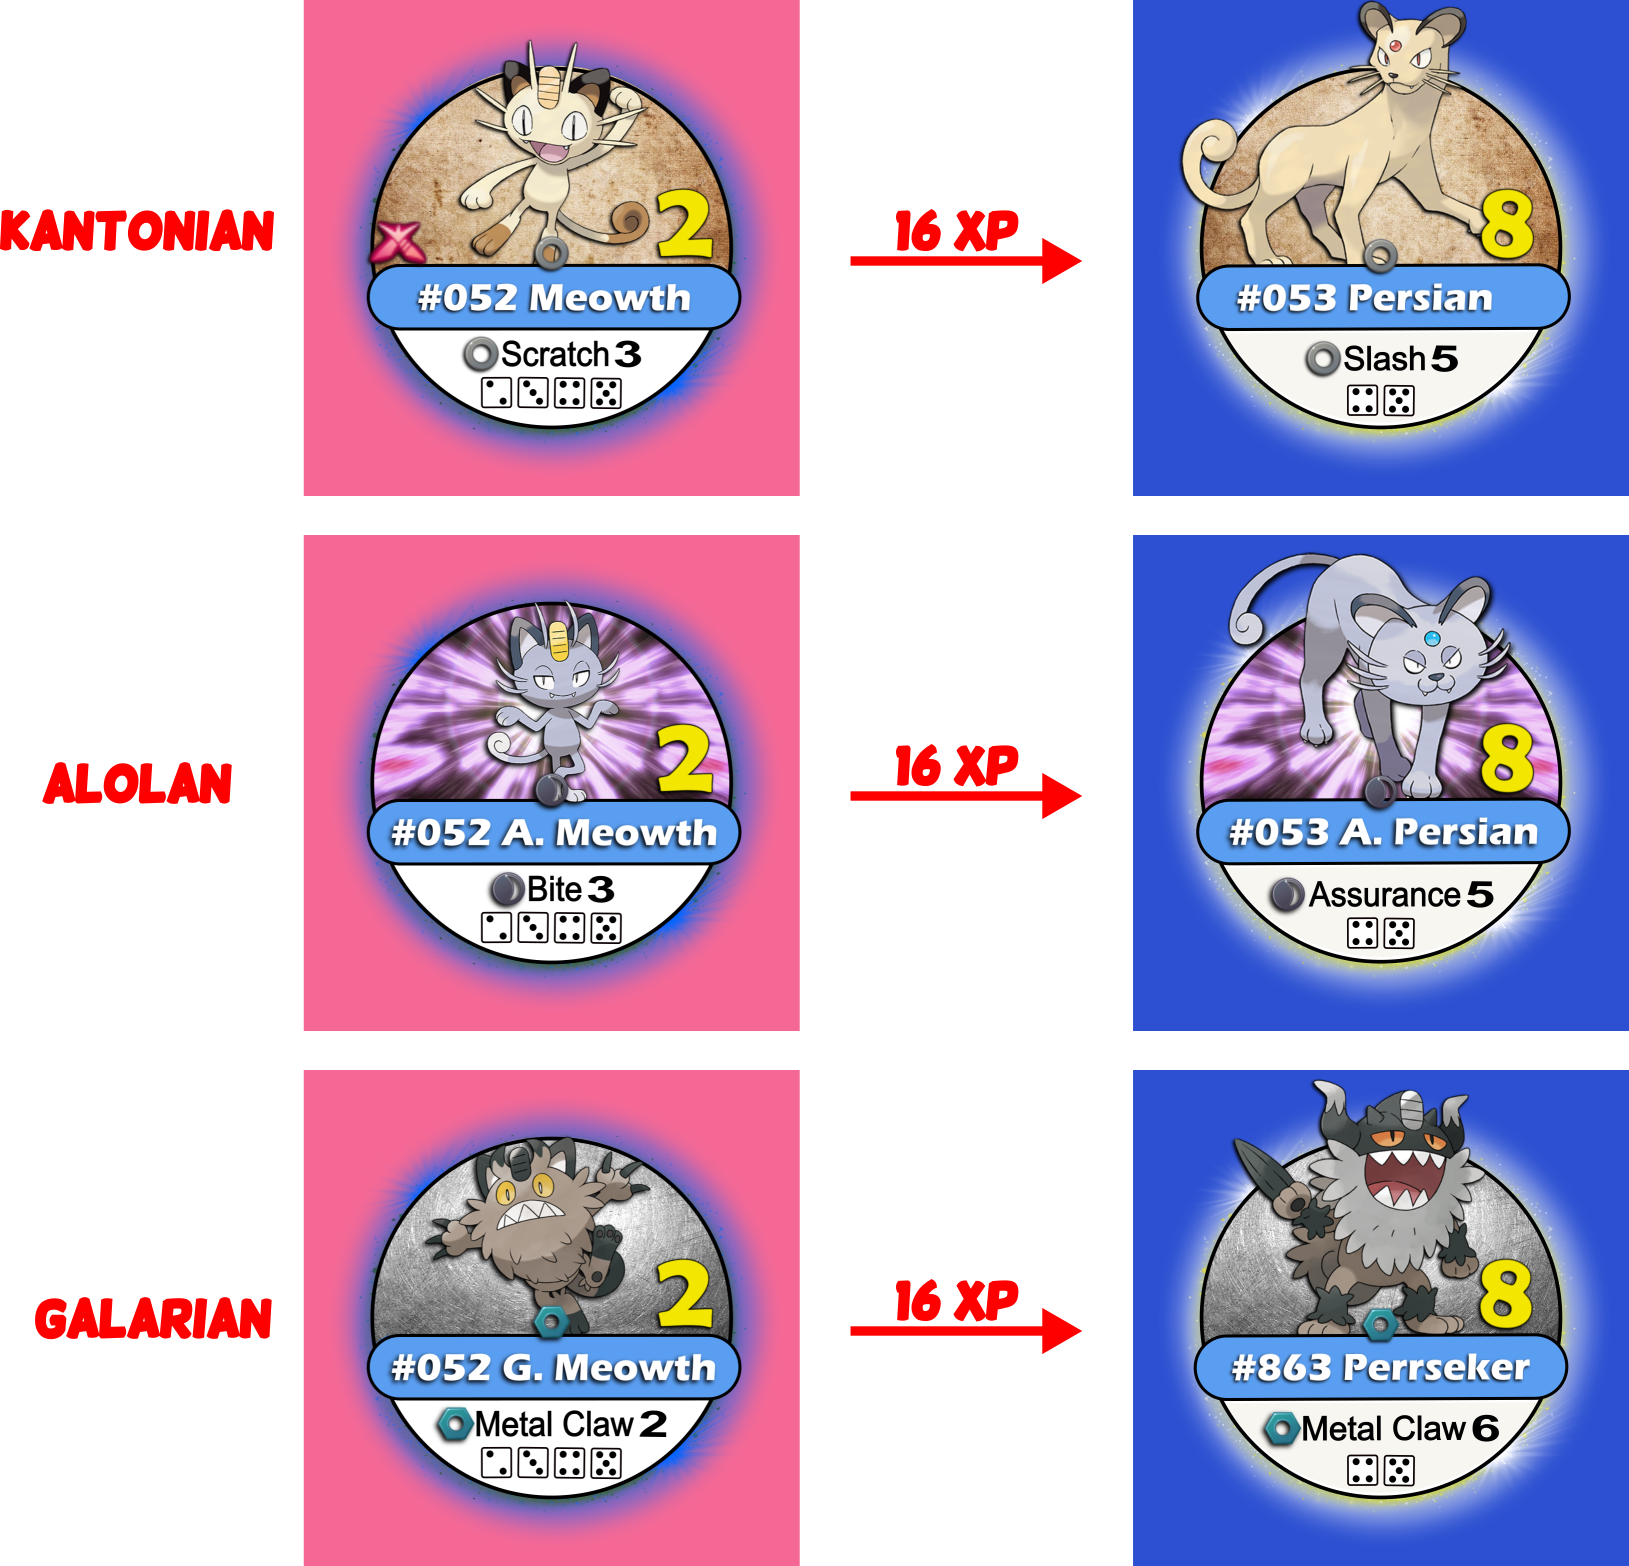
Remember that unlikely the kantonian versions, some alolan/galarian Pokémon might not have evolution(s)/pre-evolution(s). *Check the “Evolution Book”.
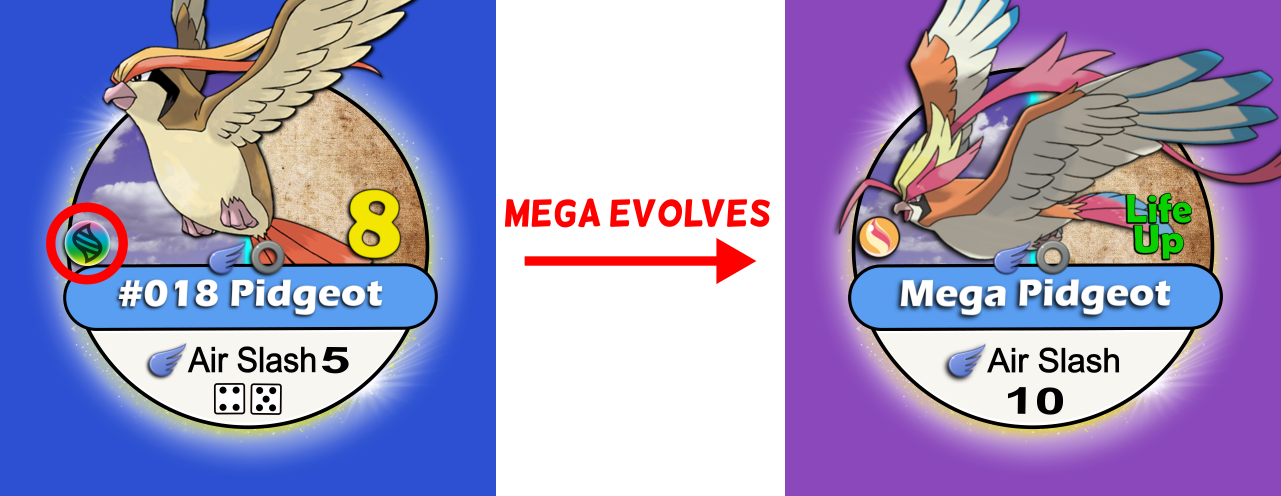
Mega Evolution
The sixth (6th) generation of Pokémon introduced a different feature called “mega evolutions”. So, players will notice that some Pokémon chips display a “mega stone symbol” image (including “Zacian” and “Zamazenta”) on its Pokémon image left side. When that is the case, it means that the Pokémon can mega evolve, which in practice means that you will replace its chip for a purple color one.
Gigantamax
One of the features, introduced by the latest gen (8th), is the “gigantamax”. Like the “mega evolution” one, it doesn’t last long and can only work on very few specific Pokémon that display a “pinkish X” symbol.
However, unlikely “mega evolution”, this time players will not replace the Pokémon chip for a different color one, in this case, the battle does not even actually happen.
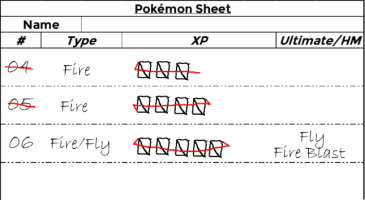
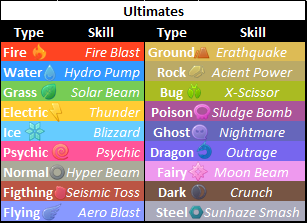
Ultimate Attack
Players may notice another column, in the “Evolution XP” table, called “Ult” (“Ultimate”). This column, refers to the “ultimate attack” a Pokémon can learn. Although, In order to achieve it, the Pokémon must be on its final/only form and gather the needed amount of XP for it.

For double typed Pokémon, players can choose the “Ultimate Attack” between both types. *Yellow ones can only achieve the ultimate attack according its default move’s type.
Once achieved (never during a battle), the Pokémon learns the new attack and now its “Attack Power” (AP) equals the previous value plus five (5) points (total= previous + 5). Also, after learning the ultimate, the player now can choose which attack move the Pokémon is going to use (not yellows though).
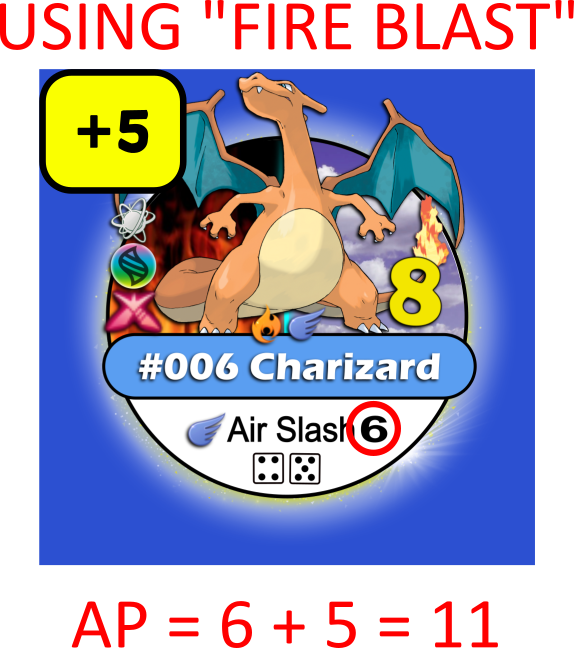
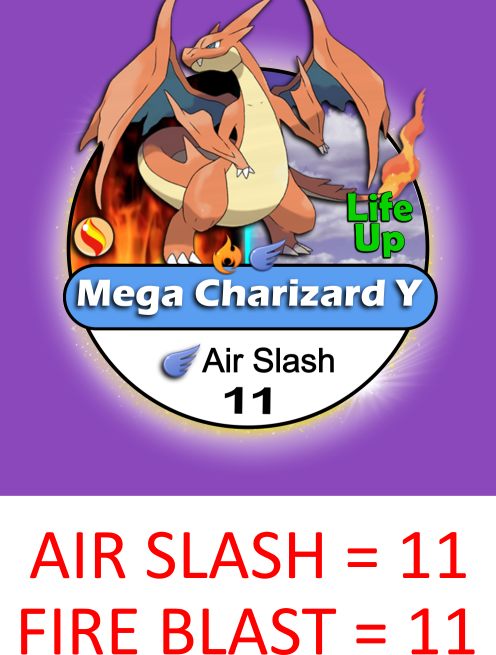
If a Pokémon that learned an "ultimate attack" mega evolves, then players can still choose between the "ultimate attack" (according its default condition) and its new attack move (from the mega evolution chip). *The ultimate attack AP does not change due the mega evolution.
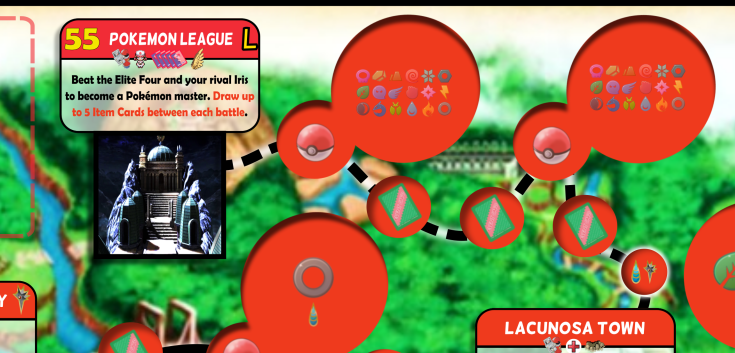
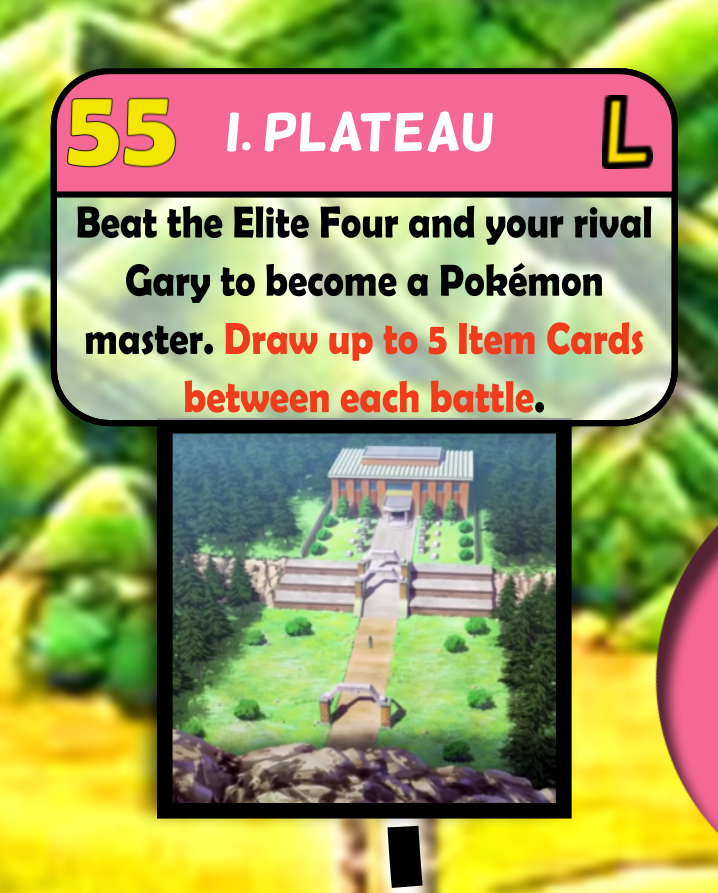
Pokémon League
To become the Master Pokémon Trainer and win the game, players must beat up the notorious “Pokémon League”, which, usually, is made of five (5) rival cards (elite four plus champion). *Maps with standard Pokémon League: “Kanto”, “Johto”, “Hoenn”, “Sinnoh”, “Unova”, “Kalos”, “Alola”, “Galar” and "Paldea". Map with just one (1) member (“Orange Islands”).
To be able to engage on the “Pokémon League”, players must have earned the required mandatory badges and gather the needed amount of PP required (just like the “gyms” requirement).
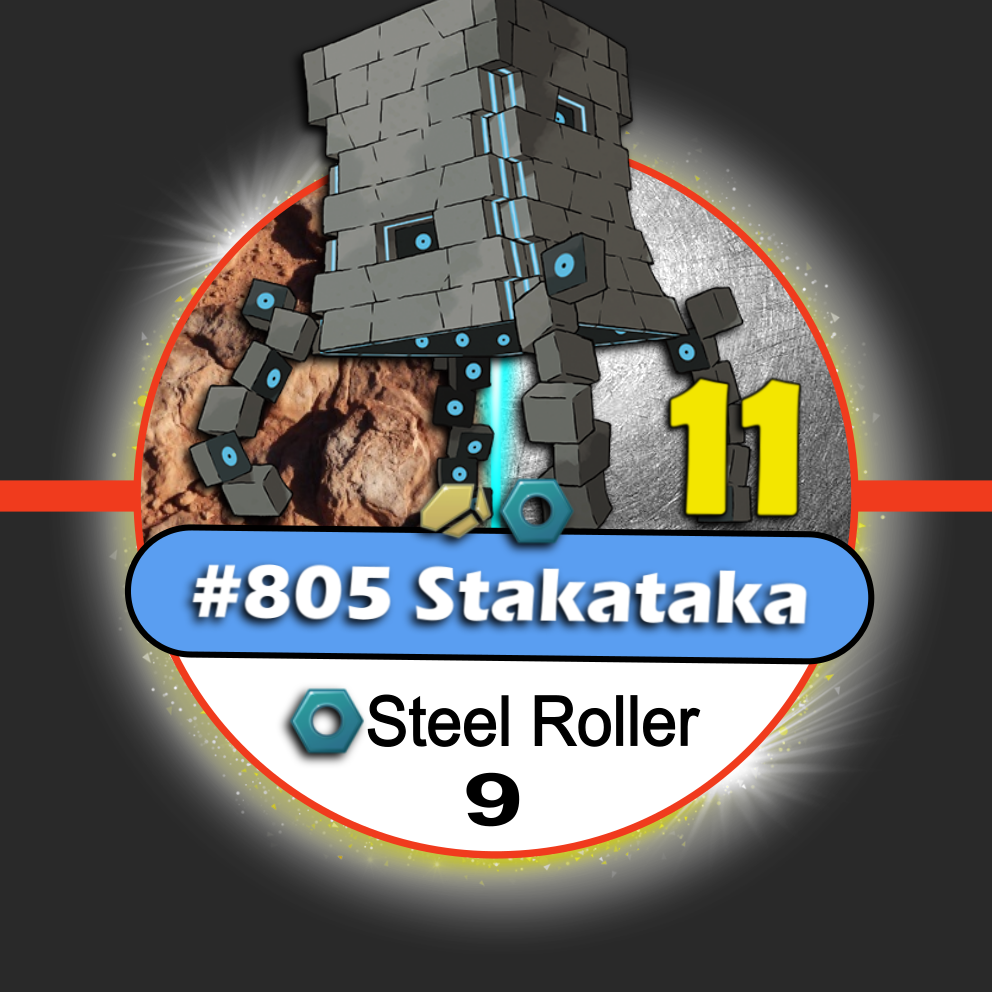
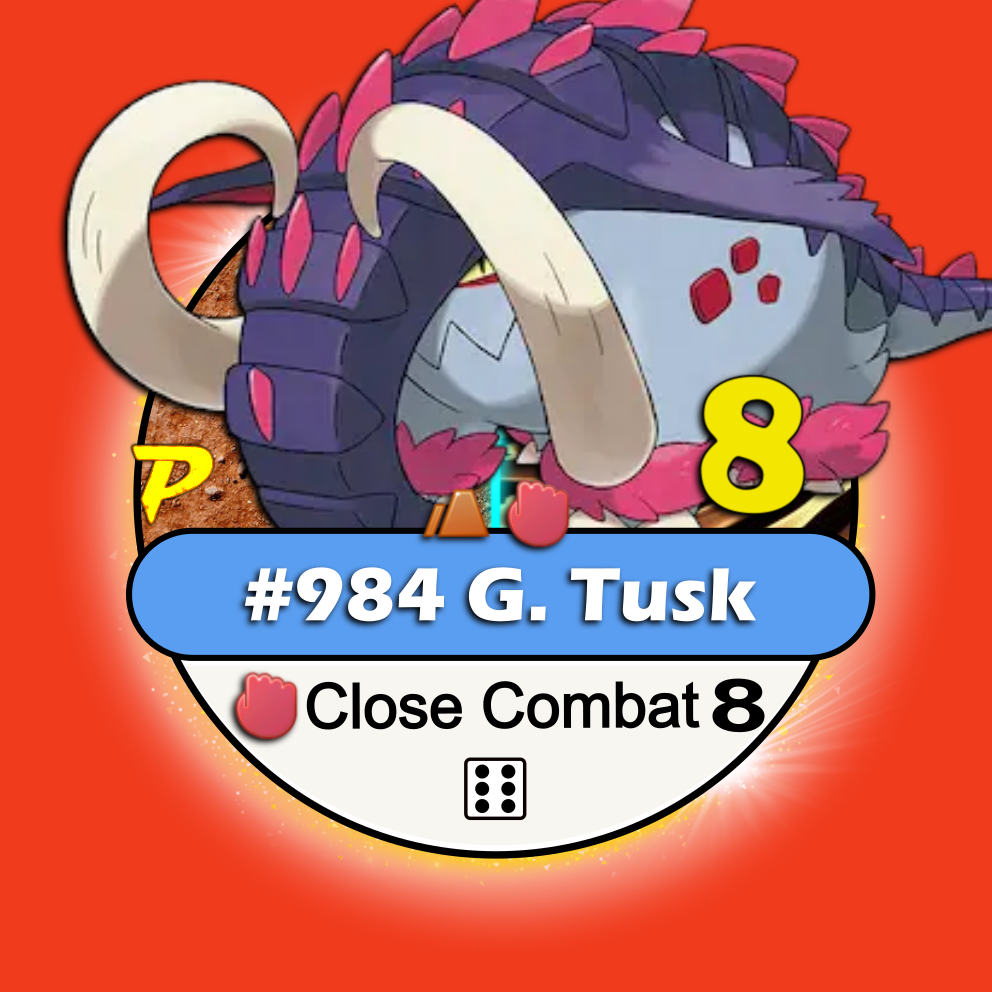
Remember that once within the League’s pathway (dashed line), players can only move one (1) space at a time (despising the moving rules). *The wild Pokémon chips found in this pathway on “Alola” map shall be (first) all the “ultra beasts” and on “Paldea” map shall be all the “paradox” ones.
Example of an "ultra beast" and "paradox" (![]() ) Pokémon:
) Pokémon:
Players shall have in mind that, when battling against a League member, their Pokémon will receive a “bonus attack” just like the gym leader.
To know exactly how to face them click here.
Here how the "Pokémon League" spaces look like (in the conventional maps):
Remember that whomever beats up all the League's members first, WINS the game.
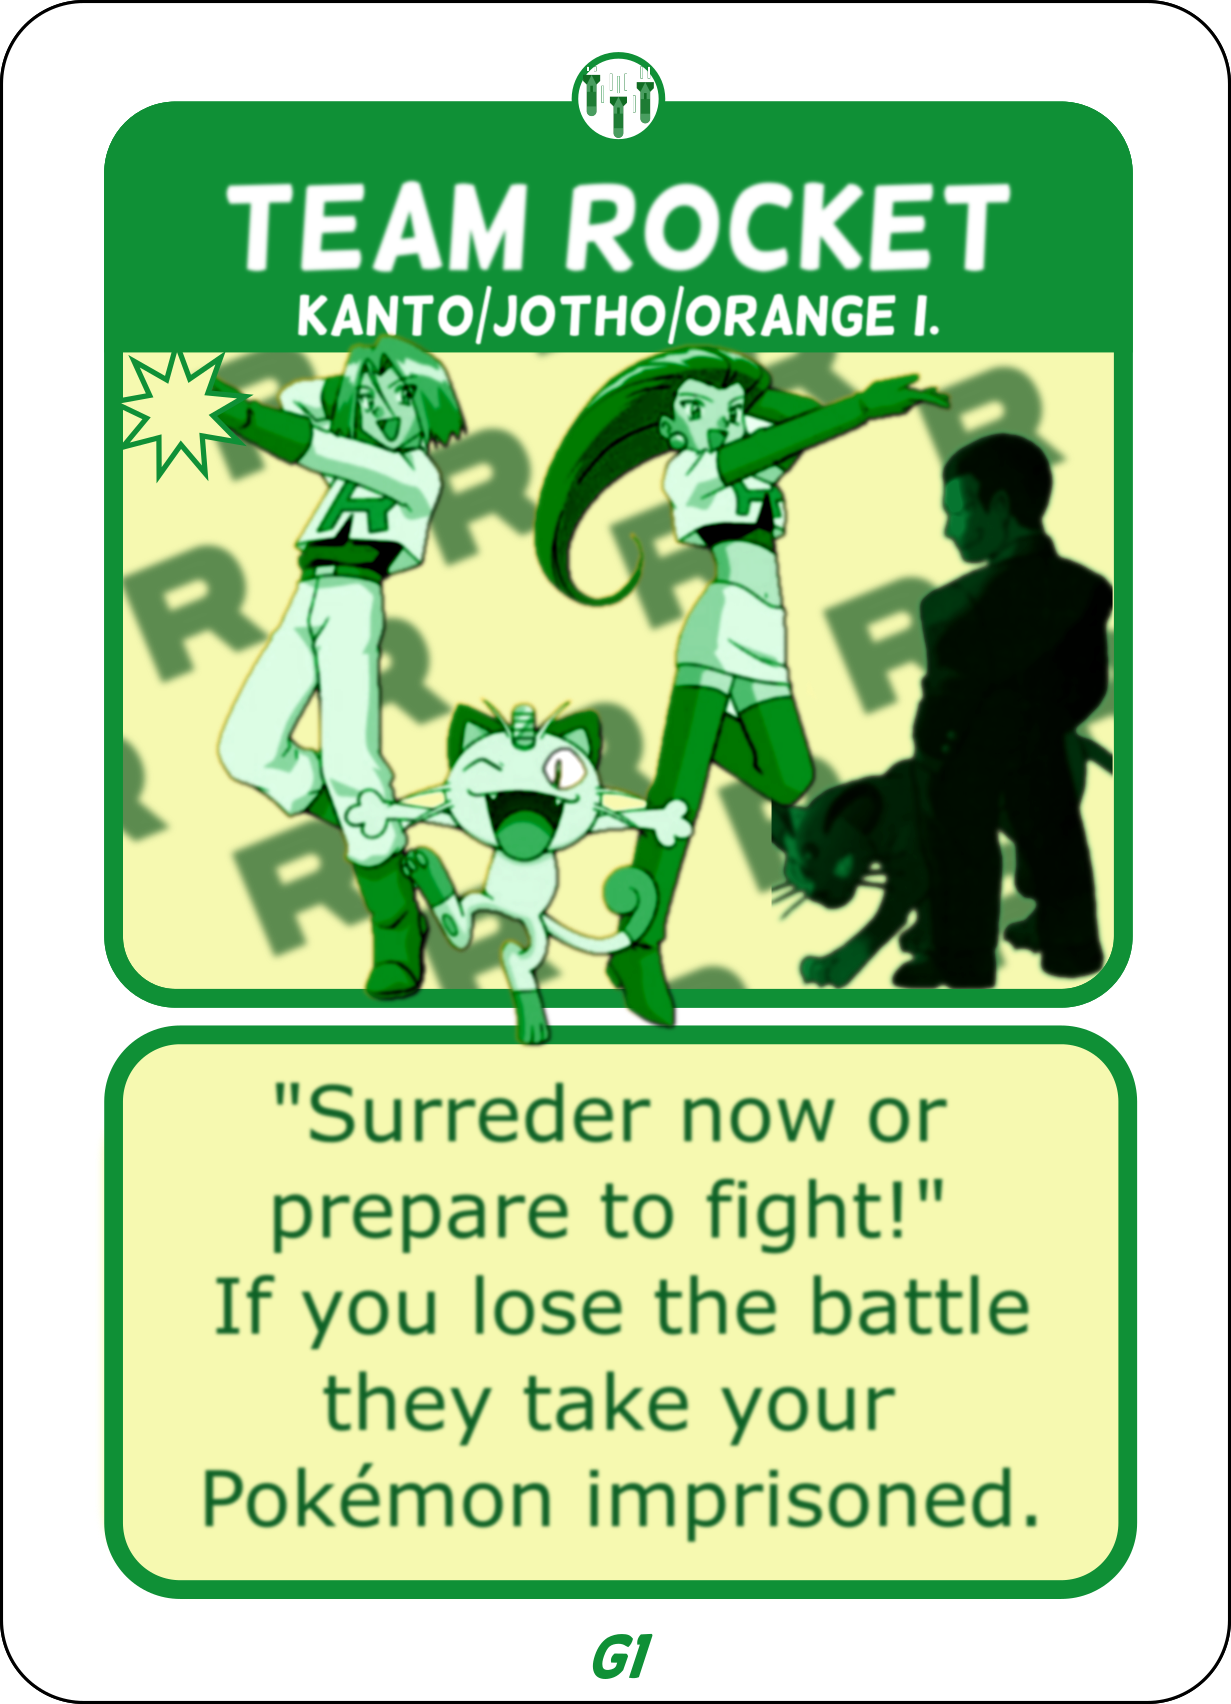
Team Rocket/Aqua/Magma/Galactic/Plasma/Flare/Skull/Yell/M. F. Sisters/Star
Finally, we get to know the great villains of the game, the "evil teams”. Doesn’t matter which map you play (except "Eevee Skirmish") they will always be there to try to achieve their evil plan and take the victory from the players’ hands.
Every time a player draws an “Evil Team” event card, a battle begins immediately (unless "Doom Rocket" is enabled) disregarding how many active Pokémon or eventual “Pokédolls” the player might have.
The “Team’s” rival card players will oppose, will depend on the player’s highest labeled Pokémon in their hand. E.g.: If a player’s highest labeled Pokémon is a blue color one, then the picked “Evil Team” rival card will be the one with a "blue dot".
It’s worth to mention that orange/black label Pokémon, for this purpose, count accordingly to their back color.*Evil Team’s rival cards hierarchy (from strongest to weakest): Yellow>Red>Blue>Green>Pink
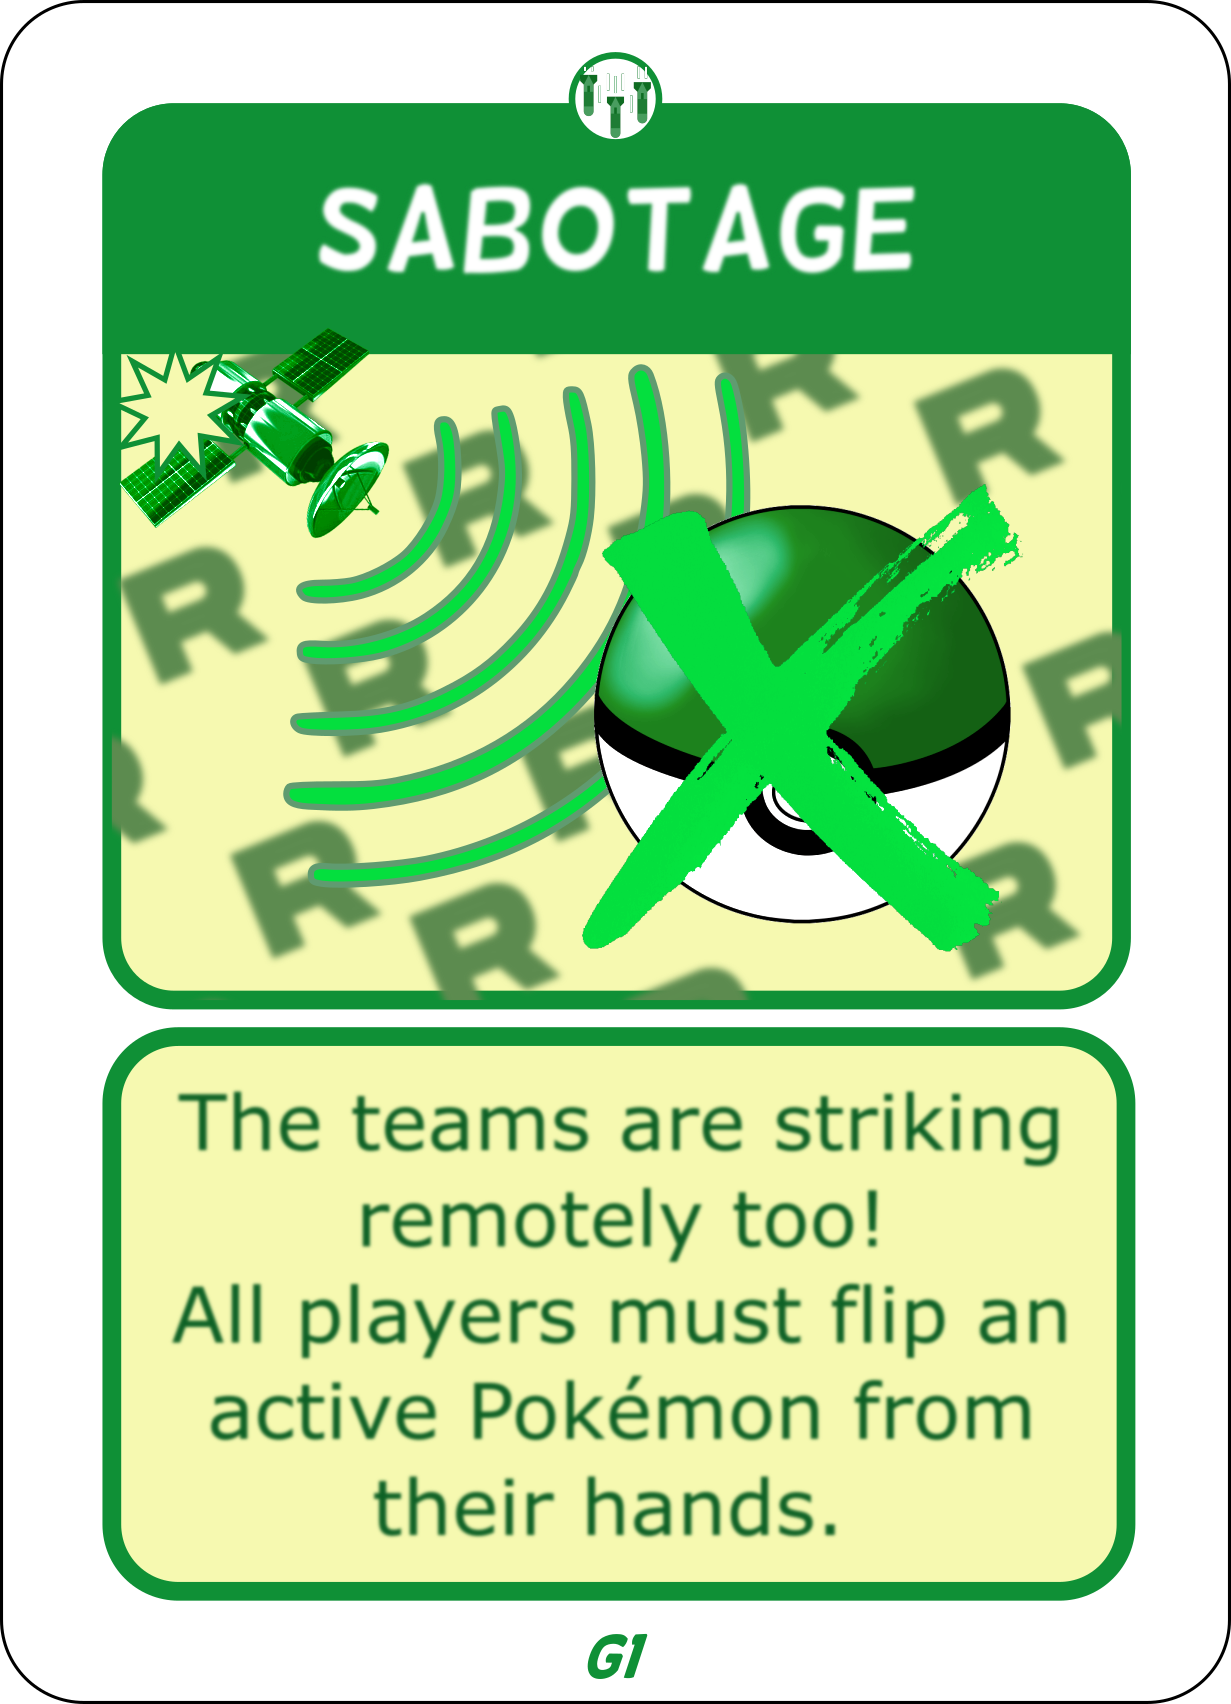
The “Evil Teams” also interfere in the game through the “Sabotage” event card, which makes players flip one (1) or more (environment condition) Pokémon chip.
To know what happens if they (evil teams) win a battle just click here.
Map Restart
If players get alltheir Pokémon knocked out (flipped out) whether by a wild Pokémon encounter, a duel against another player, or facing an evil team rival card, they must start over (restart the map) from the “Start Here” space (yellow one) next turn. By doing that, their Pokémon and energy coins (if not hijacked playing solo) will be automatically recovered and ready to go. Before leaving this space, players can aways draw one (1) Item card.
*It’s worth to mention that the “restart” does not affect the player’s previous achievements (badges/region progress), keeping them able to catch up from where they left.
Battles
Battles are the most complex mechanic in this game series, therefore, the most responsible for its similarity (as close as possible) to the console games.
Battles can occur in three (3) different kind of situations:
- 1) Against a wild Pokémon.
- 2) Against another players.
- 3) Against “rival” cards (gym leaders, evil teams and league members).
*ATTENTION: due its complexity, players must follow all the rules with a high level of attention.
Advantages & Disadvantages
The first thing to do before a battle starts, is to check the “Advantages and disadvantages” that might be applicable to it. These interactions are determined regarding the “ATTACK TYPE” of each Pokémon, not necessarily by the Pokémon type. *Check the “attack section” of each chip to know its attack type.
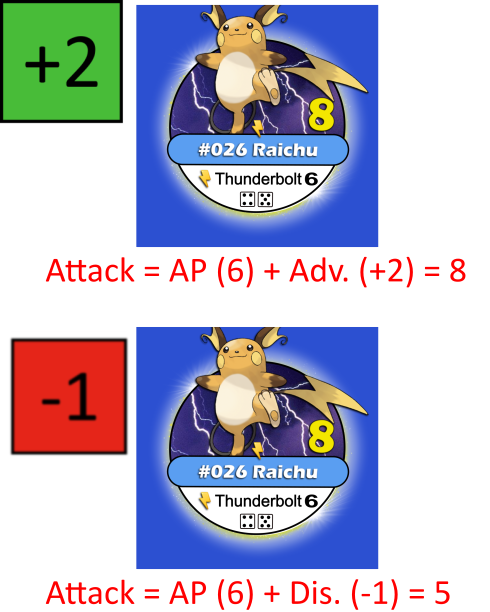
So, to make these interactions interfere in an active way during the battle (when applicable), players must roll an “advantage/disadvantage” die along with the “attack” ones to add/deduct to/from their attack roll.
The picked die can vary between a “D4” and a “D6” in cases of disadvantages (not very effective/no effect), and always a “D6” in cases of advantages (super-effective).
For advantages, players should add to their roll and for disadvantages they should deduct from it.
So, to make sure WHEN to use and WHICH die to choose, check the “Advantages/Disadvantage Table” every single battle.
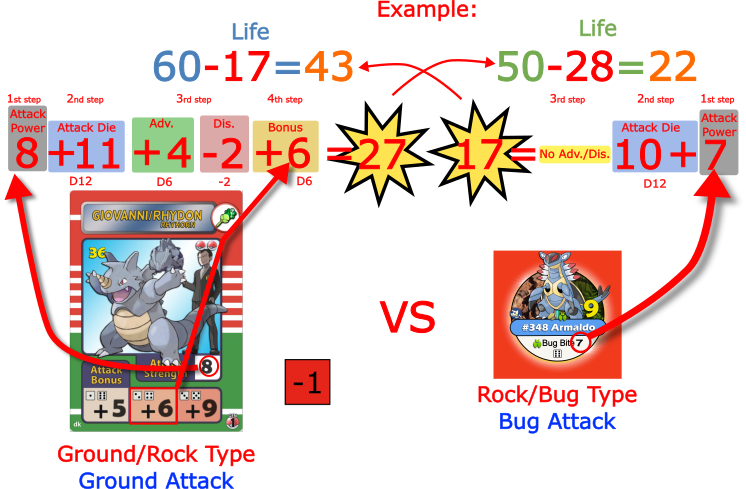
In case of attacking a double typed Pokémon, the secondary type (symbol at the right) will cause "-2" in case of a "D4" (disadvantage) and "+/-3" in case of “D6” (advantage/disadvantage). E.g.:
- I) A “Grass” type attack against a “Ground/Rock” type Pokémon will lead to “AP + attack die + D6 (ground) + 3 (rock) = X”.
- II) A “Fighting” type attack against a “Ghost/Poison” type Pokémon will lead to “AP + attack die – D6 - 2 = X”.
- III) A “Poison” type attack against a “Rock/Steel” type Pokémon will lead to “AP + attack die – D4 - 3 = X”.
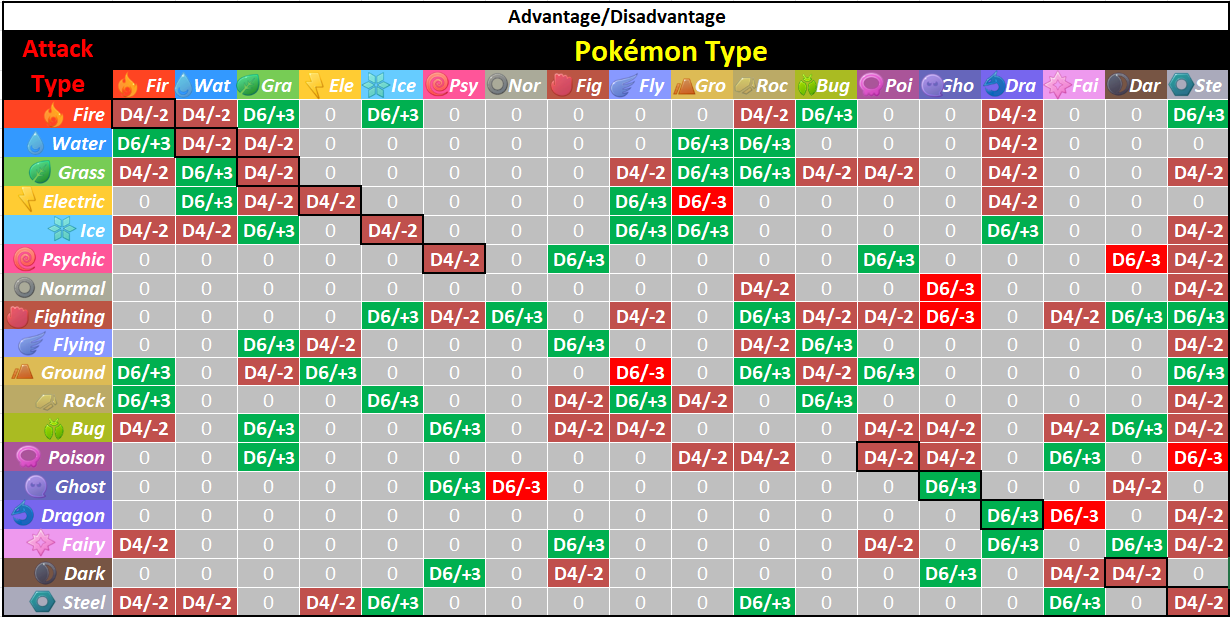
The “0” represents no interactions whatsoever.
To visually represent the "advantage"/"disadvantage" bonuses use the “marker” chips along with the Pokémon ones as well.
Attacking
Wild & Player's Pokémon
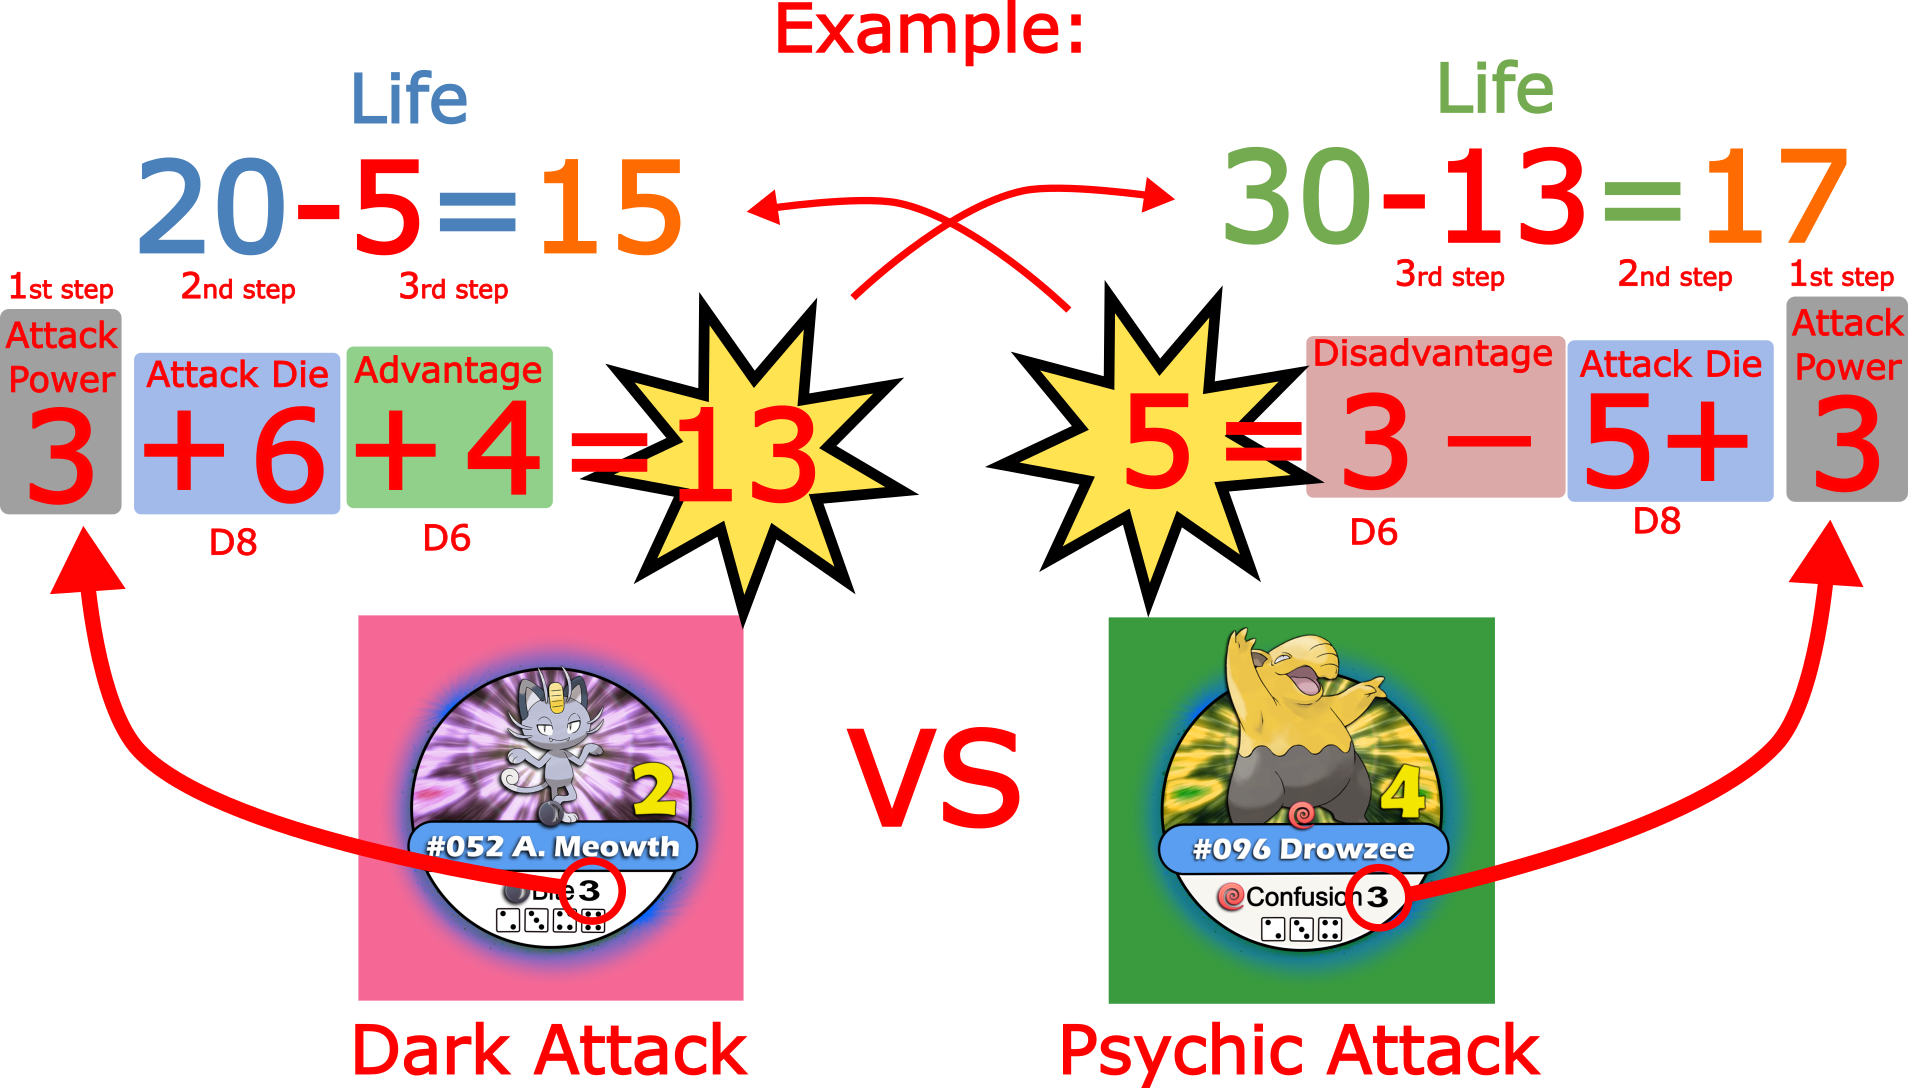
To perform an attack, the player must use the Pokémon’s “Attack Power” (AP) plus the result from the “attack die” roll (D8/12/20), then add/deduct the result from the advantage/disadvantage die roll (when applicable). The result of these operations equals the TOTAL ATTACK AMOUNT.
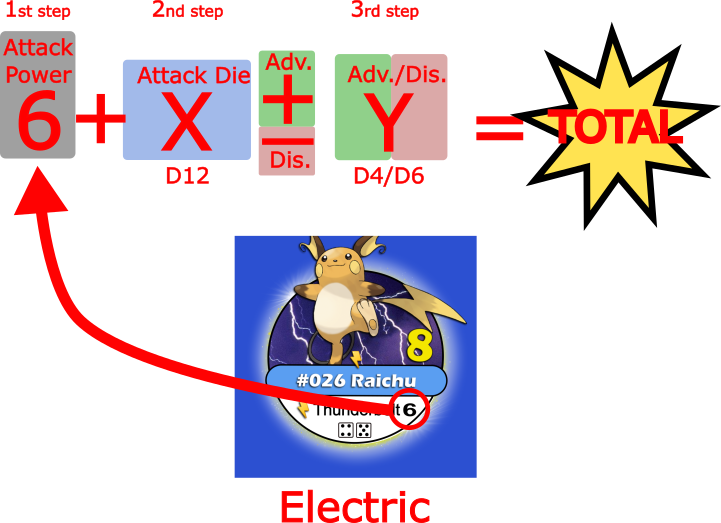
The “attack die” used by a "Pokémon" chip follows the “attack dice” table and varies according to each color label.
The attacks are performed by both sides (at the same time) and the results are deducted from each Pokémon’s "LP".
Rival card’s Pokémon
When fighting against a “rival” card, the “attacking” scenario is slightly more complex taking one (1) extra step this time. So now, besides all the previous steps, their Pokémon will also count with and extra “bonus attack”.
In practice, besides the “Attack Power”(AP) plus the “attack die” roll, they will add the “bonus attack” into it too before adding/deducting the result of the advantage/disadvantage die roll (when applicable). The result of all these operations equals the TOTAL ATTACK AMOUNT.
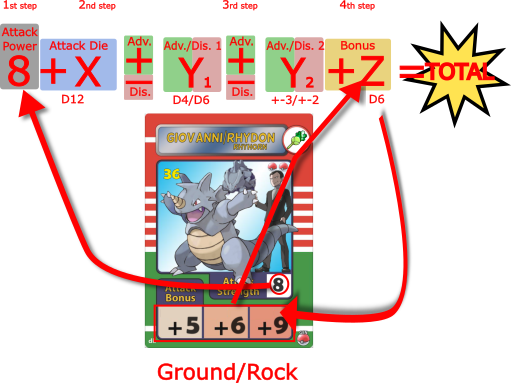
*The “attack die” used by a “Rival’s” Pokémon, as well as all the other needed information can be found at the back of the card.
The provided “bonus attack” varies according to each “rival” card “bonus attack session” (that can be found on the bottom of the card). According to the die result (dice figure) a specific value is granted.
Just like before, the attacks are performed by both sides (at the same time) and the result is deducted from each Pokémon’s "LP" (Figure 20).
Whether is the case (wild/player/rival), it is always possible that the Pokémon deliver simultaneous attacks, thus, knocking each other out at the same time and resulting in a tie.
Life Recovering
Don’t forget, that during a battle, every time a Pokémon is replaced or healed (potion card), the opponent one must recover its life according to the “Life Recovering” column values (except when the “Oran Berry” item card was used). These values can be found at the ”life” table, in case of wild/player's Pokémon, and at the back of the “gym”/“evil team”/“league” rival cards.
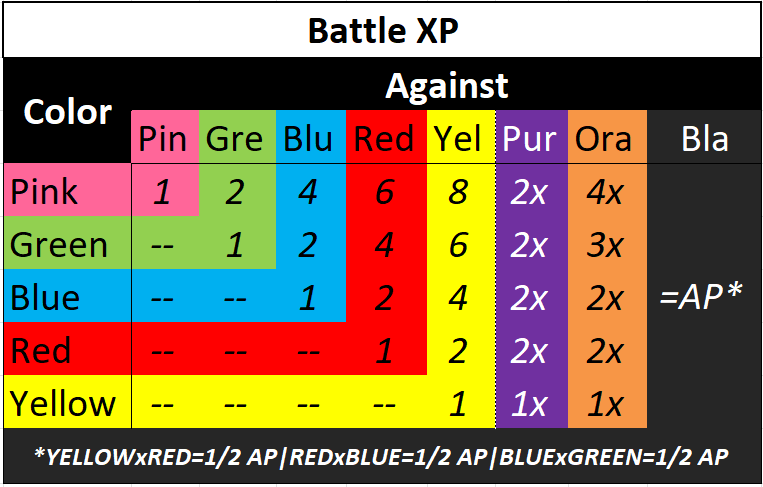
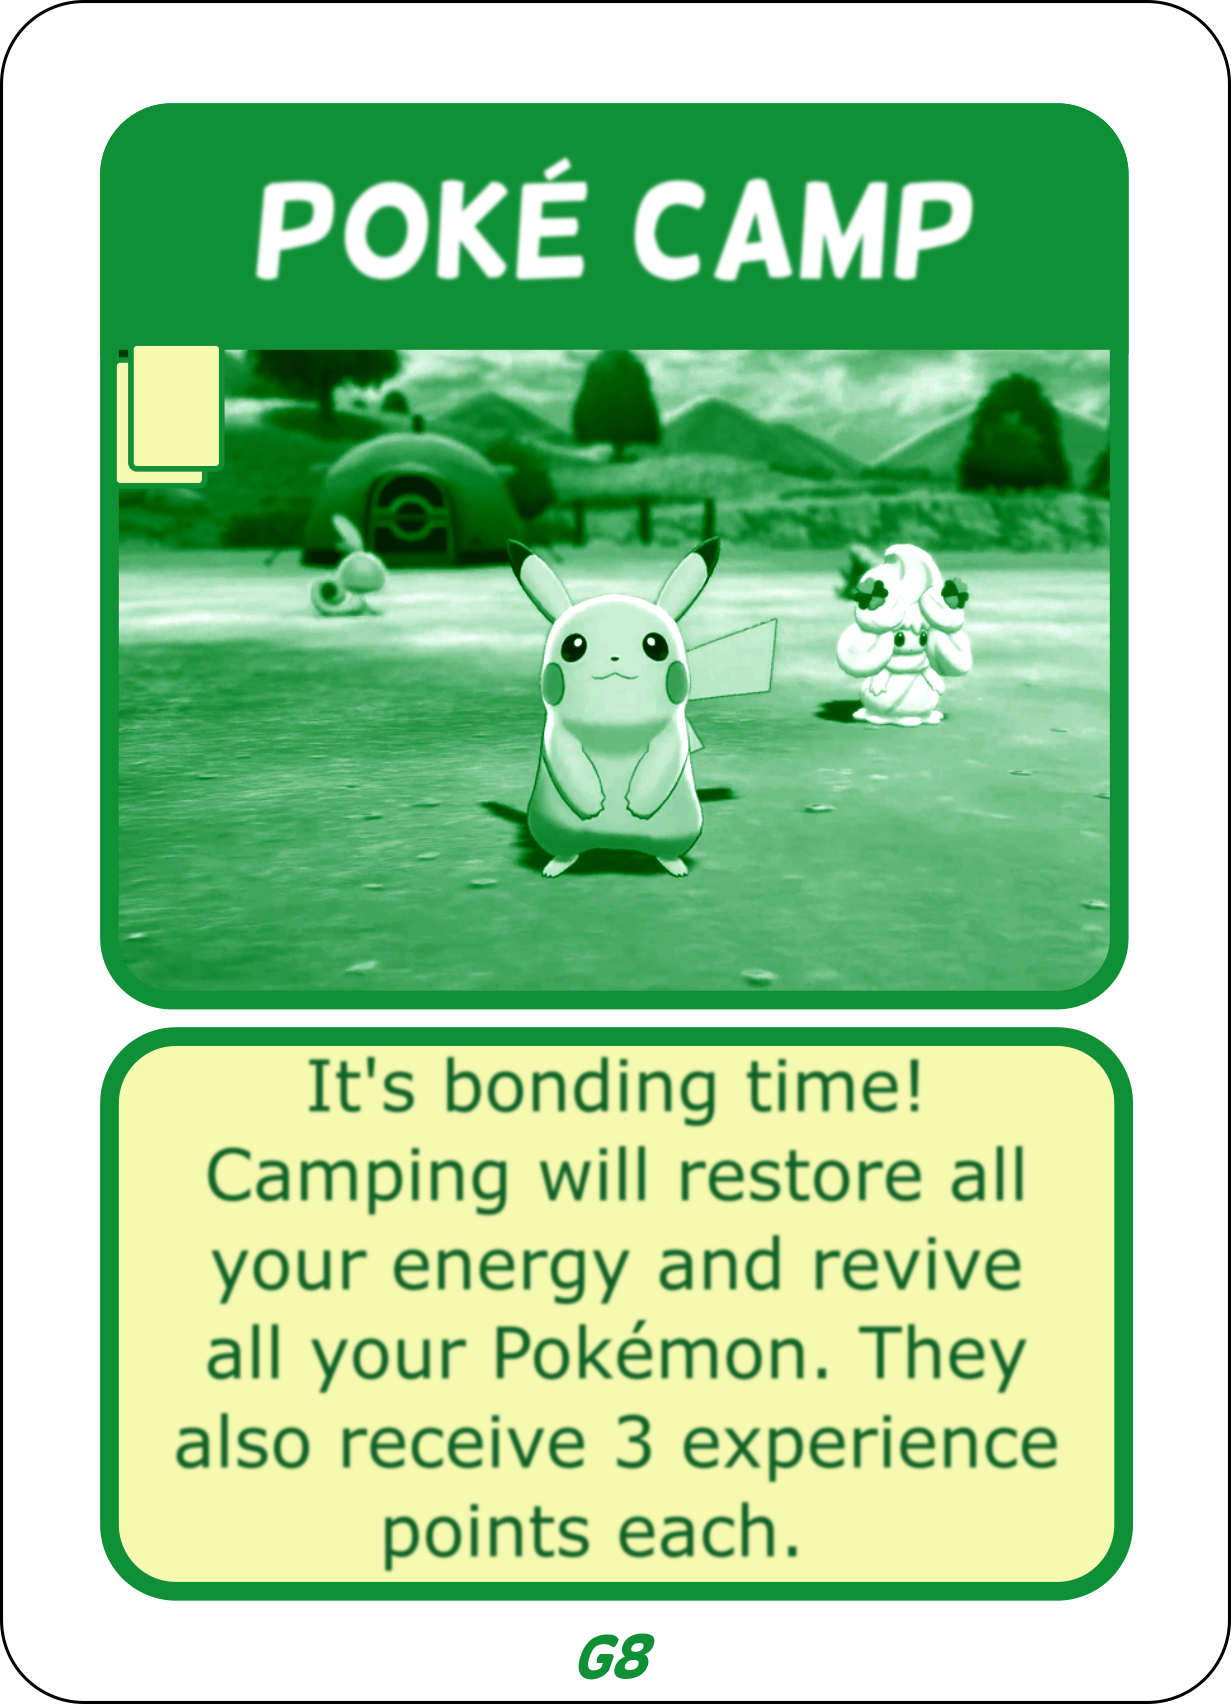
Experience Points
Experience points (XP) are the main responsible ones for the Pokémon evolutions. They can be earned by a Pokémon after a battle, if it doesn’t lose alone (tie grants one to each), through a “Rare Candy” item card, through a “Poké Camp” event card or through a "Poké Job" one.
If a player earns an “Exp. Share” badge (through event card), now he/she can grant one (1) “XP” to each other active Pokémon in their hand after one of their Pokémon wins a battle (not double knock out). *This shared “XP” will always be of one (1) point.
When Pokémon of different colors battle against each other, the earned "XP" will vary. To get the right values check the “Battle XP” table. *”Rival” Pokémon are regarded according to their region color (gym leaders), late game stage (league members = red color) or card color (evil teams).
*Purple/Orange/Black chips count like their back’s color and alpha ones count like orange.
A very specific scenario would be beating up a mega evolved orange Pokémon. In this case, the player shall consider its orange version back’s color, then multiply the expected result according to the values from both orange and purple columns.

Duels
On a PvP (duel), the earned XP is always doubled in case of victory. *Not from “team worker”/“exp. share”.
Rival Cards
Against "rival” cards, the earned "XP" equals the same “AP” amount of the rival’s defeated Pokémon, whether through a victory or a tie.*Not valid for “team worker”/“exp. share”. For the right values check each card's back.
Easier/Faster Mode
In order to make the gamer easier/quicker, players can disregard the following actions:
Master Rules
If you want to make the game even more challenging and dynamic click here to check how to use the master rules.
 PLEASE SUPPORT this project to help me reach more Pokémon board game fans all over the world!