 ATTENTION! You can PLAY this game series virtually (for free) through TABLE TOP SIMULATOR on STEAM.
If you want to check out the Pokémon UNITE and GO already available game modes just click HERE.
ATTENTION! You can PLAY this game series virtually (for free) through TABLE TOP SIMULATOR on STEAM.
If you want to check out the Pokémon UNITE and GO already available game modes just click HERE.
 You can LEARN HOW TO PLAY watching the videos from the OFFICIAL You Tube Channel.
Hey all so here it goes some tutorials,tips and advices for you in order to help you out printing out and assembling your game even in a lower budget but without loosing the quality. So get your files and you tools and let get started!
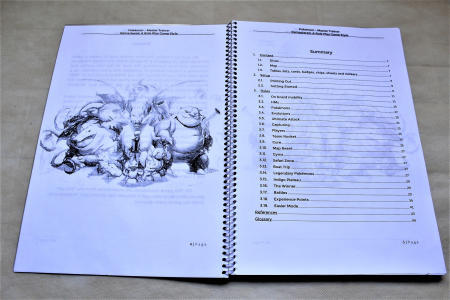
Rule Book
If you to choose to print out the content, I recommend you to print it out on both sides (colored if possible) and to bind it. However be aware of only do it until the REFERENCES page, the rest of it (glossary) must be printed out by the print shop in order to achieve better reuslts.
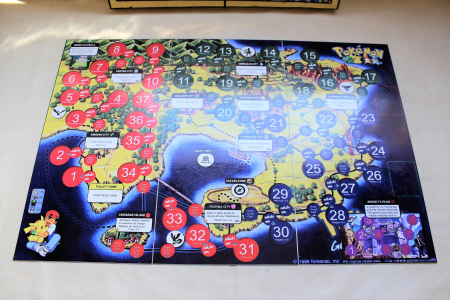
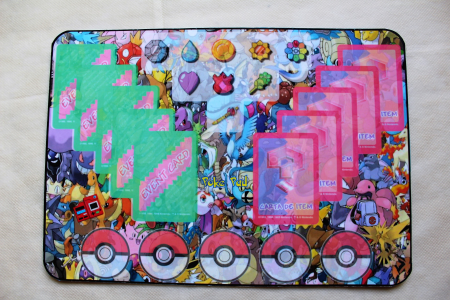
The Game Board
Originally I made mine from three (3) pieces of polyvinyl chloride (PVC) plate 1mm thick of 60x40cm. Althoug you can cut the board pieces from MDF (3mm) too. If doing the PVC, I recommend you to print it out straight into the plate instead of using a sticker. This method will help you to keep it safe from scratches and bumps (blisters), besides being an easier process. However if using MDF the stickers are the only way. You can use both sides of each piece, one for each third of each map. In order to keep the whole map togheter you can simply place them side by side or use some white duck tape on it’s back, this way the board could be easily folded, however you will have to swap the tape´s side once you change map.
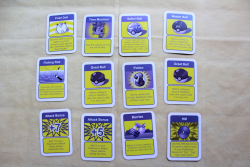
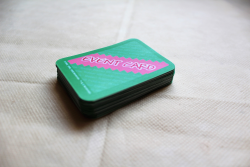
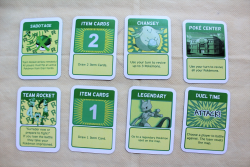
Item and Event Cards
I recommend you to print it out using a 16-points cardstock or at least 14-points to ensure a decent thickness. Remember to smooth the corners making them round, it will help you to shuffle the cards more easily and without damaging it. The cards are 7.2x5.2cm big and should also get a good layer of varnish applied to it.
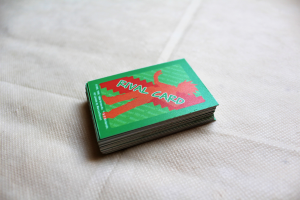
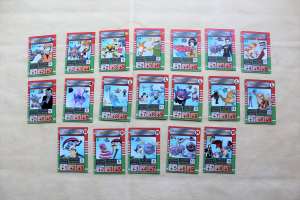
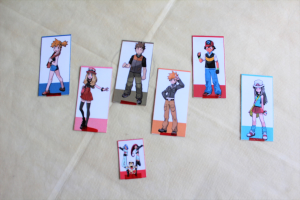
Rival Cards
I recommend you to print it out on 16-points or even thicker cardstock. You also should print front and back in two different pieces, once you will have to glue both parts back to back to achieve the final result. There is no need for smoothing the corners for these ones. The cards are 4.8x6.8cm big and you should also apply a good varnish layer to it.
Chips
This is the most challenging and pricy one IF you decide to do as I did the first time and use PVC (1mm thick and 4cm diameter) chips. However to make it a little cheaper you can cut them from MDF (3mm) as well, the only down side besides avoiding to get wet is that they will end up three (3) times thicker than PVC. For both cases, to achieve better results, use stickers on both sides. If using PVC the front sticker ones must be placed before cutting, this way the laser cutter will burn the edges of the sticker, keeping it safely attached. Then print out the back stickers using a 3.8mm diameter measure to avoid spare ribs in case of decentralized sticking. Remember that both methods can be very pricy if compared to the third one.
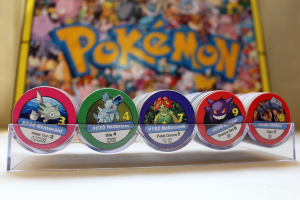
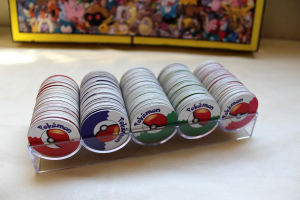

The third method is to use the same material of the RIVAL CARDS. Print them out on a 16-points cardstock, front and back separated and then glue each other back to back. The drawback of this method is that it’ll demand more labor work once you will probably need to smooth the corners the same way you did to the ITEM and EVENT cards, or not. It won’t look like the classic chips but are close enough and work the same. Whether method you pick you should also apply a good varnish layer to it.
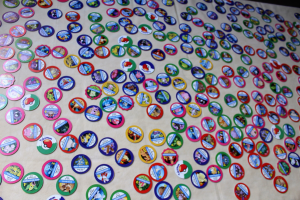
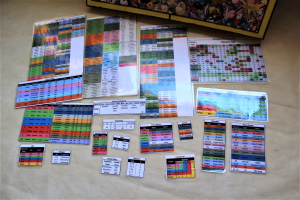
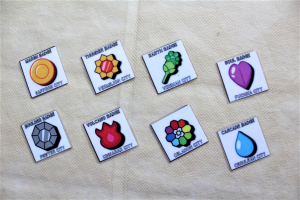
Tables, Sheets and Badges
If printing, I recommend to do it on a 100 lb. gloss cover or standard white paper sheets. Although you must laminate them all.
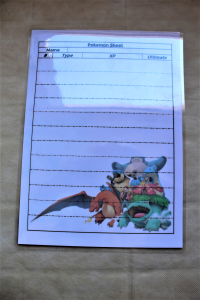
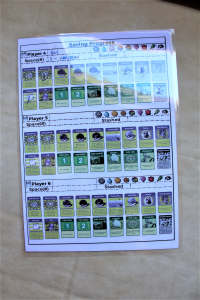
If choosing the virtual rules, you should only print the "Poké Sheet" the "Saving Game" and the badges.
If cutting from MDF, remember that you can cut the badges shapes. To make it "fancier" you can print out sticker of each badge art ("Badges_Stikers.png" file) and place them on both sides of each badge piece. It´s going to be a lot of work but the result looks very cool.
Movers
If printing, I recommend you to print them out using at least 14-points cardstock and apply some contact paper to it.
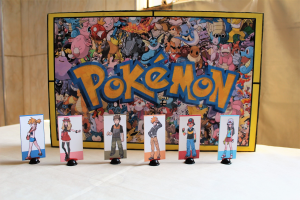
If cutting from MDF, just remember to glue the base at the very bottom of each piece. You can also paint them according each type (red for fire, blue for water and green for grass).
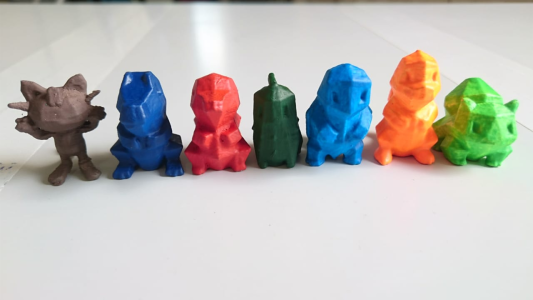
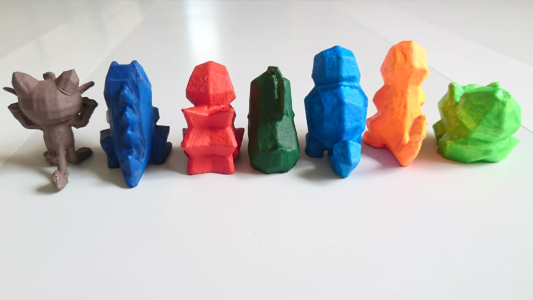
Movers (3D Printing)
The “.STL” archive you can download at the Google Drive hyperlink is already ready for printing. All the dimensions are already set up and according to my experience with it they fit pretty onto the game’s board. I recommend you to print the pieces using “PLA” material and a filament’s thickness of 0.2mm max, this way you can ensure the piece’s smoothness. Remember to apply a layer of “Primer” to the whole piece’s surface to help the paint to stick. I used matte acrylic “PVA” paint and in some cases I applied another layers of “Neon acrylic paint” from ACRILEX. It needs at least three more well applied layers but the result is very cool. To finalize I applied a layer of matte varnish. However I recommend a glossy one instead.
Weather Board
I recommend you to print out the art on a 14-points cardstock or slightly thinner one. After printing out glue it to a foam sheet or MDF piece using white glue. When the process is finished apply some contact paper to it.
Game Pads
I recommend you to do the same proccess of the "Weather Board" IF you are printing it out and using the foam sheet. Althoug if you choose the MDF cutting instead, the process is simpler and requires no further steps.
Dices, Dice Cup, Pin's Base and RPG Stuff
I recommend you to buy it local but if you can’t find it try looking up online or at Miniature Market. For the models, amount, and a MDF cutting dice cup file check the game PDF & Files.

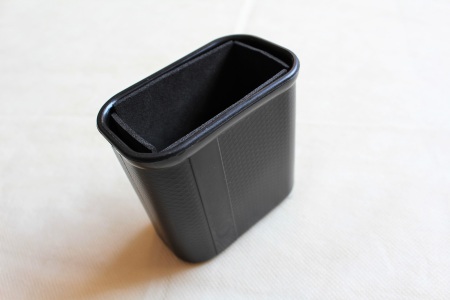
Dice Tower
If just like me you want to make your own dice tower here it goes some videos to inspire you and show you how. Mine was made only with cardboard, foam sheet, styrofoam, glue and paint.
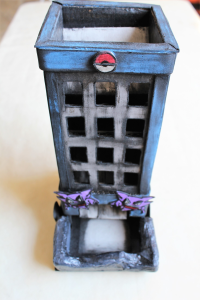
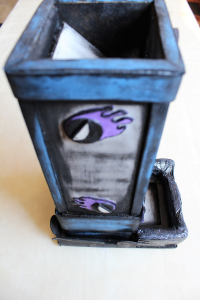
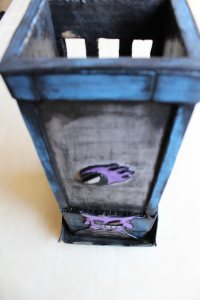
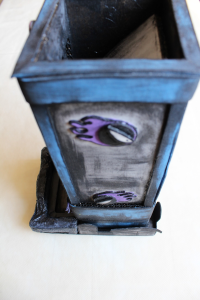
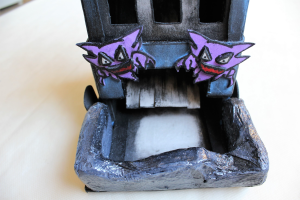
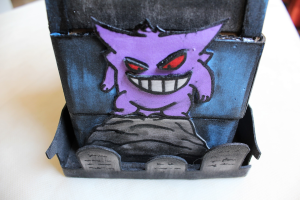
Now if you want to save some time but still get a very stylish dice tower/dice box you can make it from MDF. Just download the files and choose the one you like the most. It's worth to mention that I DID NOT create this project, just customized it for the game´s purpose so all the credits go to the authors. You can get all the assembling instructions from its website. To achieve even better results you can apply some paint job that matches the Pokémon's type, coat the insides with some matchihng foam sheet pieces and also apply a good varnish layer on it.
Storing
To store your game you can either build a cardboard or a MDF game box, it’s totally up to you to decide what looks better or fits most your budget.
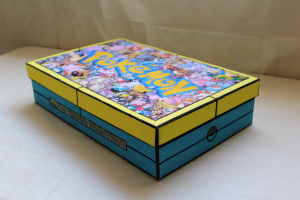
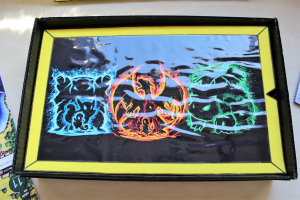
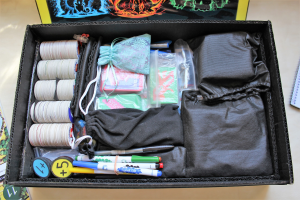
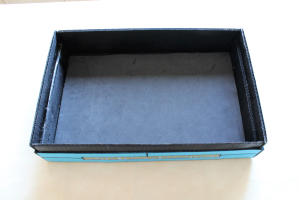
The box I developed is actually made of three ones. The “Bottom” one has no lid and the “Pokeballs” on the sides, the “Top” one has no “lid” too and has the “Pokemon” logo on top. It’s also the larger one and goes on top of the “bottom” one, closing it precisely. The third and last one is the “Inner” one, it is also the only one that has a lid. Make sure the two half holes at the edge are there because your are going to use them to open the lid. This box is the one with the “Pokemon’s Art” on the top part. After cutting them all put the “Inner” box inside the “Bottom” one and them cover it with the ”Top” one. The result will be a two floors box where you can use the top floor to store the board, sheets, pads and the rule book. On the floor beneath you can store the remain content. You can paint or customize your box as you wish but I recommend you to apply at least a good varnish layer to it.
Arena & Markers
For the arena it’s up to you to create your own or cutting from MDF as well. If choosing the MDF cut the markers will be already there, if not, you can make your own ones however you like. I made mine from foam sheet circular pieces.
Dice Holder
For the dice holder it’s also up to you to create your own or cutting from MDF as well. If not doing the round chips make sure to cut the "Chips Tray" as well. Now, if you are doing the round ones, you could use some poker chips holders to stash it.
Meeples
To create the game´s meeples you just need to use the Pokémon’s silhouettes file available for download. Once its done, they should be sorted following the chip’s pattern, between pinks, greens, blues, reds and yellows. After that you can apply a good layer of color spray to each all the pieces of each color.
Step by step
First step is to use the ".DXF" file on a laser cut machine to cut the silhouettes on a raw 3mm MDF plate.
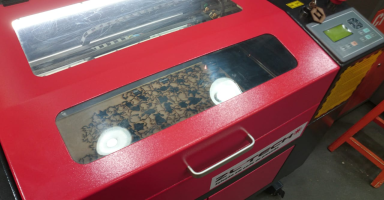
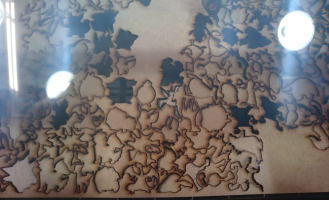
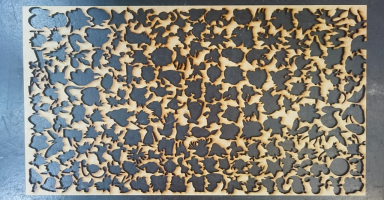
Be careful because the machine cut speed can't be too fast instead it won't cut the plate so well. It's better to cut it slower and let the pieces fall strainght from it than having to pop them out from the plate.
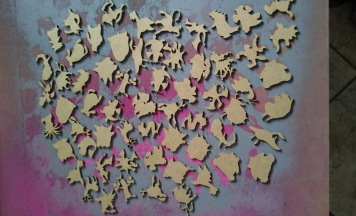
Next step is to sort each piece to each chip to make sure there is no one missing.
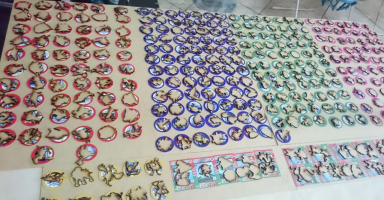
Them sort them according the chip's color (label) to start the painting proccess. To achieve best results use spray primer and paint.
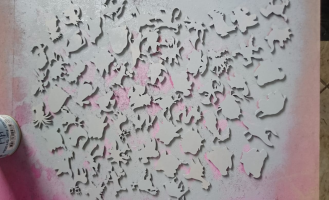
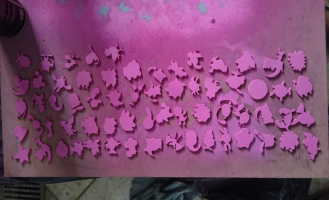
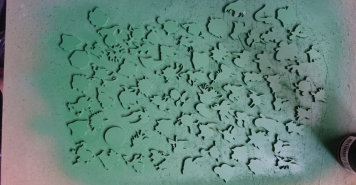

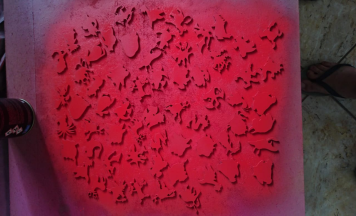
To acheve best result too, apply at least two (2) layers of primer and paint. When painting make sure to shake the can very well and spray it from different angle to cover all the side edges.
Remember to also apply some glossy varnish layers and to let it dry porperly. After done make sure to store it in a hard shell case or soft pouch withou any weight on top of it.
 PLEASE SUPPORT this project to help me reach more Pokémon board game fans all over the world!